Any links to online stores should be assumed to be affiliates. The company or PR agency provides all or most review samples. They have no control over my content, and I provide my honest opinion.
In this article, I will guide you through the process of restoring your Google Photos data with the correct dates.
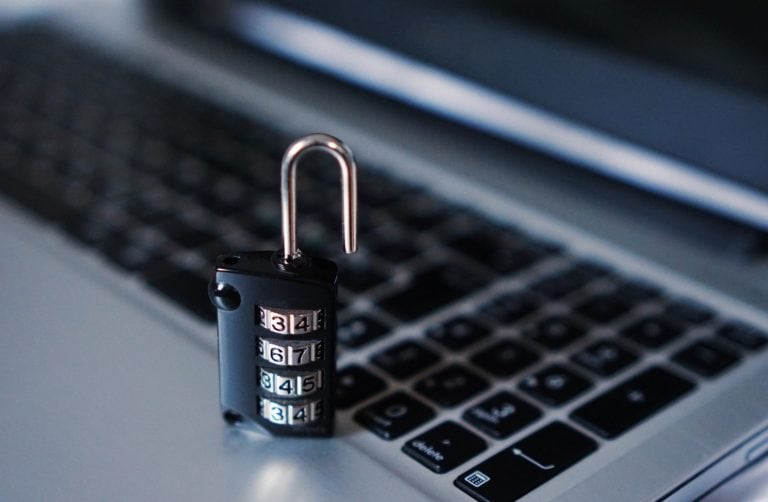
The Problem: Incorrect Date Order in Restored Photos
After a factory reset of an Android phone, I noticed that certain apps, like Facebook and Instagram, failed to recognize the correct chronological order of my photos and videos. This issue arose despite using Google Photos to back up my media.
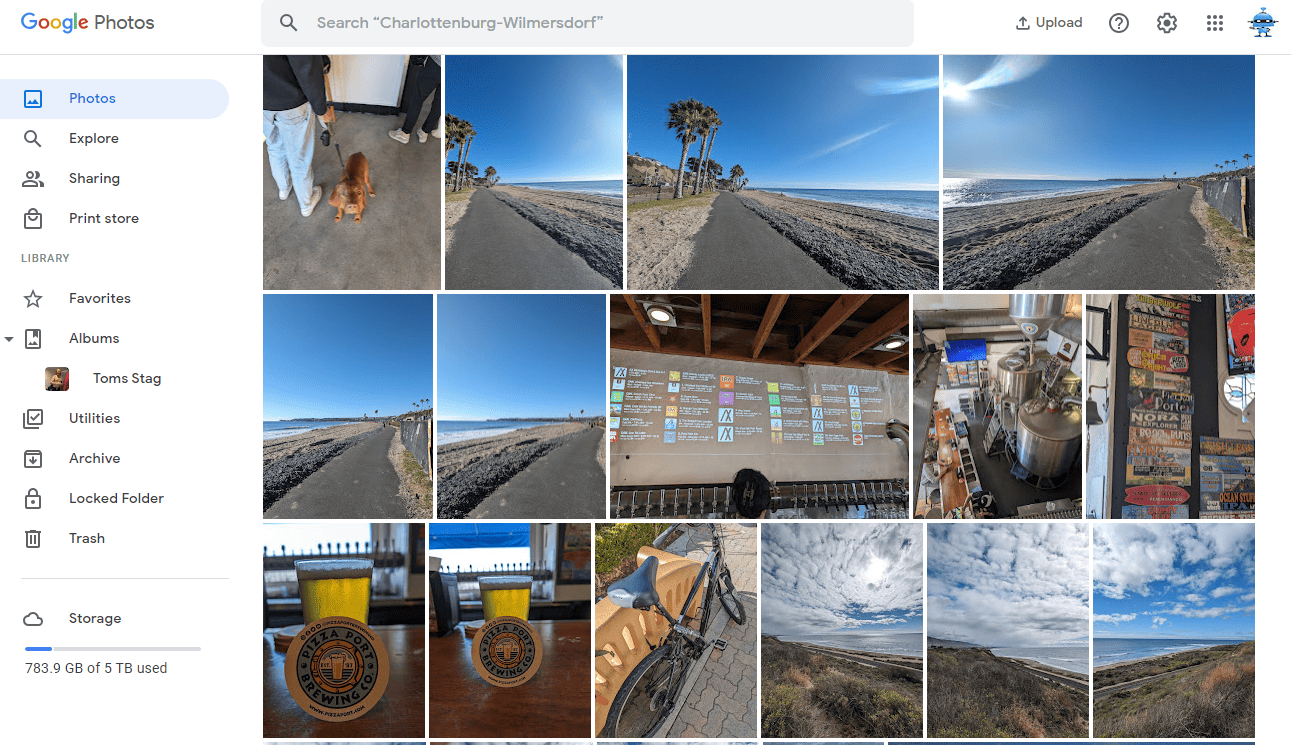
Initially, I didn’t organise my photos into albums within Google Photos. I simply relied on the app’s “Photos” tab to ensure my media was backed up. However, following the bootloop and subsequent factory reset, I discovered that Google Photos could only restore the latest 200 photos and videos into a “Restored” folder within the DCIM directory. This was contrary to my expectation that Google Photos would maintain the structure of my local storage folders.
Discovering Restoration Methods
Determined to restore my entire Google Photos library with accurate dates, I turned to various methods shared on Reddit. I focused on techniques involving Google Takeout, allowing me to successfully recover all my data, including non-camera sources like WhatsApp images and internet downloads.
Preparing for Restoration

Before attempting any restoration method, it’s crucial to tidy up your Google Photos:
- Access Google Photos via a PC.
- Remove unnecessary old media and delete any created albums to prevent duplication.
- Initiate an export from Google Photos using Google Takeout, ensuring to select the largest zip file option (up to 50 GB) for convenience.
Method 1: The Easy (Paid) Approach
To use Metadata Fixer for fixing your pictures’ and videos’ EXIF metadata when exporting from Google Takeout, you can follow these steps, primarily using the ExifTool:
- Deleting Duplicates: For any edited file, Google Takeout exports both the original and the edited files. If you want to remove duplicates, you can delete the edits using the command.
del /s /q *-edited.jpg - Fixing File Creation Dates: The file creation date for your media might be updated to the current date during export. To correct this, especially for media without EXIF data, use the ExifTool command from the Takeout root directory:
exiftool -d "%s" -tagsfromfile %d%f.%e.json "-DateTimeOriginal<PhotoTakenTimeTimestamp" "-FileCreateDate<PhotoTakenTimeTimestamp" "-FileModifyDate<PhotoTakenTimeTimestamp" -overwrite_original -ext mp4 -ext jpg -r .This command updates the file creation, modification, and original dates based on the metadata in the .json files.
- Restoring Geolocation Data: To add back geolocation data to your files, use the following ExifTool command:
exiftool -tagsfromfile %d%f.%e.json -description -title "-gpslatitude<GeoDataLatitude" "-gpslatituderef<GeoDataLatitude" "-gpslongitude<GeoDataLongitude" "-gpslongituderef<GeoDataLongitude" -ext mp4 -ext jpg -r .This helps in cases where location data might not be intact in the files.
- Deleting JSON Files: After fixing the metadata, you can remove the .json files with the command
del /s /q *.json - Organizing the Files: If you want to organize your files better, you can use ExifTool to recreate a directory structure based on the camera model or other criteria. For example:
exiftool "-directory<%d/${model;}" -r .This command organizes files into directories based on the camera model.
- Sorting by Image Size: To further sort your files, especially if some actions stripped EXIF data or for files like mp4 that generally don’t have EXIF data, you can sort by image size using:
exiftool "-directory<%d/${ImageSize;}" .This helps group together images saved from various sources like screenshots or movies.
These steps will help you in efficiently restoring and organising the EXIF metadata for your pictures and videos exported from Google Takeout.
Method 2: The Uneasy (Free) Approach
This free method is more complex and involves several steps:
Here’s a guide on how to use the GooglePhotosTakeoutHelper tool to organize and fix the EXIF metadata of pictures and videos when exporting from Google Takeout:
- Download the GooglePhotosTakeoutHelper Executable: Visit the releases tab of the GooglePhotosTakeoutHelper repository on GitHub and download the appropriate executable for your operating system.
- Run the GooglePhotosTakeoutHelper (gpth):
- For Windows: Double-click the downloaded
.exefile and follow the instructions. You might need to confirm to Windows Defender that the file is safe. - For Mac/Linux: Open the terminal, navigate (
cd) to the folder with the downloaded executable, and run the following commands:- For Mac with M1/M2 chip, enable x86 emulation:
softwareupdate --install-rosetta - Add execute permission:
chmod +x gpth-macos(orgpth-linuxfor Linux) - Tell MacOS Gatekeeper it’s safe:
xattr -r -d com.apple.quarantine gpth-macos - Execute the script:
./gpth-macos(or./gpth-linuxfor Linux) - Follow the prompted instructions.
- For Mac with M1/M2 chip, enable x86 emulation:
- Fixing EXIF Metadata:
- Download Phil Harvey’s ExifTool from here.
- Open the command line or terminal, navigate to the folder where you downloaded ExifTool.
- Run ExifTool on your photos:
exiftool -overwrite_original -r -P "-AllDates<FileModifyDate" "your/output/folder/ALL_PHOTOS/"This command inserts the correct EXIF metadata, preserving the creation time of your photos.
This process should organize your Google Takeout photos into one large, chronologically ordered folder, with corrected EXIF metadata for better organization and viewing.
Optional Organisational Steps
After restoring your photos and videos, you might want to organise them further. I created separate folders for different content types (e.g., Screenshots, Facebook, etc.) and sorted my media accordingly. This step is optional but can greatly enhance the accessibility of your media.
Concluding Thoughts
Restoring and organising your Google Photos data after a factory reset can be a daunting task, but with the right tools and patience, it’s definitely achievable. This process ensures that your precious memories are not only recovered but also well-organized.
I am James, a UK-based tech enthusiast and the Editor and Owner of Mighty Gadget, which I’ve proudly run since 2007. Passionate about all things technology, my expertise spans from computers and networking to mobile, wearables, and smart home devices.
As a fitness fanatic who loves running and cycling, I also have a keen interest in fitness-related technology, and I take every opportunity to cover this niche on my blog. My diverse interests allow me to bring a unique perspective to tech blogging, merging lifestyle, fitness, and the latest tech trends.
In my academic pursuits, I earned a BSc in Information Systems Design from UCLAN, before advancing my learning with a Master’s Degree in Computing. This advanced study also included Cisco CCNA accreditation, further demonstrating my commitment to understanding and staying ahead of the technology curve.
I’m proud to share that Vuelio has consistently ranked Mighty Gadget as one of the top technology blogs in the UK. With my dedication to technology and drive to share my insights, I aim to continue providing my readers with engaging and informative content.