Any links to online stores should be assumed to be affiliates. The company or PR agency provides all or most review samples. They have no control over my content, and I provide my honest opinion.
As part of my job, I take a lot of photos on my phone and swap phones multiple times per year. I use my phone camera for both product photography and personal use, in particular when I travel.
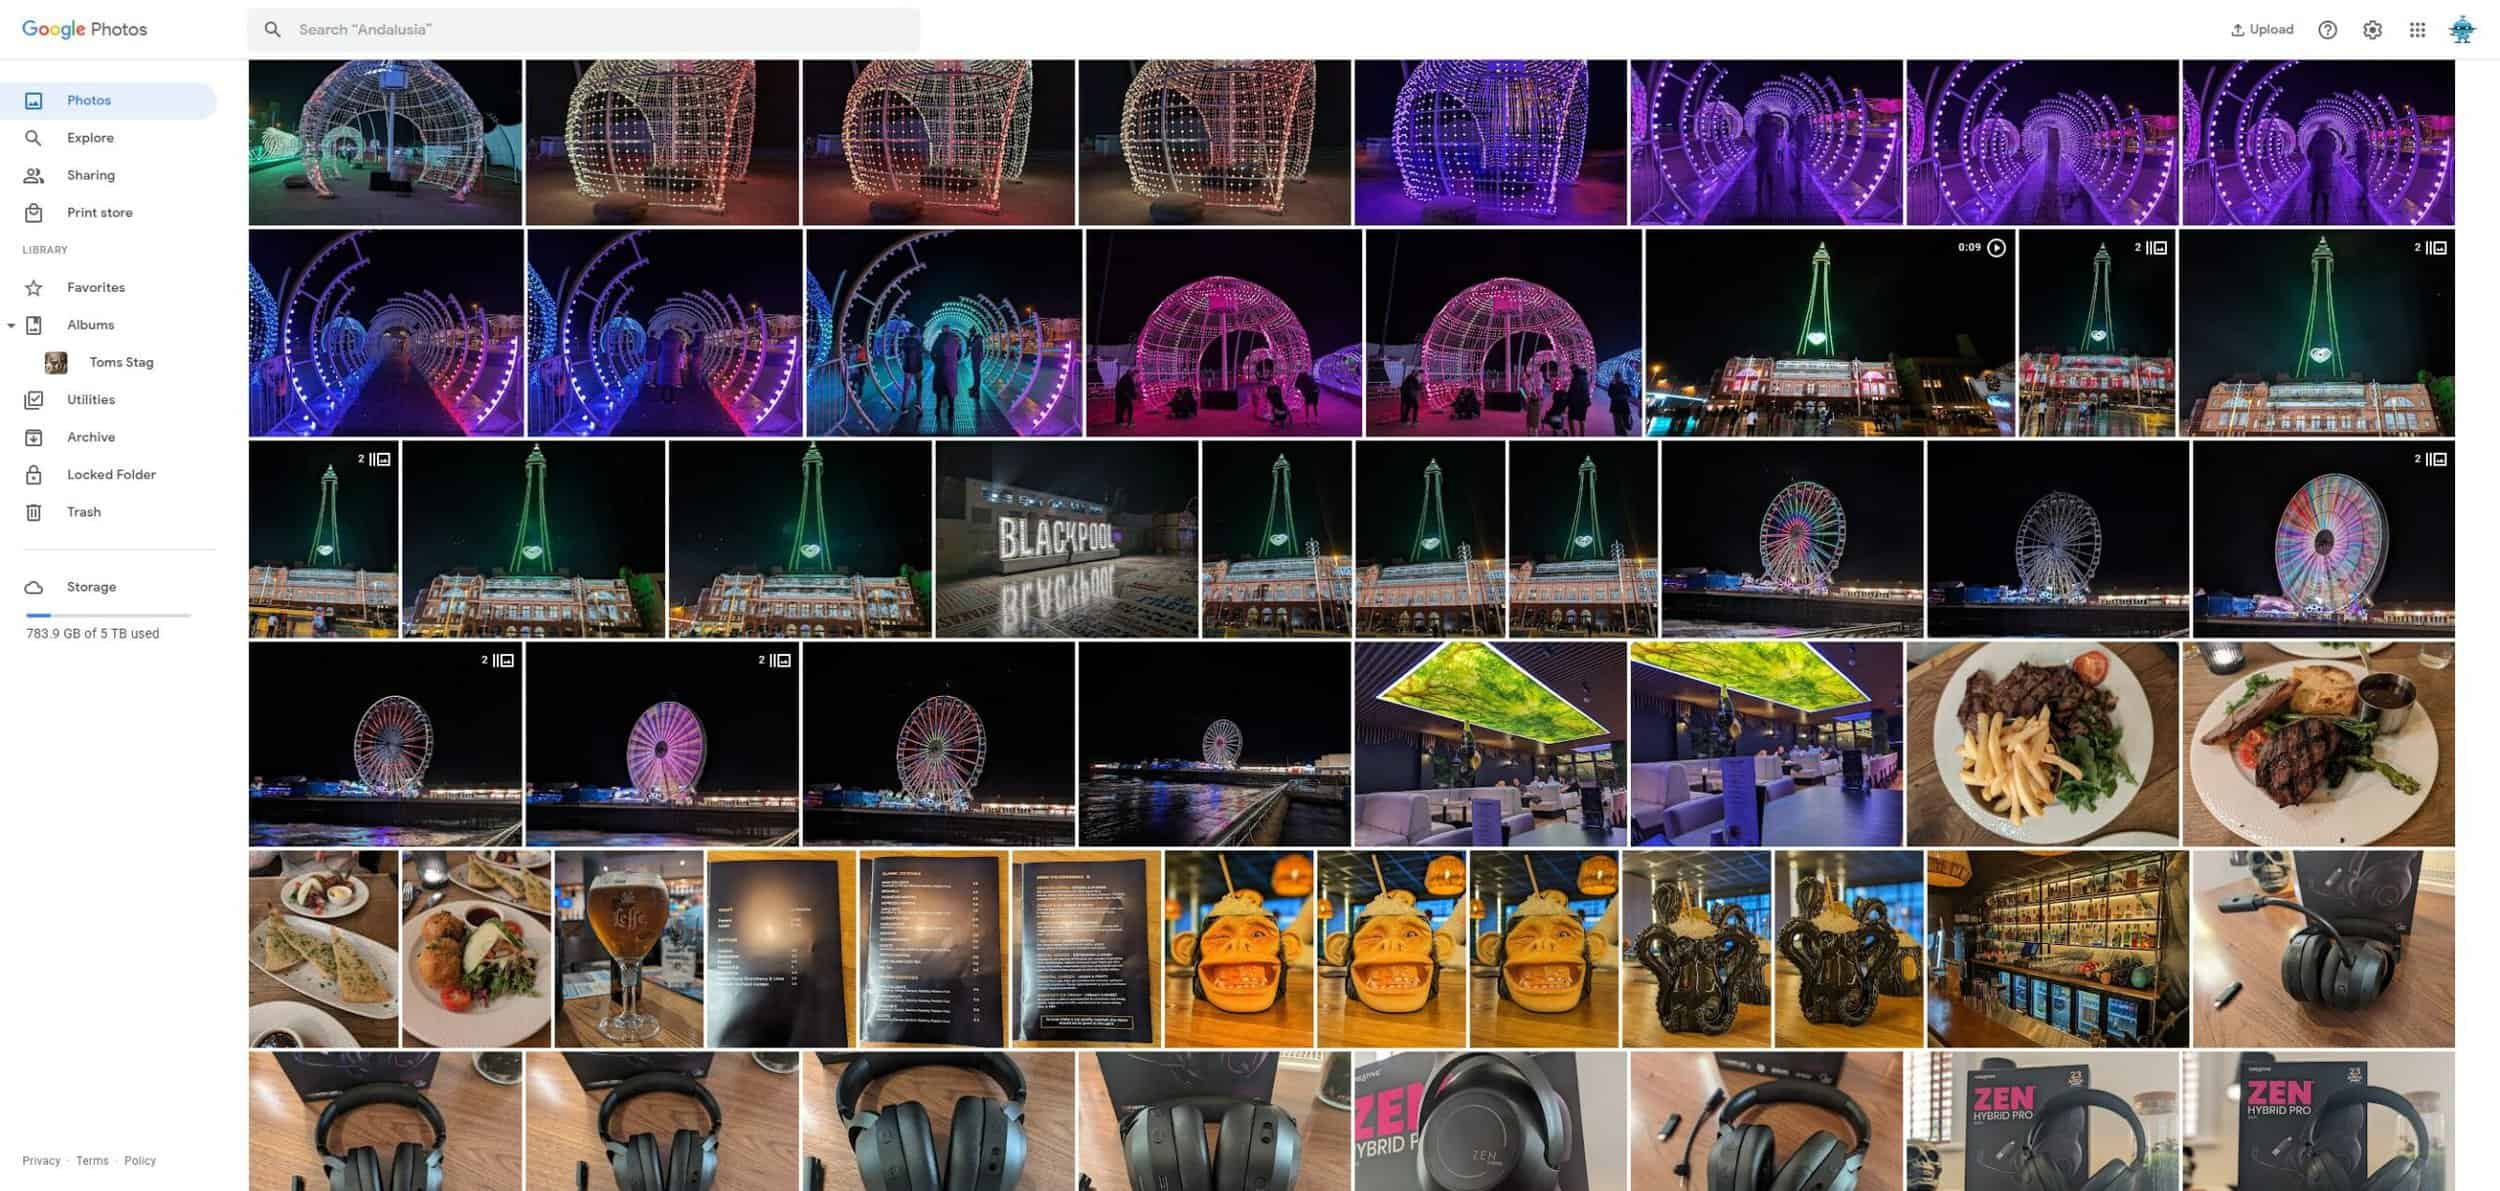
I have been using Google Photos for years, and it is one of my favourite online services. I automatically back up all my photos at full resolution and never really think any more of it.
Occasionally, I will separate things into folders, but most of the time I rely on the automatic features of Google Photos. Everything is in date order, but you can also search by location and Google will automatically classify objects and people.
It is an amazing service, but like all cloud storage solutions, you shouldn’t rely on it as your single backup point. I have been guilty of this, and I have photos dating back over 14 years over two separate accounts.
While it may not happen very often, there are plenty of reports online about people losing access to their Google accounts. Often, it is just a simple case of user error and losing the login credentials. But there have been a lot of reports of hacked accounts. One concerning issue with hacked accounts is the SIM jacking attackers to gain access to a person’s phone number and, ultimately, their two-factor authentication (2FA) codes.
More recently, Google will start deleting inactive Photos and Gmail accounts starting from 1st of December 2023. If you actively use Google Photos, then this isn’t a concern, but it is easy to switch to a new account and forget about logging into any old accounts. I have done it many times with old work accounts, which often still contain important information.
Back-Up Google Photos
For several months, if not longer, I have had it in the back of my head that I need to make backups of my Google Photos.
Google has a dedicated service for backing up your data with Google Takeout. This works well, but it is designed to be a one-off tool allowing you to back up all your data in one go. It is useful if you want to get everything onto a NAS and then start using that for photo backups, but it is less useful if you want to continue using Google Photos and regularly back up from there.
Google Takeout

I will cover Google Takeout briefly, as it is free and easy to use:
- Use Google Takeout for Complete Backup:
- Go to Google Takeout: Visit takeout.google.com. This service allows you to export data from your Google account, including Google Photos.
- Select Data to Include: Make sure to deselect all the data except for Google Photos if you only want a backup of your photos.
- Choose the Format: You can select different file types and sizes. It’s generally best to choose .zip files and a maximum size that suits your storage media. If the backup size exceeds this limit, Google will split it into multiple files.
- Request Archive: Once you’ve made your selections, click on “Next step” and then “Create archive”. Google will then prepare your download, which can take anywhere from a few hours to a few days, depending on the amount of data.
- Downloading the Backup:
- Once your Google Takeout archive is ready, you’ll receive an email with a download link.
- Click on the link and download the .zip files to your computer.
- It’s a good practice to check the downloaded files for completeness and integrity.
- Storing the Backup:
- External Hard Drive: Transfer the downloaded files to an external hard drive for safekeeping. This method is handy for large photo libraries.
- Cloud Storage: Upload the files to another cloud service like Dropbox, Microsoft OneDrive, or Apple iCloud for an additional backup layer.
- NAS (Network Attached Storage): If you have a NAS system, it’s a great option to store your backup. It provides accessibility and security for your data.
Paid Service & Easiest Method: MultCloud
MultCloud is the main tool I ended up using because it is so easy. It is a paid service but relatively affordable, depending on discounts. When I used it, there was a Black Friday sale on with it priced at $99 annually for unlimited data or $189 as a one off payment for unlimited data.
For smaller or one-off jobs, you can get 1200GB /Year for around $60 annually, or they have a 5GB /Month for free.
Initially, I want to copy from one Google Photos account to another. However, the tool says that you can’t create folders within Google Photos, and I found it easy to back up to Google Drive.
Backing up photos from Google Photos to Google Drive using MultCloud is a straightforward process.
Creating a MultCloud Account
- Sign Up for MultCloud: First, you need to create a MultCloud account. You can do this for free on the MultCloud website. Alternatively, you can sign in directly using your Google or Facebook account.
Adding Cloud Services to MultCloud
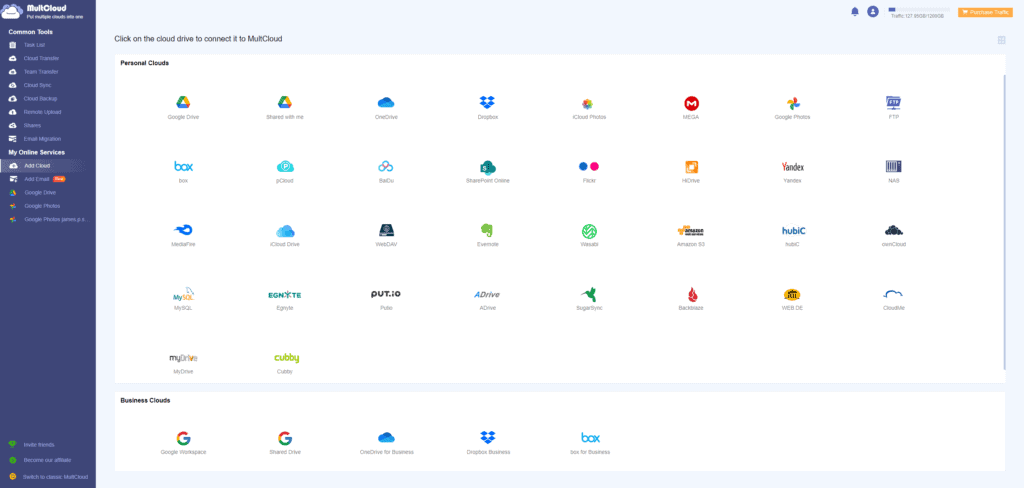
- Integrating Cloud Services: Once logged in, navigate to ‘Add Cloud’ on the left sidebar. Click on the Google Photos icon and Google Drive icon respectively to add these two services to your MultCloud account.
Configuring Backup Settings
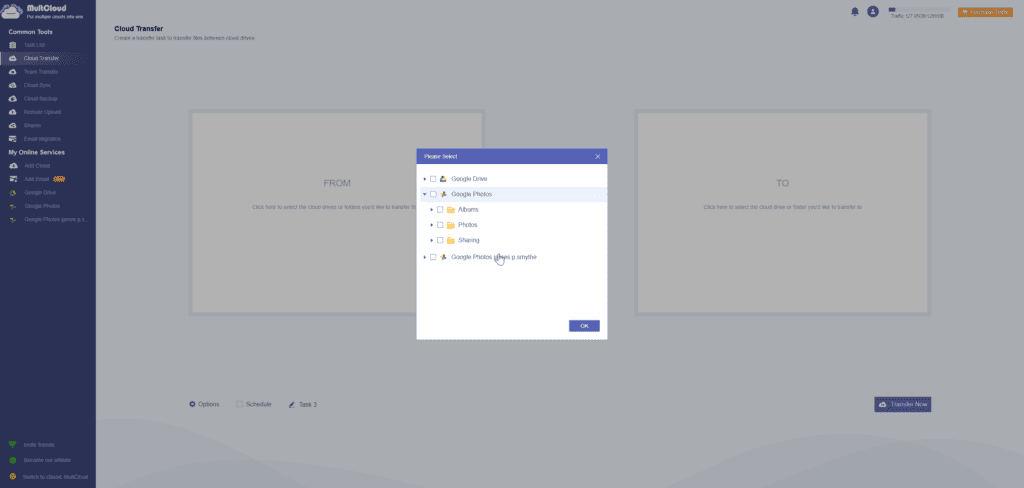
- Setting Up the Backup: Go to the ‘Cloud Backup’ section. Here, you should configure Google Photos as the source directory and Google Drive as the target directory. After setting this up, click the ‘Backup Now’ tab to initiate the backup process.
Additional Features and Tips
- Selective Backup: If you do not wish to back up your entire Google Photos library, you can use the Filter feature (found under Options > Filter) to exclude specific data types, like mp3 files.
- Scheduled Backup: MultCloud allows you to set up scheduled backups. These can be configured to run at specific times, daily, weekly, or monthly.
- Email Notifications: You can enable email notifications to be informed when your backup tasks are completed. This way, you don’t need to constantly monitor the process.
Advantages of Using MultCloud
- User-Friendly Interface: MultCloud boasts an easy-to-use interface, making it simple to start tasks without needing to go through complex guides.
- Multiple Language Support: The service supports various languages, catering to a global user base.
- Efficient and Free: You get 5GB of free data traffic each month for backing up data across clouds. The backup process is efficient and quick.
- Data Restoration: MultCloud features a restore function, allowing you to easily recover lost photos from Google Photos.
Considerations
- Data Traffic Limit: The default free plan offers 30GB of data traffic per month. If this is insufficient, you can upgrade your MultCloud account for more data traffic.
By following these steps, you can efficiently backup your photos from Google Photos to Google Drive using MultCloud, ensuring that your memories are safely stored and easily accessible across both cloud services.
Free Tool: Using gphotos-sync to backup to a NAS or server
With this tool, you synchronise your Google Photos with a NAS or server using gphotos-sync. This tool is coded in Python and requires you to use the Google Photos API.
Backing up photos from Google Photos to a NAS/Server using gphotos-sync involves several steps. Here’s a detailed guide:
Initial Setup
- Creating OAuth Client ID: Before running gphotos_sync, create an OAuth client ID. This is a one-time operation. Instructions are available on the gphotos-sync GitHub page. After creation, download the
client_secret.jsonand save it under the application configuration directory, which varies based on your operating system.
Execution Methods
Container Execution
- Using Docker: gphotos-sync can be run in a container. The container image is updated with each release and can be found at
ghcr.io/gilesknap/gphotos-sync. The container has two volumes:/configfor theclient_secret.jsonfile and/storagefor backup data. These should be mapped to host folders. The typical Docker command for running gphotos-sync is:
   $ CONFIG=$HOME/.config/gphotos-sync
   $ STORAGE=$HOME/My_photos_backup
   $ docker run --rm -v $CONFIG:/config -v $STORAGE:/storage -p 8080:8080 -it ghcr.io/gilesknap/gphotos-sync /storage
The -p 8080:8080 -it options are needed for the first run for authentication purposes.
Local Installation
- Python Version: Ensure you have Python 3.7 or later. Use
python3 --versionto check your Python version. - Virtual Environment: It’s recommended to install gphotos-sync in a virtual environment to avoid conflicts with other Python software. Use the following commands to create and activate a virtual environment:
   python3 -m venv /path/to/venv
source /path/to/venv/bin/activate- Install gphotos-sync: Install gphotos-sync using pip:
python3 -m pip install gphotos-syncAlternatively, for unreleased features, install directly from GitHub:
python3 -m pip install git+git://github.com/gilesknap/gphotos-sync.gitRunning gphotos-sync
- Start Backup: Create a new empty target directory where the backups will be stored. Start the backup with the default settings by running:
gphotos-sync <TARGET_DIRECTORY>- User Login: For the first run, you need to log in with the user account whose files you’re backing up.
- Download Process: gphotos-sync will first index your library and then begin downloading the files. The download is multithreaded and can be throttled using the
--threadsoption if necessary. - Incremental Backups: Upon subsequent runs, gphotos-sync will incrementally download new files since the last backup. You can abort and restart gphotos-sync as needed; it will continue from where it was interrupted【10†source】.
Remember, for any specific instructions related to your operating system, refer to the detailed documentation available on the gphotos-sync GitHub page.
I am James, a UK-based tech enthusiast and the Editor and Owner of Mighty Gadget, which I’ve proudly run since 2007. Passionate about all things technology, my expertise spans from computers and networking to mobile, wearables, and smart home devices.
As a fitness fanatic who loves running and cycling, I also have a keen interest in fitness-related technology, and I take every opportunity to cover this niche on my blog. My diverse interests allow me to bring a unique perspective to tech blogging, merging lifestyle, fitness, and the latest tech trends.
In my academic pursuits, I earned a BSc in Information Systems Design from UCLAN, before advancing my learning with a Master’s Degree in Computing. This advanced study also included Cisco CCNA accreditation, further demonstrating my commitment to understanding and staying ahead of the technology curve.
I’m proud to share that Vuelio has consistently ranked Mighty Gadget as one of the top technology blogs in the UK. With my dedication to technology and drive to share my insights, I aim to continue providing my readers with engaging and informative content.