Any links to online stores should be assumed to be affiliates. The company or PR agency provides all or most review samples. They have no control over my content, and I provide my honest opinion.
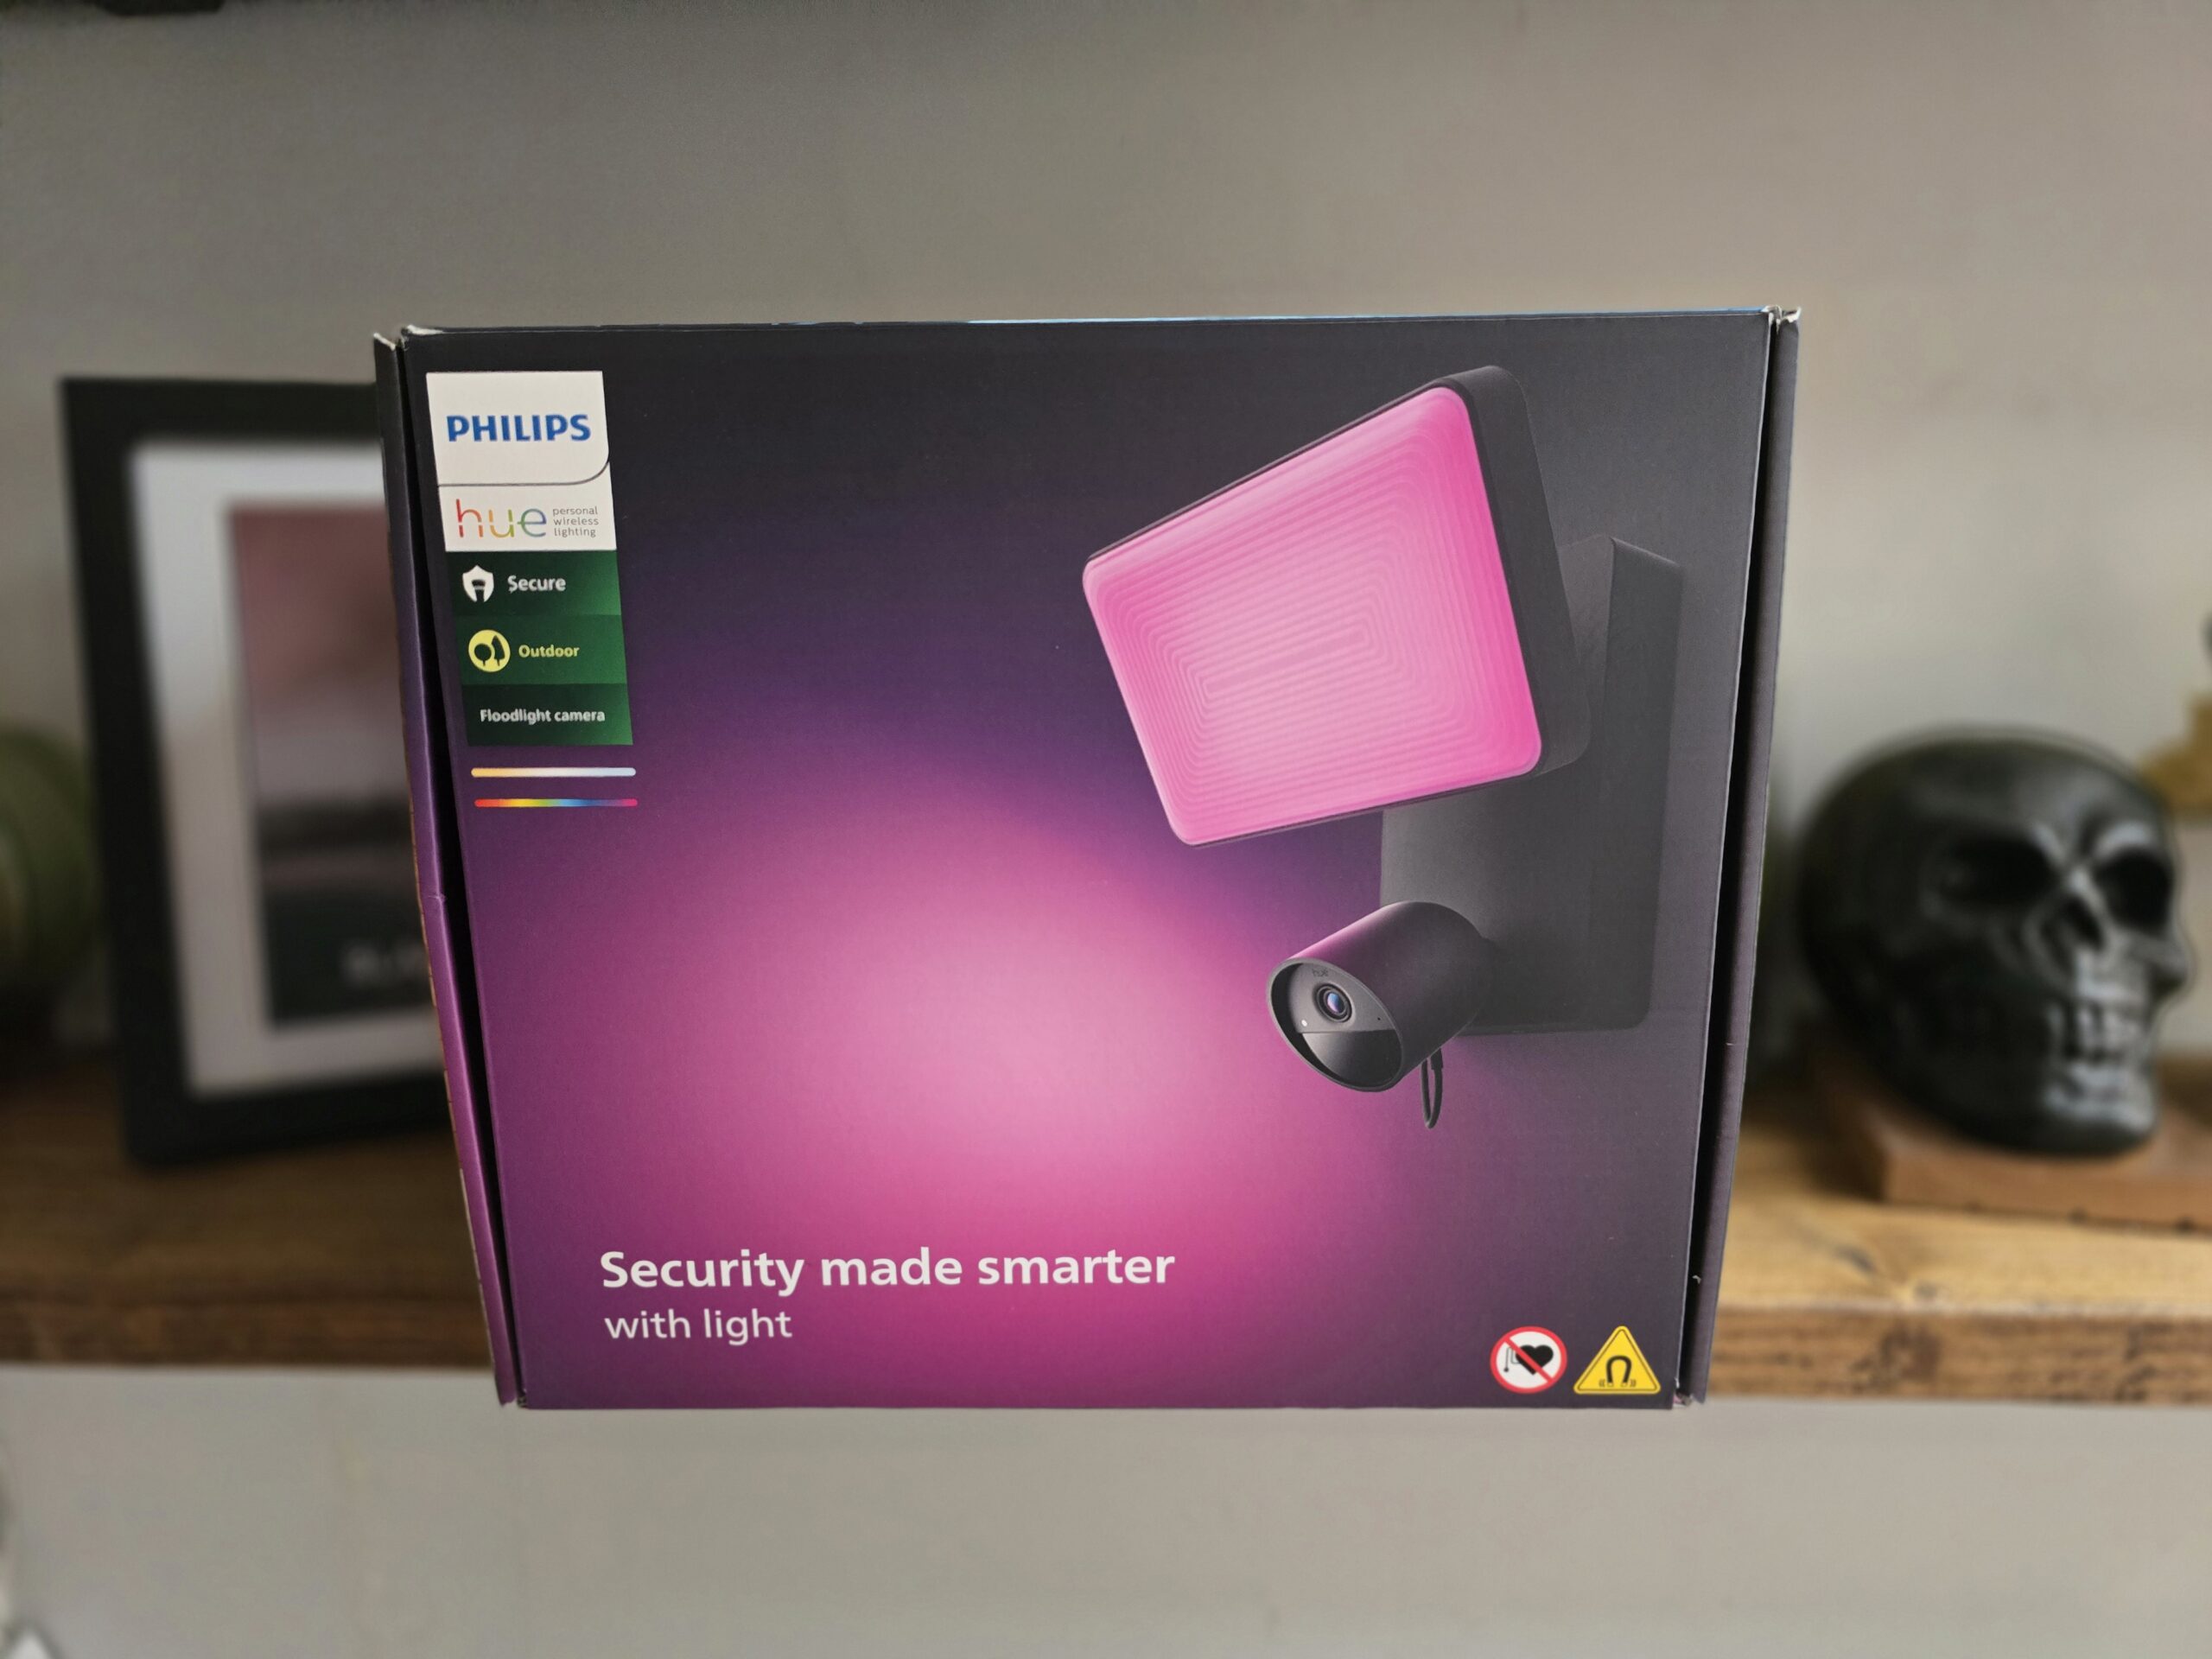
The Philips Hue Floodlight Camera was announced at IFA 2023 as part of the Philips Hue Secure launch, along with three other cameras.
It joins a growing number of floodlight cameras on the market, but its integration with the Philips Hue ecosystem sets it apart.
As I am heavily invested in Philips Hue, I have been eager to try out the floodlight camera and see how well it works with Hue, so I have finally replaced my ageing Netatmo Smart Outdoor Camera.
Related Reviews
- Philips Hue Surimu Rectangle Panel Review
- Philips Hue Bridge Review
- Philips Hue Go Portable Table Lamp Review
- Philips Hue Signe Gradient Floor Lamp in Oak Review
- Philips Hue Tap Dial Switch Review
- Eufy Floodlight Camera E340 Review
- Reolink Duo Floodlight PoE Surveillance Camera Review
- Eufy Floodlight Cam S330 Review
- Ezviz Floodlight 1080P Wired Camera Review
Specification / Features
- Resolution: 1080P
- Sensor: CMOS – F35
- Field of View: 141.2
- Floodlight:
- Lumen output at 4000K: 2,250 lm
- Lumen output at 2700K: 2,050 lm
- Lifetime: 25,000 h
- Motion Detection: Yes, including people, cars, animals, packages
- Night Vision: Yes
- Microphone / Audio: Sound alarm Two-way audio
- Weatherproof: Yes, IP65 camera, IP44 floodlight
- Connectivity: Zigbee WiFi (2.4GHz – 5GHz)
Unboxing
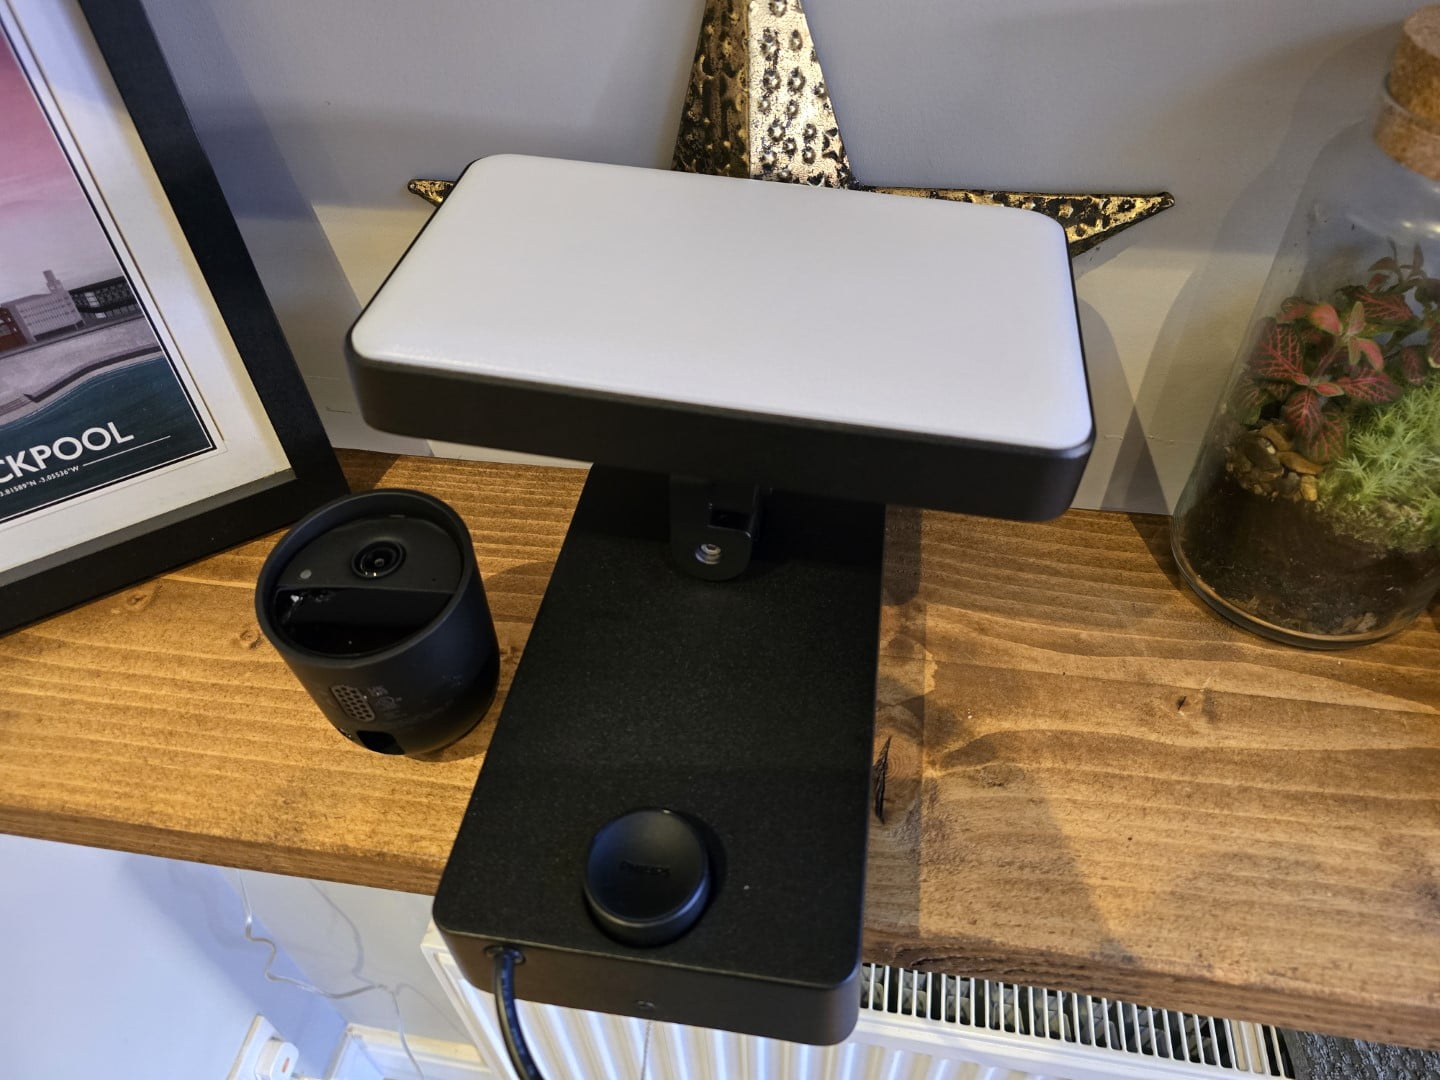
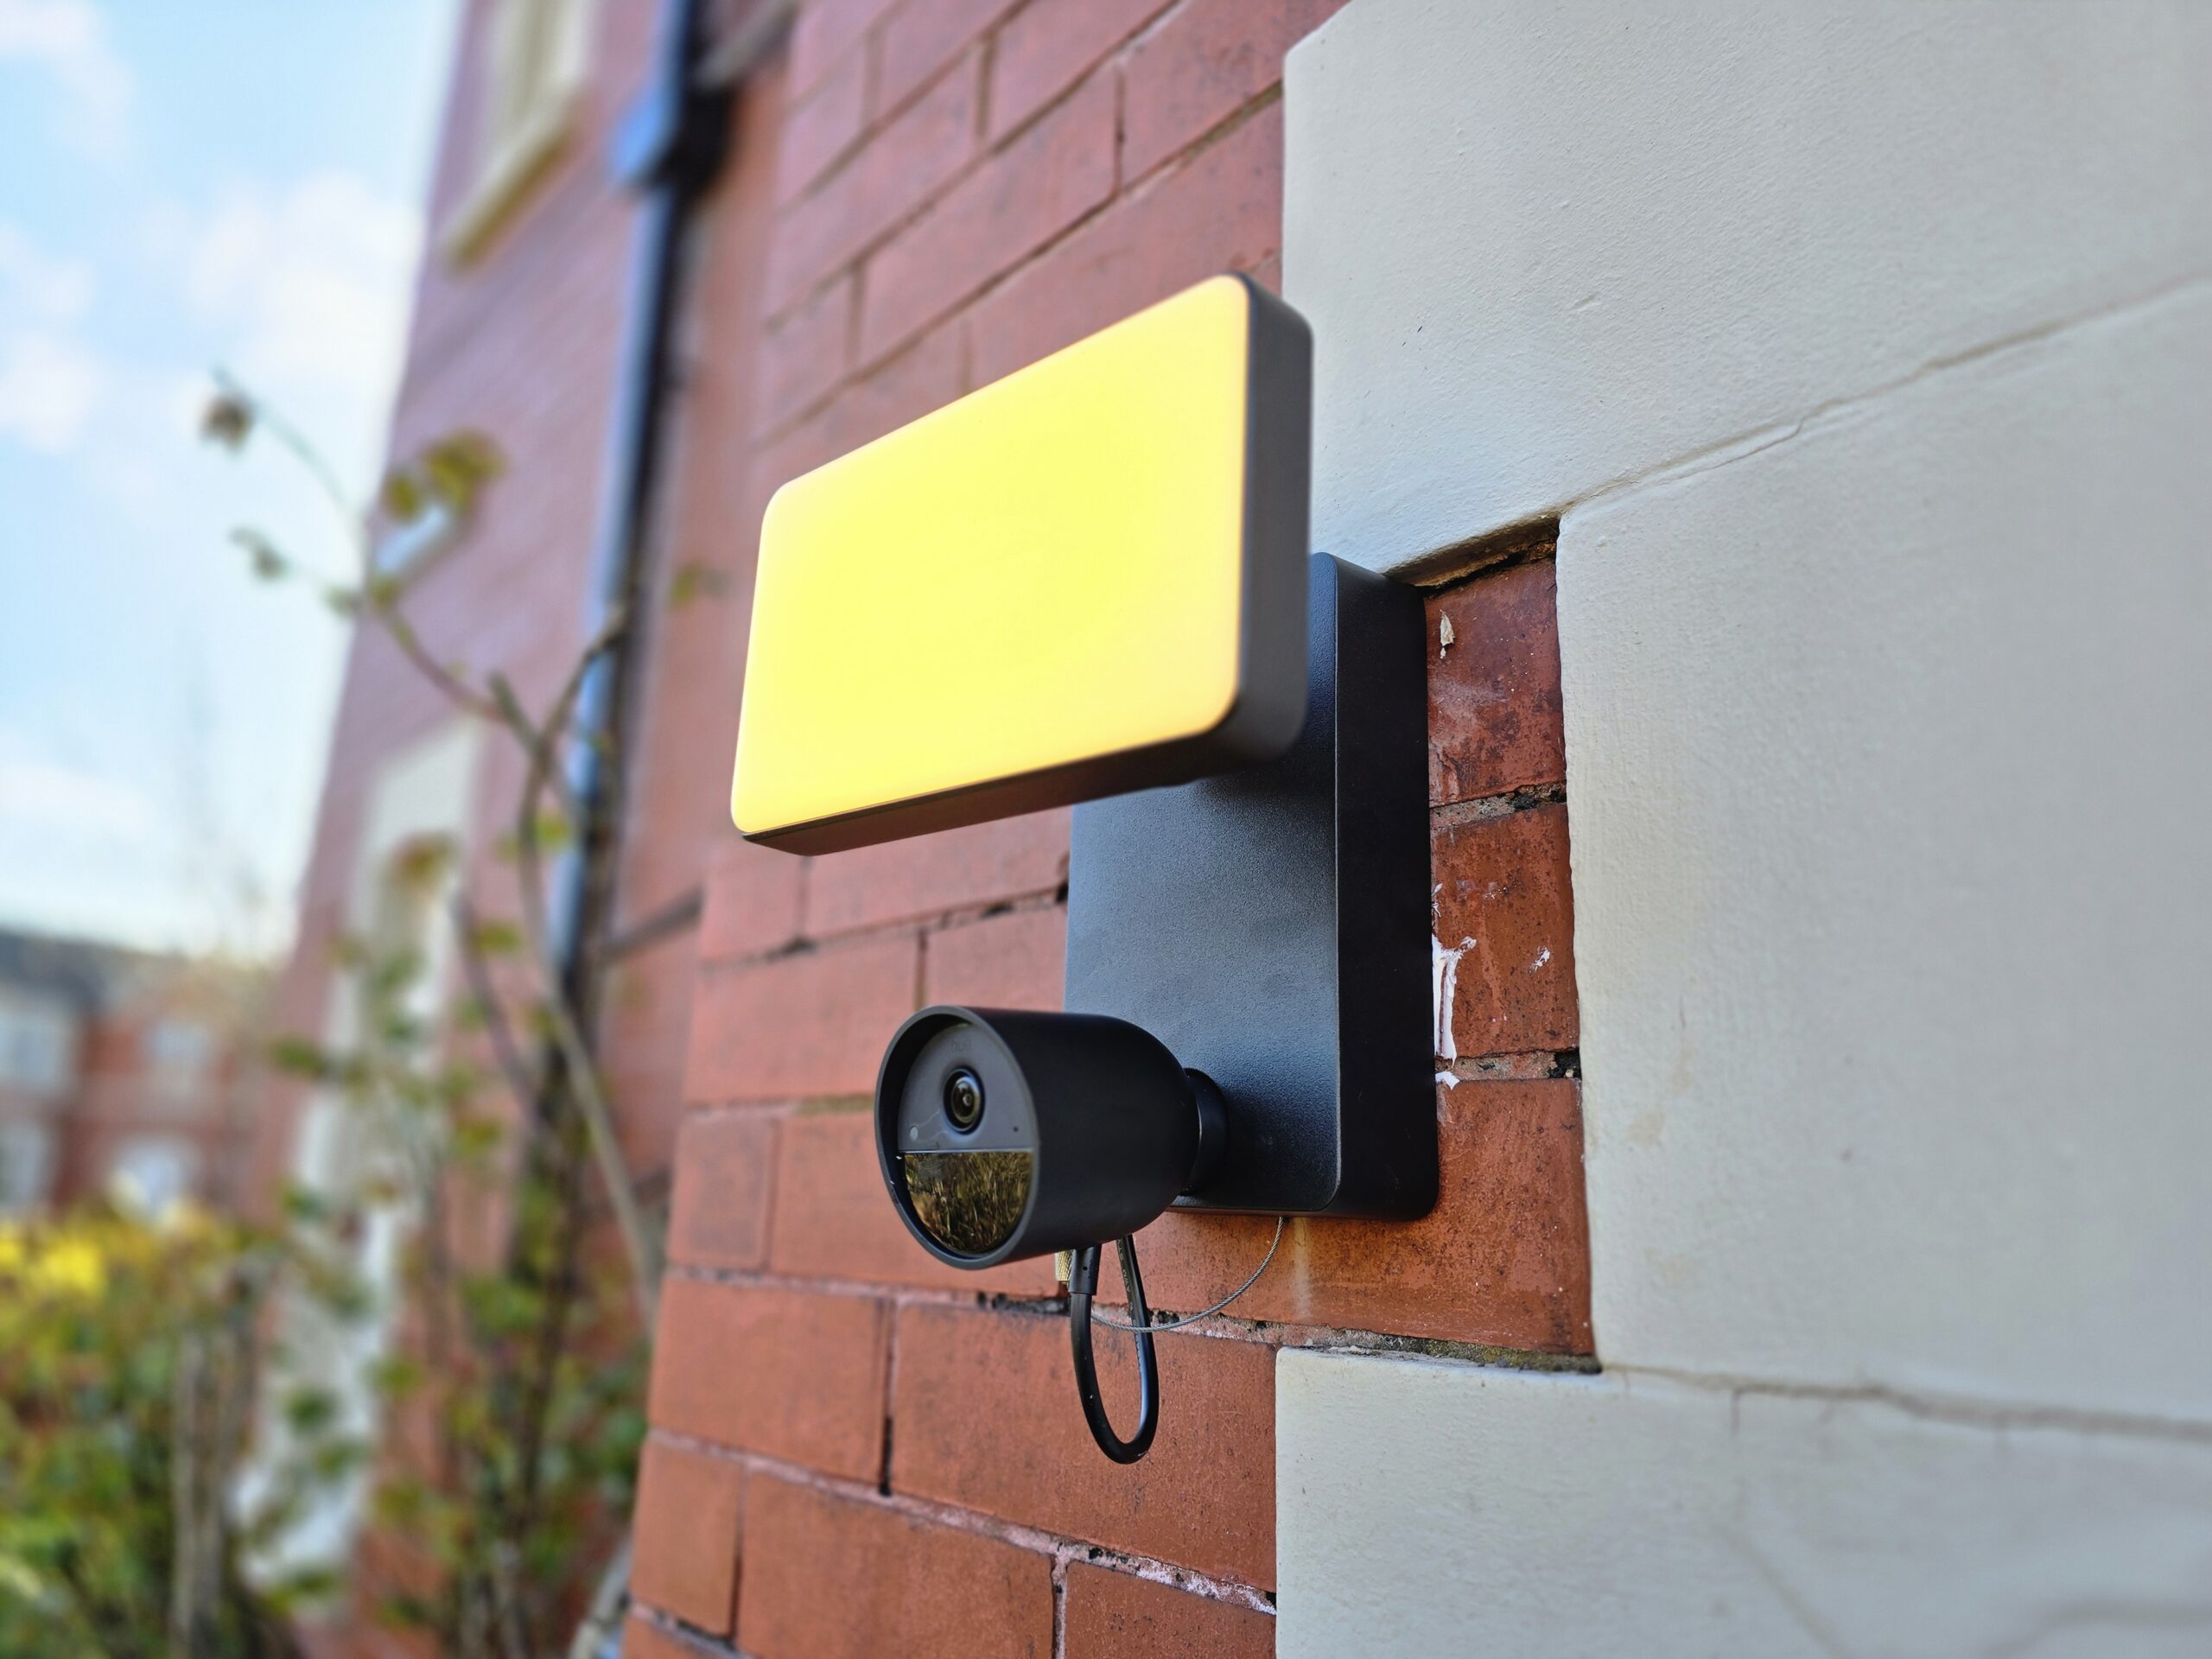
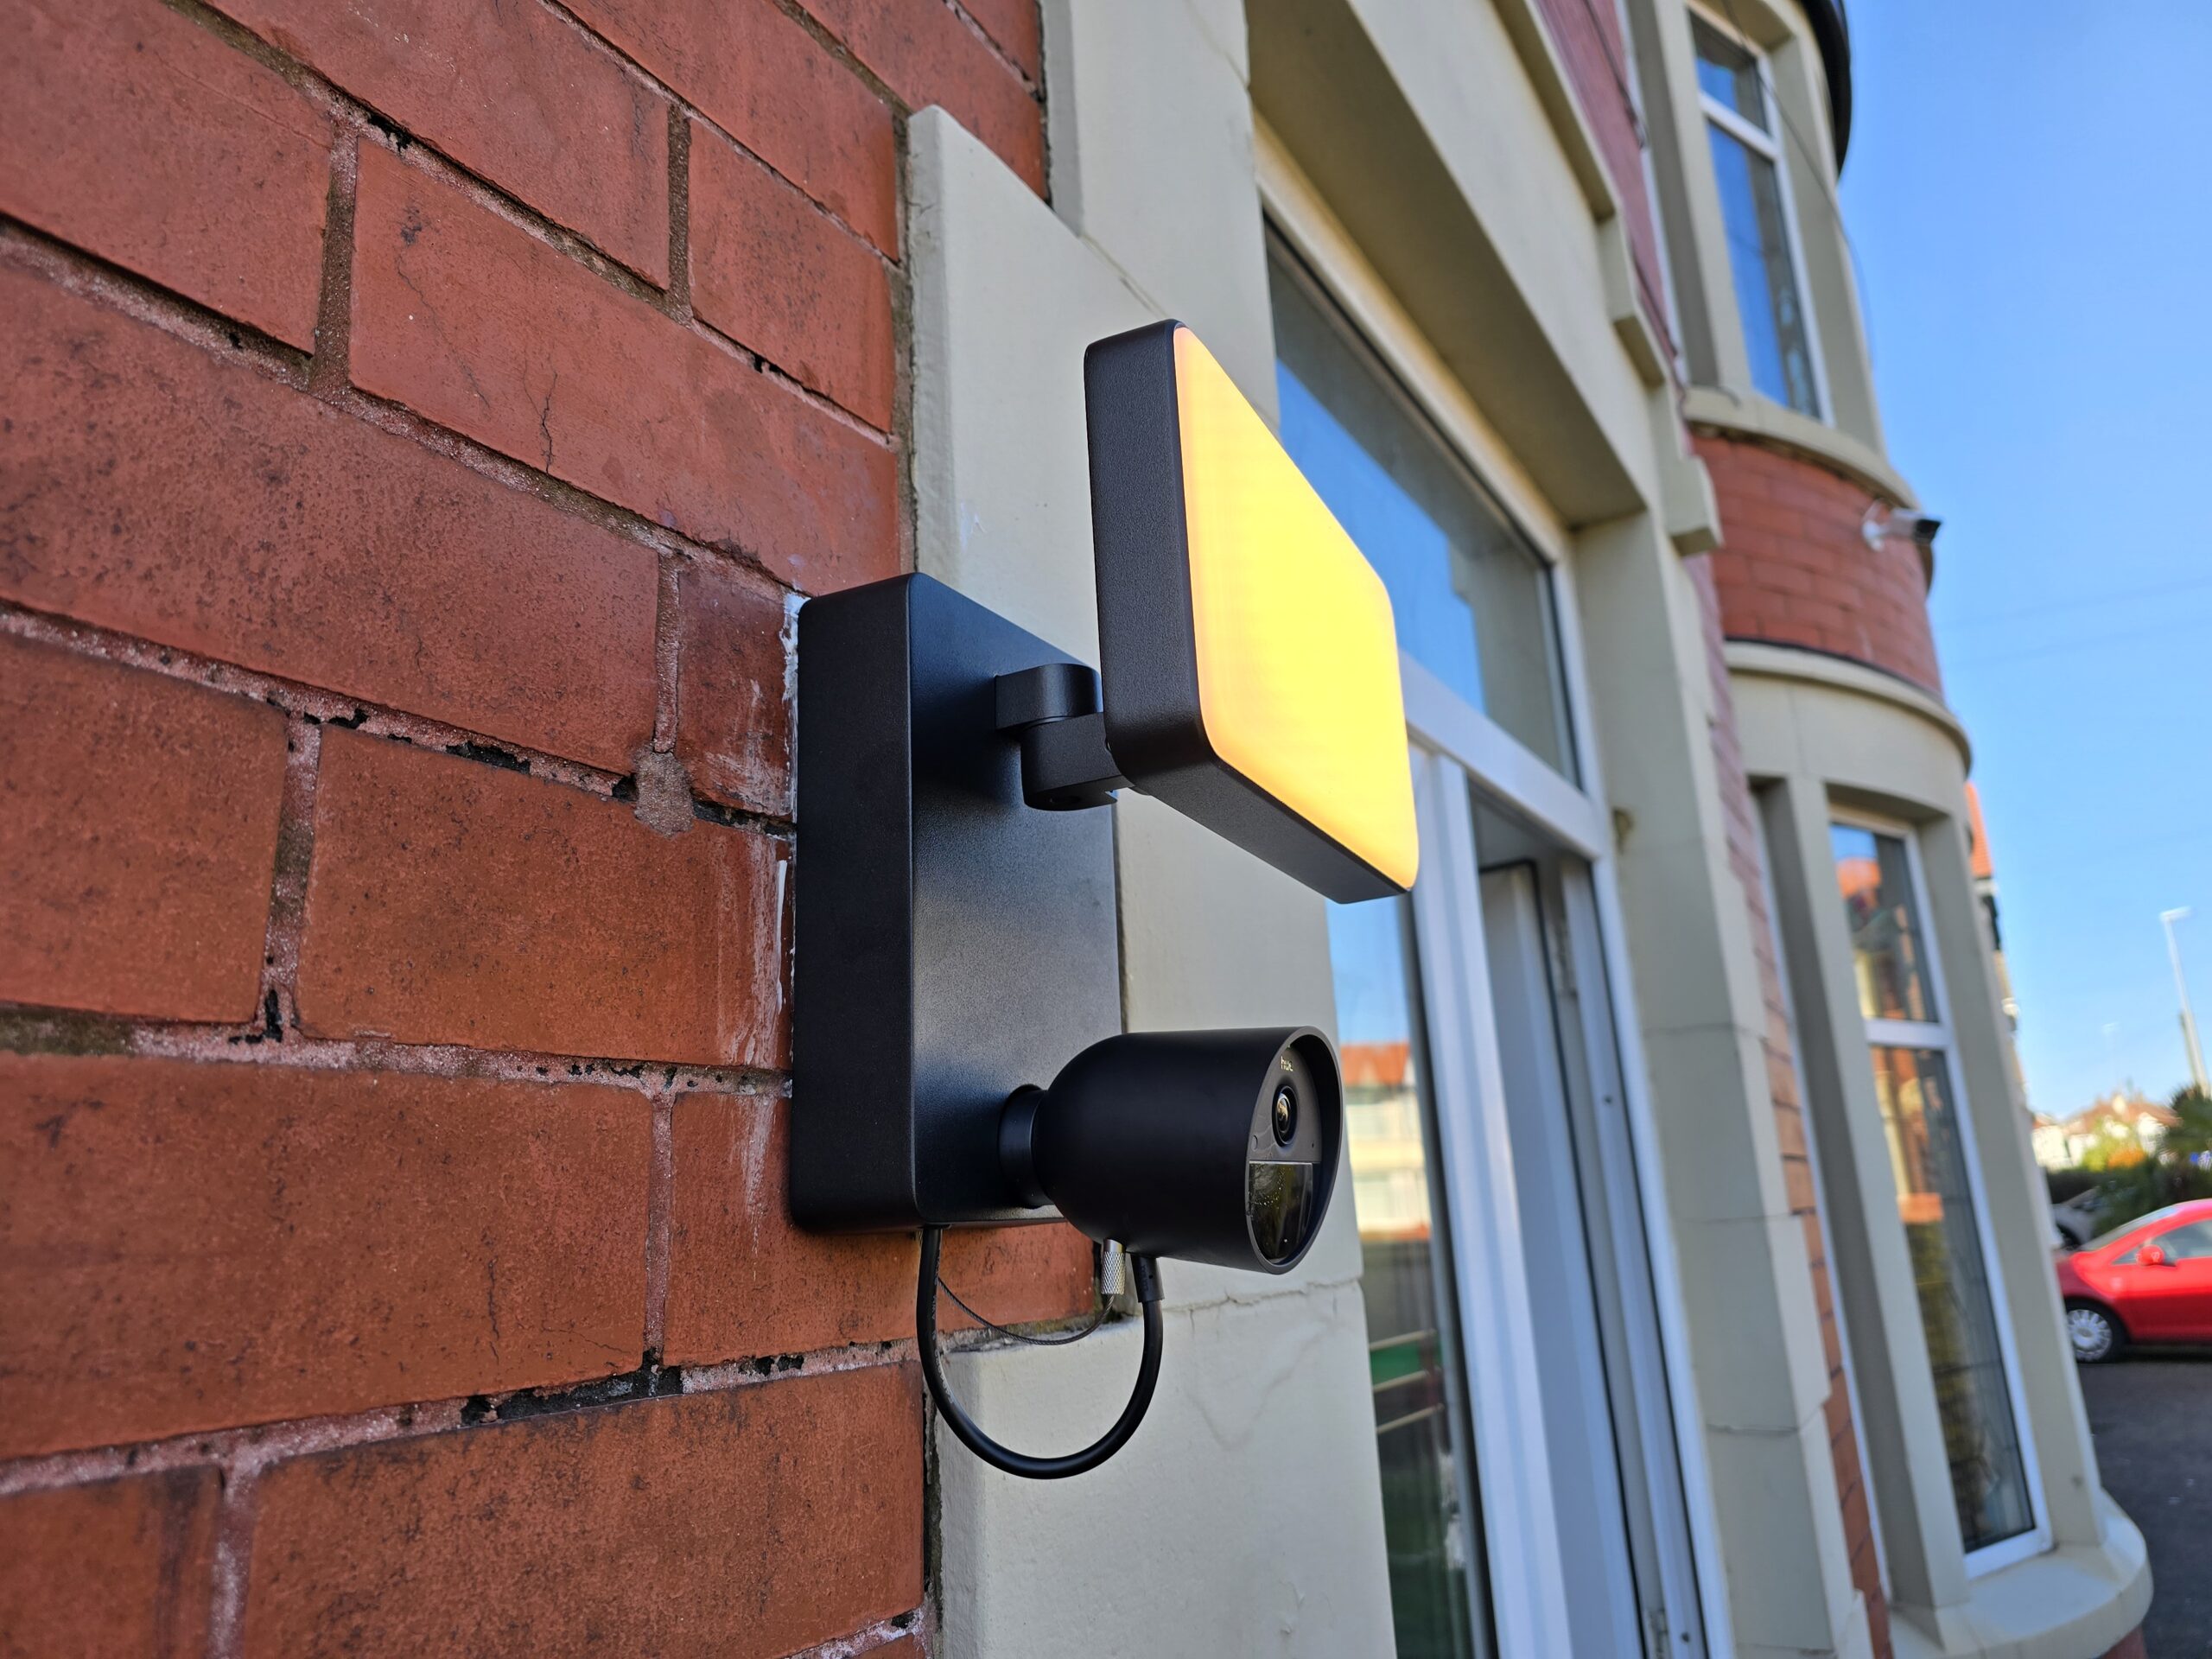
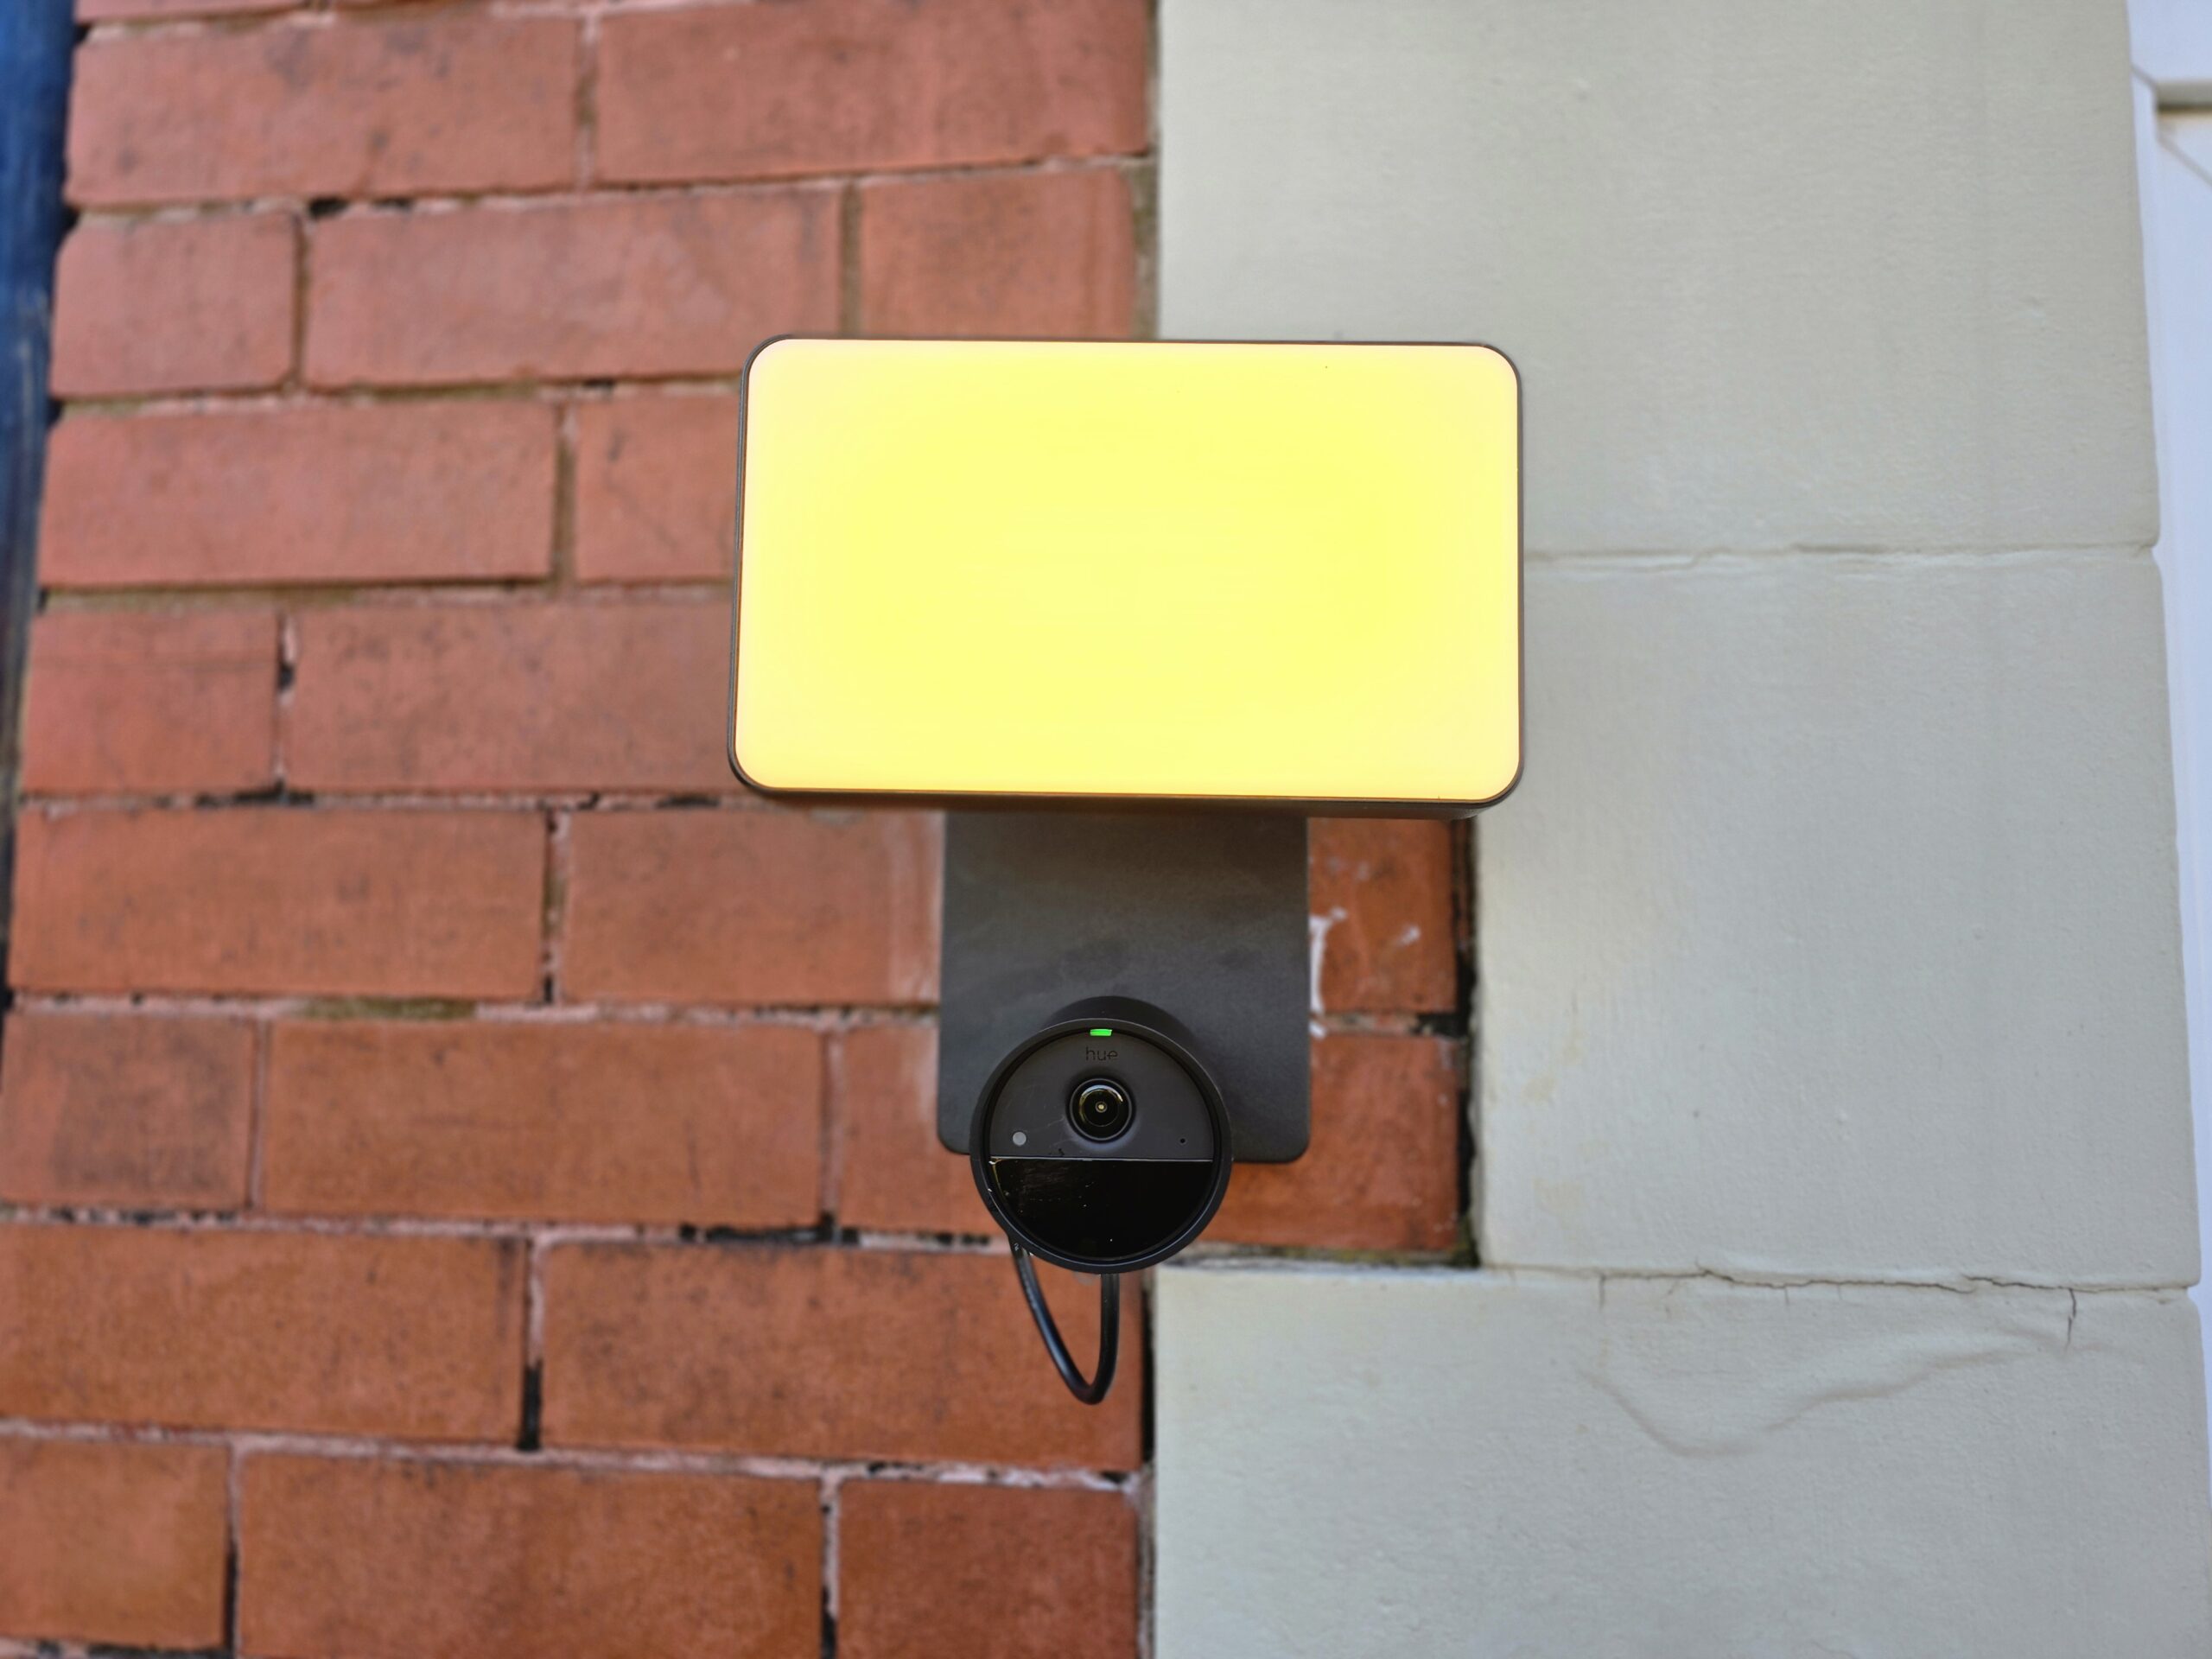
Upon unboxing the Philips Hue Floodlight Camera, you’ll find the camera itself, then the large metal body it mounts to with the floodlight.
What is interesting is that the camera is separate from the main floodlight, and it attaches magnetically to the main body with a small security cable running to the camera to avoid it being stolen.
It is a bit of an odd design decision, as it would be quite easy to dislodge the camera if it is at arm’s reach. I also live in a notoriously windy town, so I was concerned the camera might get dislodged when the weather is bad, but so far, so good.
Installation
As I was swapping out my Netatmo, the installation was relatively simple as I had the physical wires in place already.
I did run into some issues, but these were related to me trying to use the old wires and the placement of the previous camera.
The main body of the floodlight camera has a large footprint, so you will want to make sure it fits where you plan. Where I installed the camera, I have a decorative sandstone surround and the main body almost didn’t fit, I had to give it a bit of a bash to get it to squeeze in.
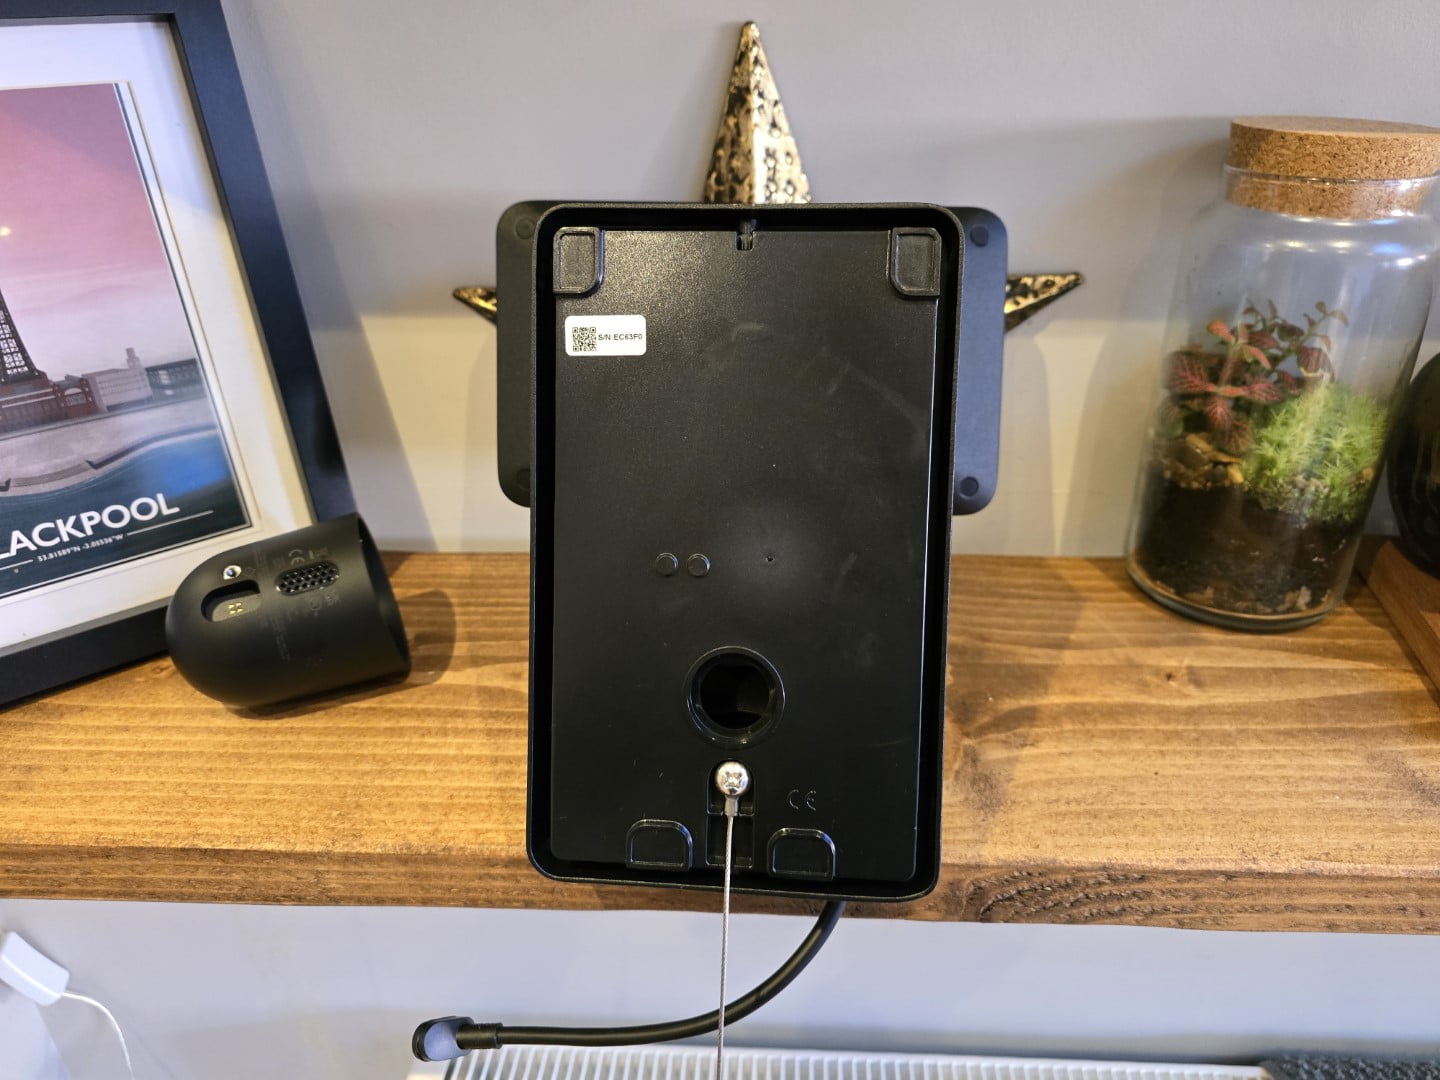
The actual installation is intuitive. You remove the back plate from the body and run your cables through the hole with the rubber grommet to reduce the risk of water ingress. Then, wire the cables into the terminal block.
I then ran into another issue as the existing wiring was cut short to fit neatly into the previous camera. With the Hue floodlight, the terminal block is screwed into place further up from the entry hole.
The terminal block needs to stay in place because the main body doesn’t have wires to screw into place. There are three pins that slide into the block. It is a good idea as it should simplify the installation if you have wires long enough.
Finally, you just need to connect the security cable to the camera (or do this before mounting the body if you are up ladders) and connect the data cable.
Set Up with Philips Hue App
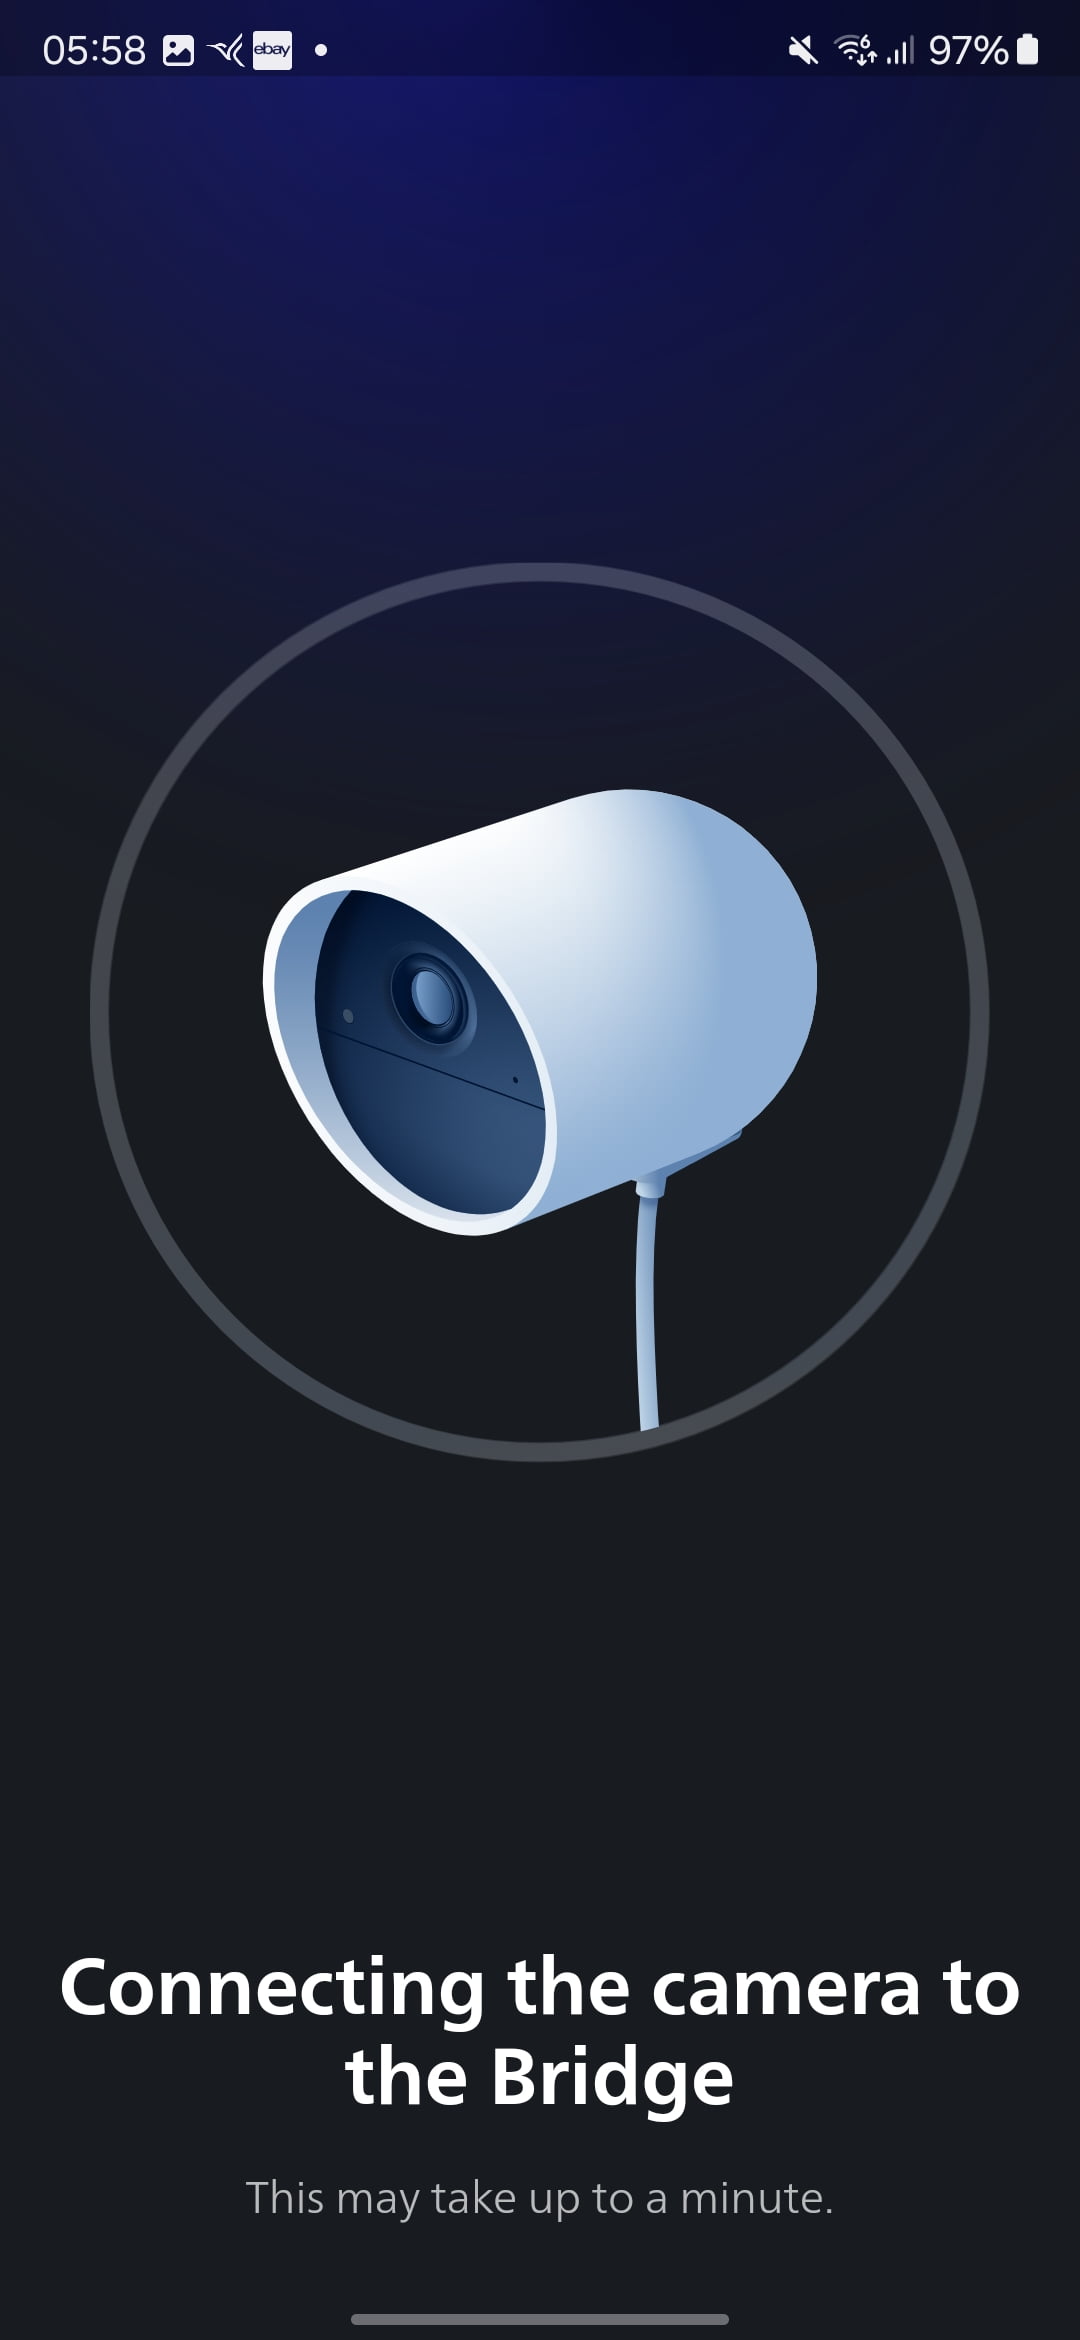
Once the camera is installed, you can set it up using the Philips Hue app. The app guides you through the process of connecting the camera to your Philips Hue bridge and configuring its settings. The app provides a user-friendly interface for managing the camera’s features and settings.
I experienced a few more issues with the set-up process, which I am certain was due to the camera not connecting to my WiFi with a strong enough signal. The app would find the camera and connect to the WiFi, but the firmware update kept failing, and the camera would not add properly to my system.
I had minimum data rates assigned to my SSIDs and the band, so I reduced these and increased the output power on my access points.
With those settings changed I was able to add the camera and update it. In its current position, it states that my WiFi signal is fair, and I have an access point on the ground floor in the room next to the camera, and another in my office above and to the right of the camera.
Finally, I was confused about why the floodlight camera was always on. I later realised that the floodlight is added separately as a light within your home, so you need to assign it to a zone or create a new one. This then allows the light to function like any other light you have in the Hue app.
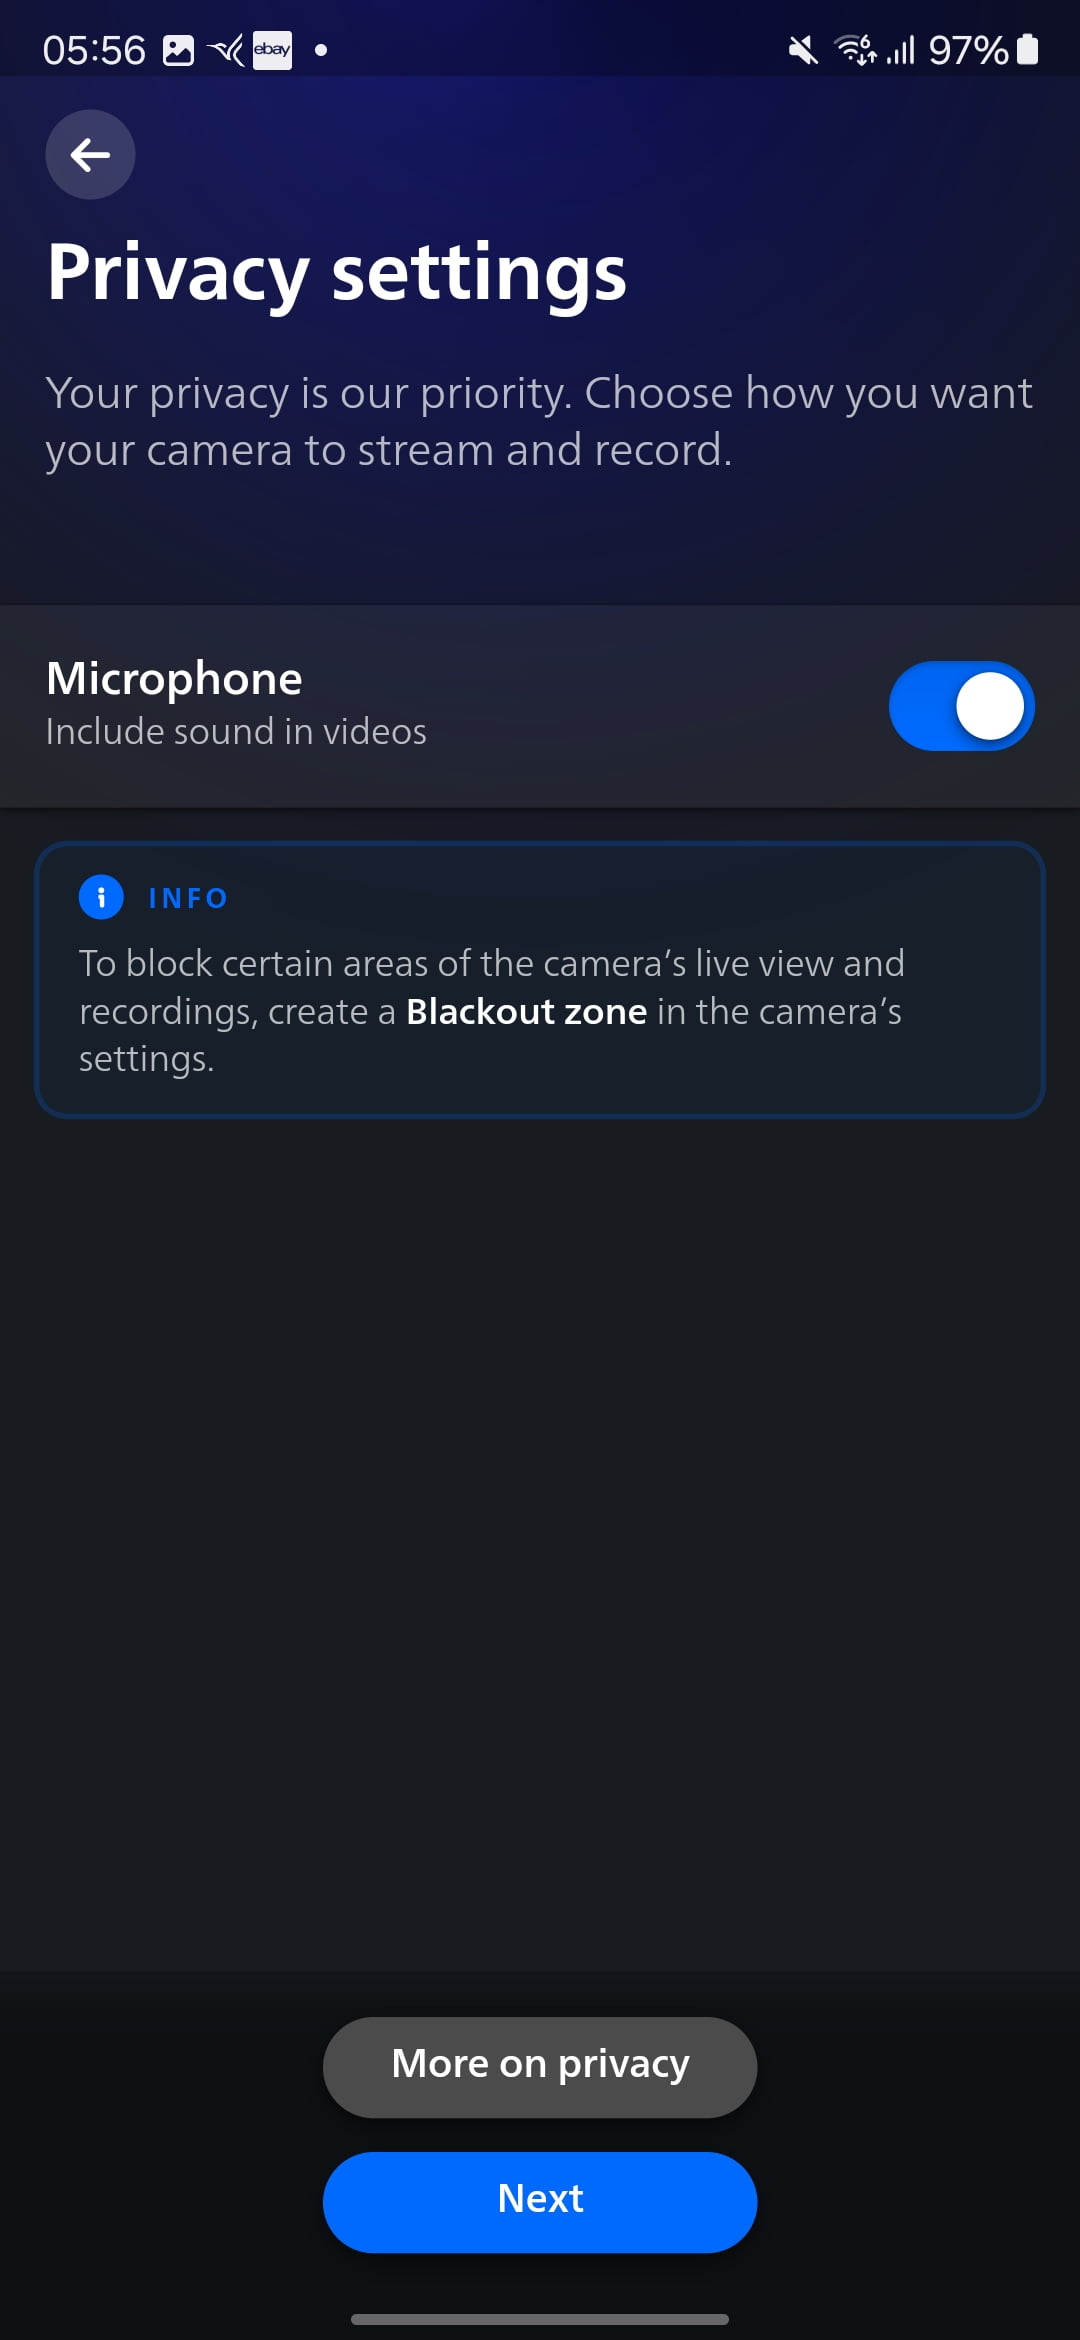
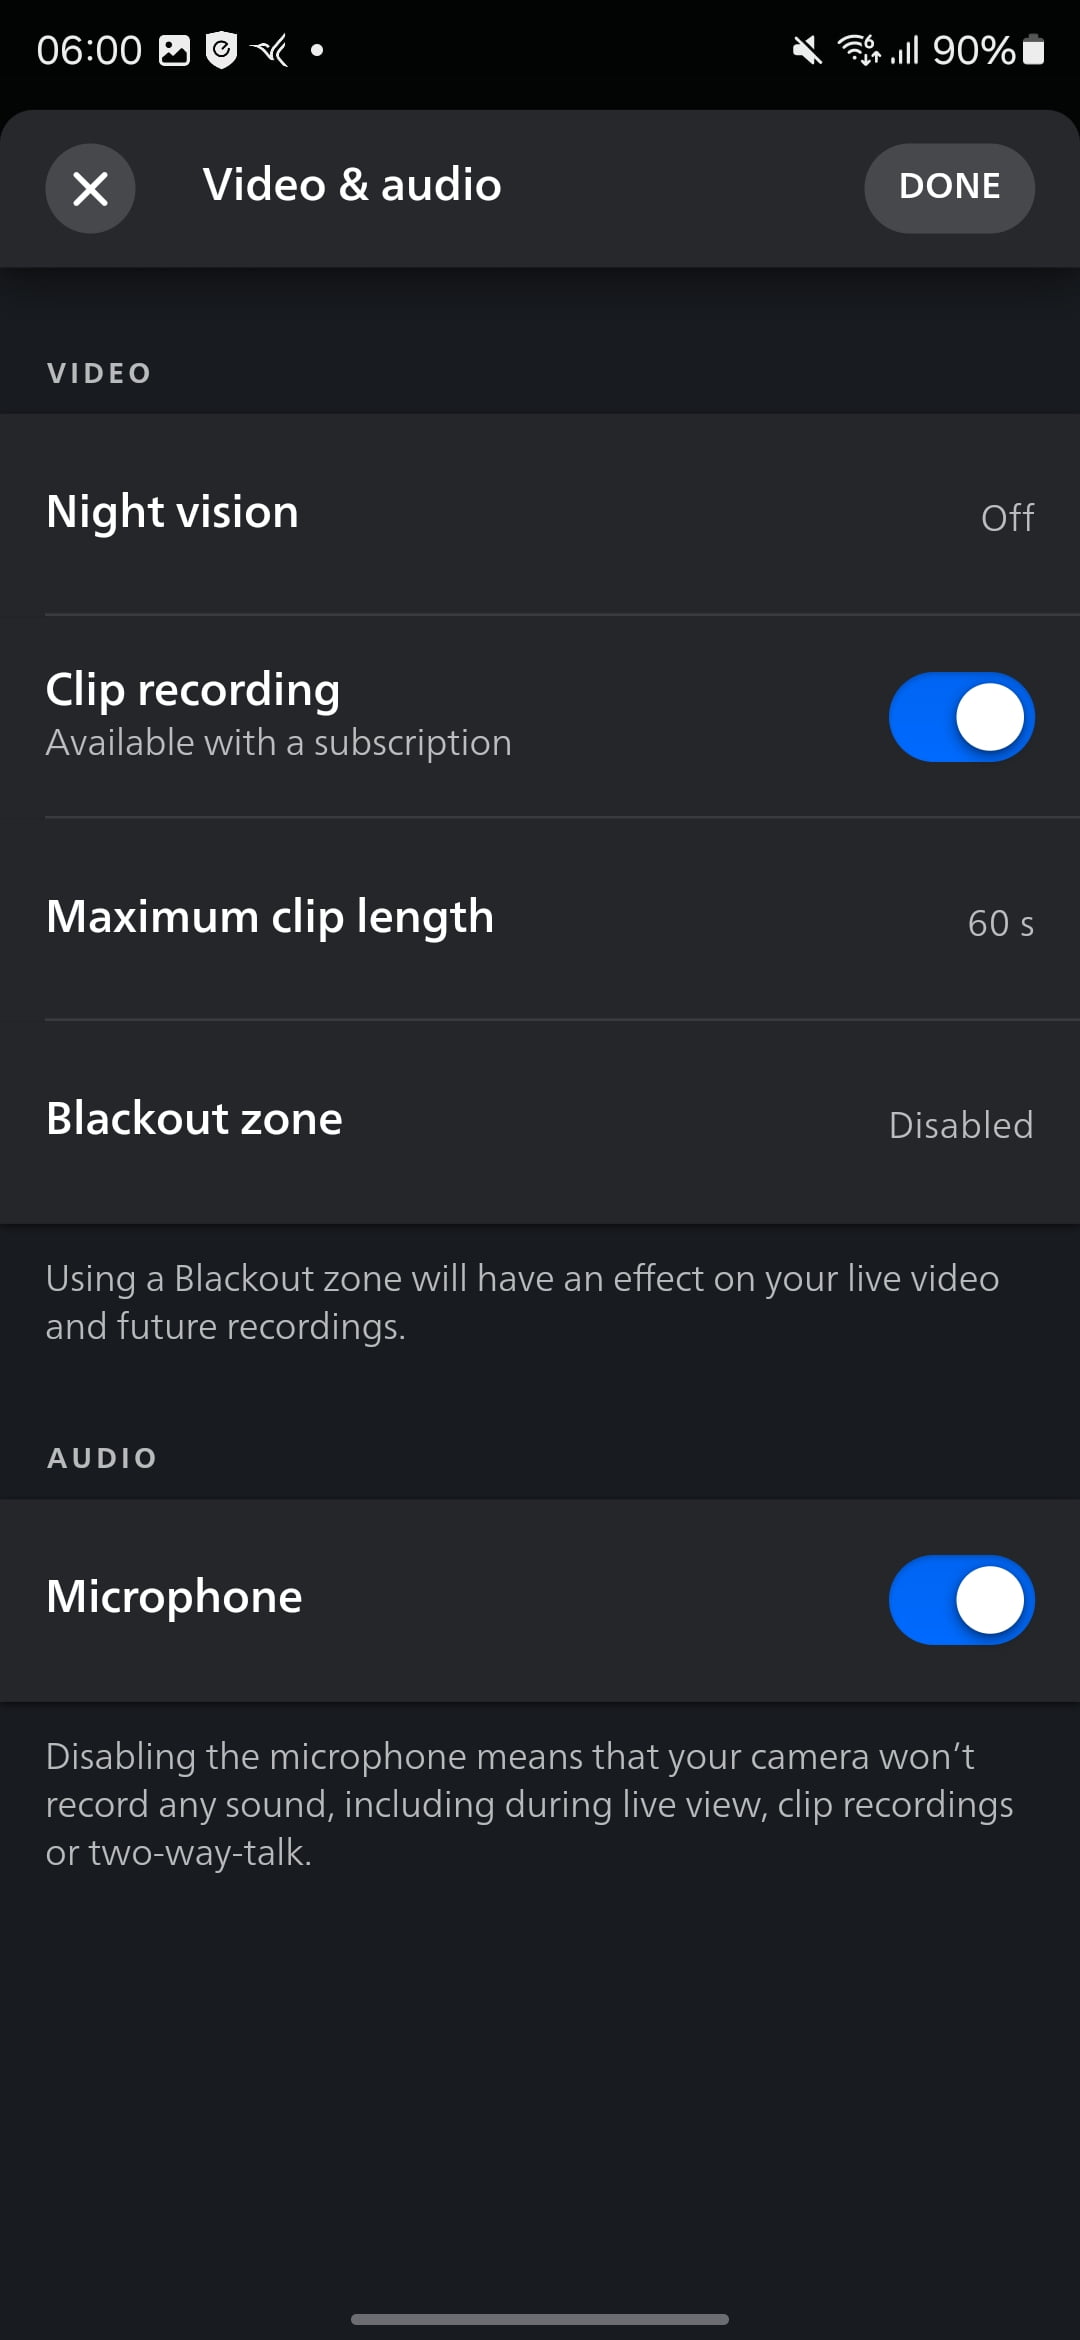
App Settings
The Philips Hue app offers a range of settings to customise the camera’s behaviour. You can adjust motion detection sensitivity, set up activity zones to focus on specific areas, and configure light and sound alarms. The app also allows you to manage video recording and storage settings.
Motion Detection
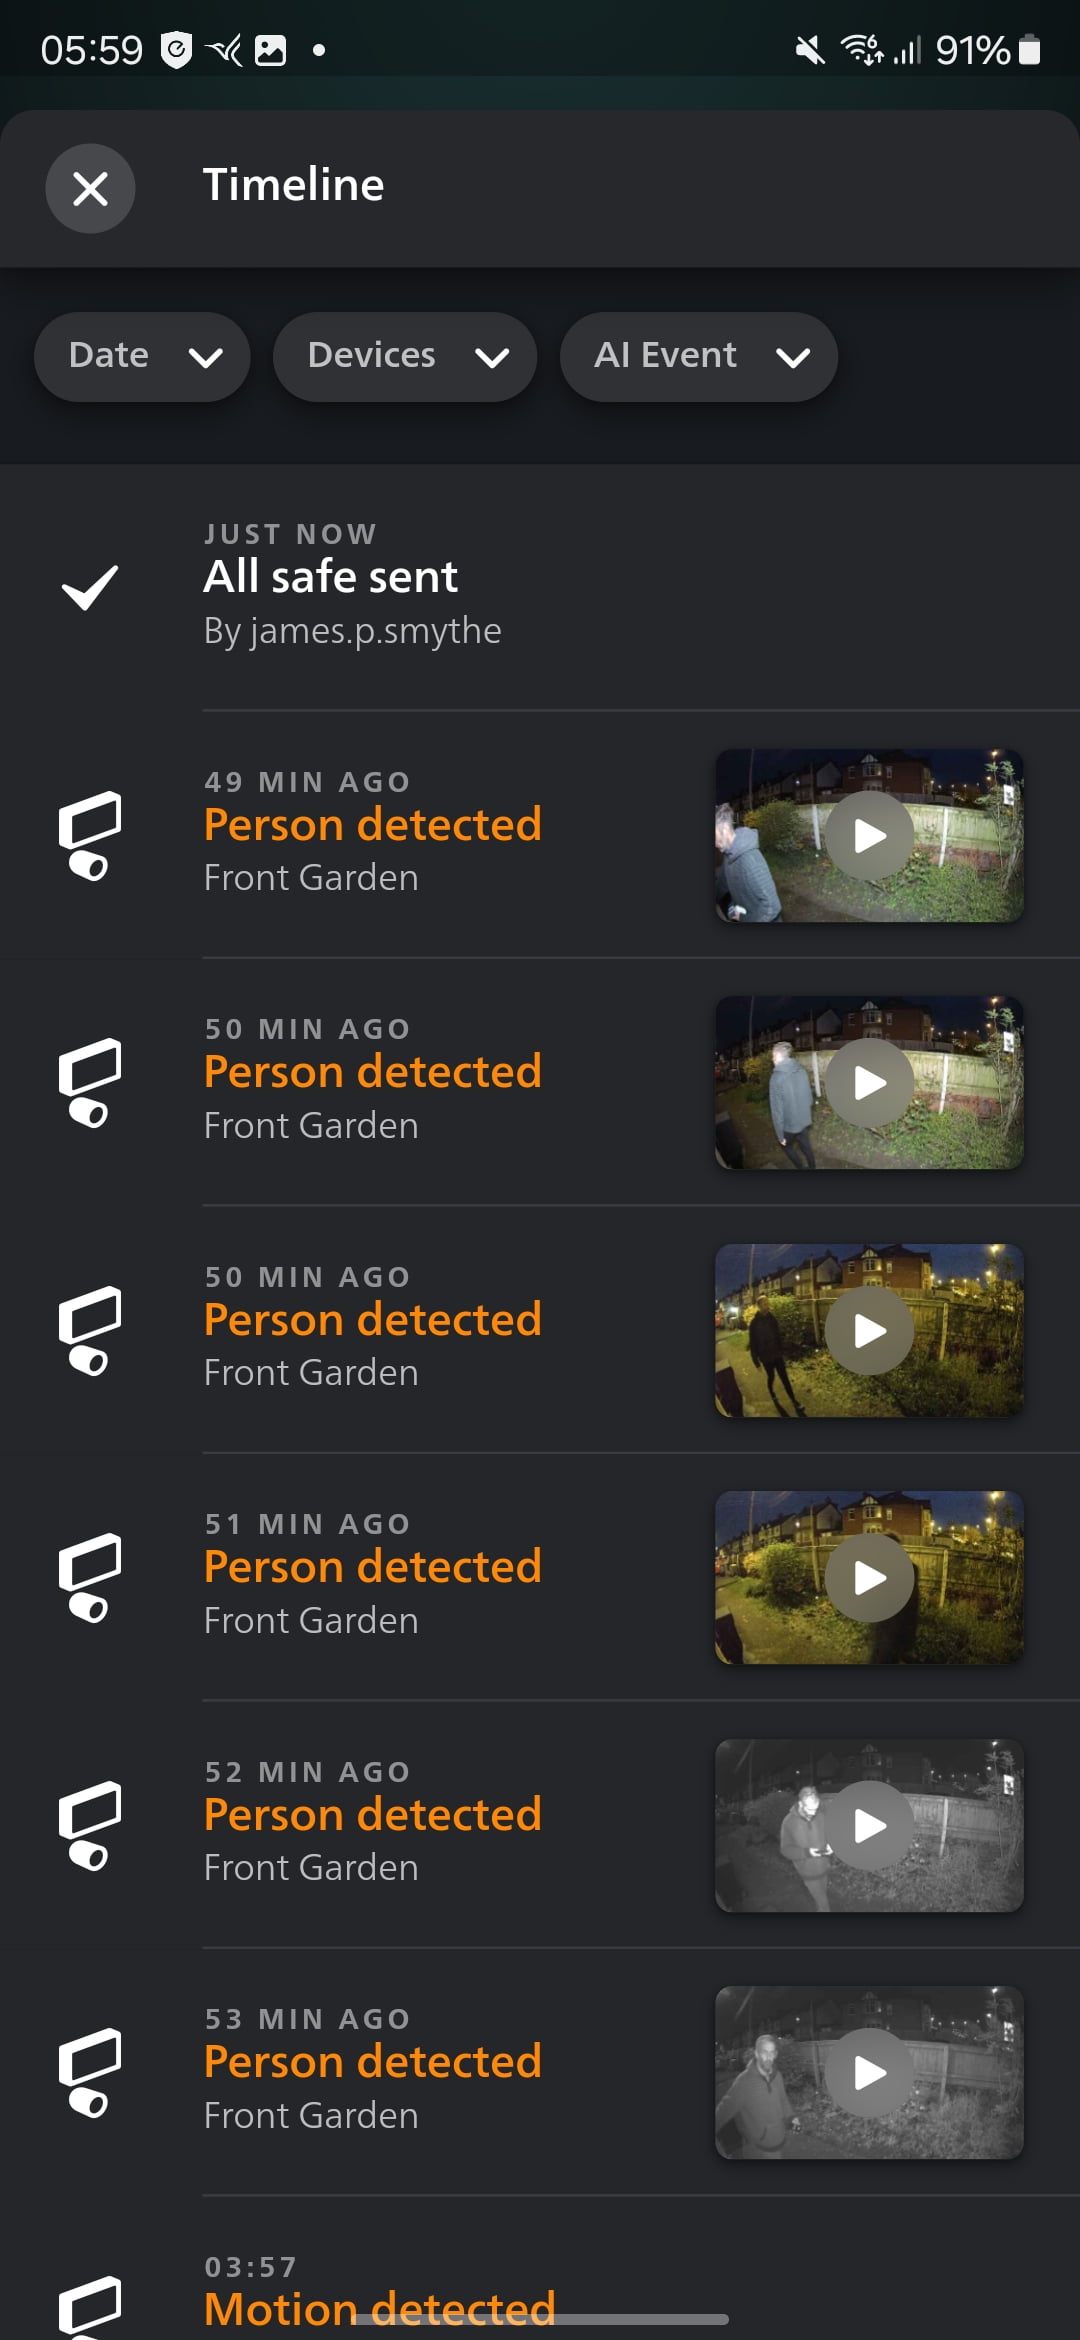
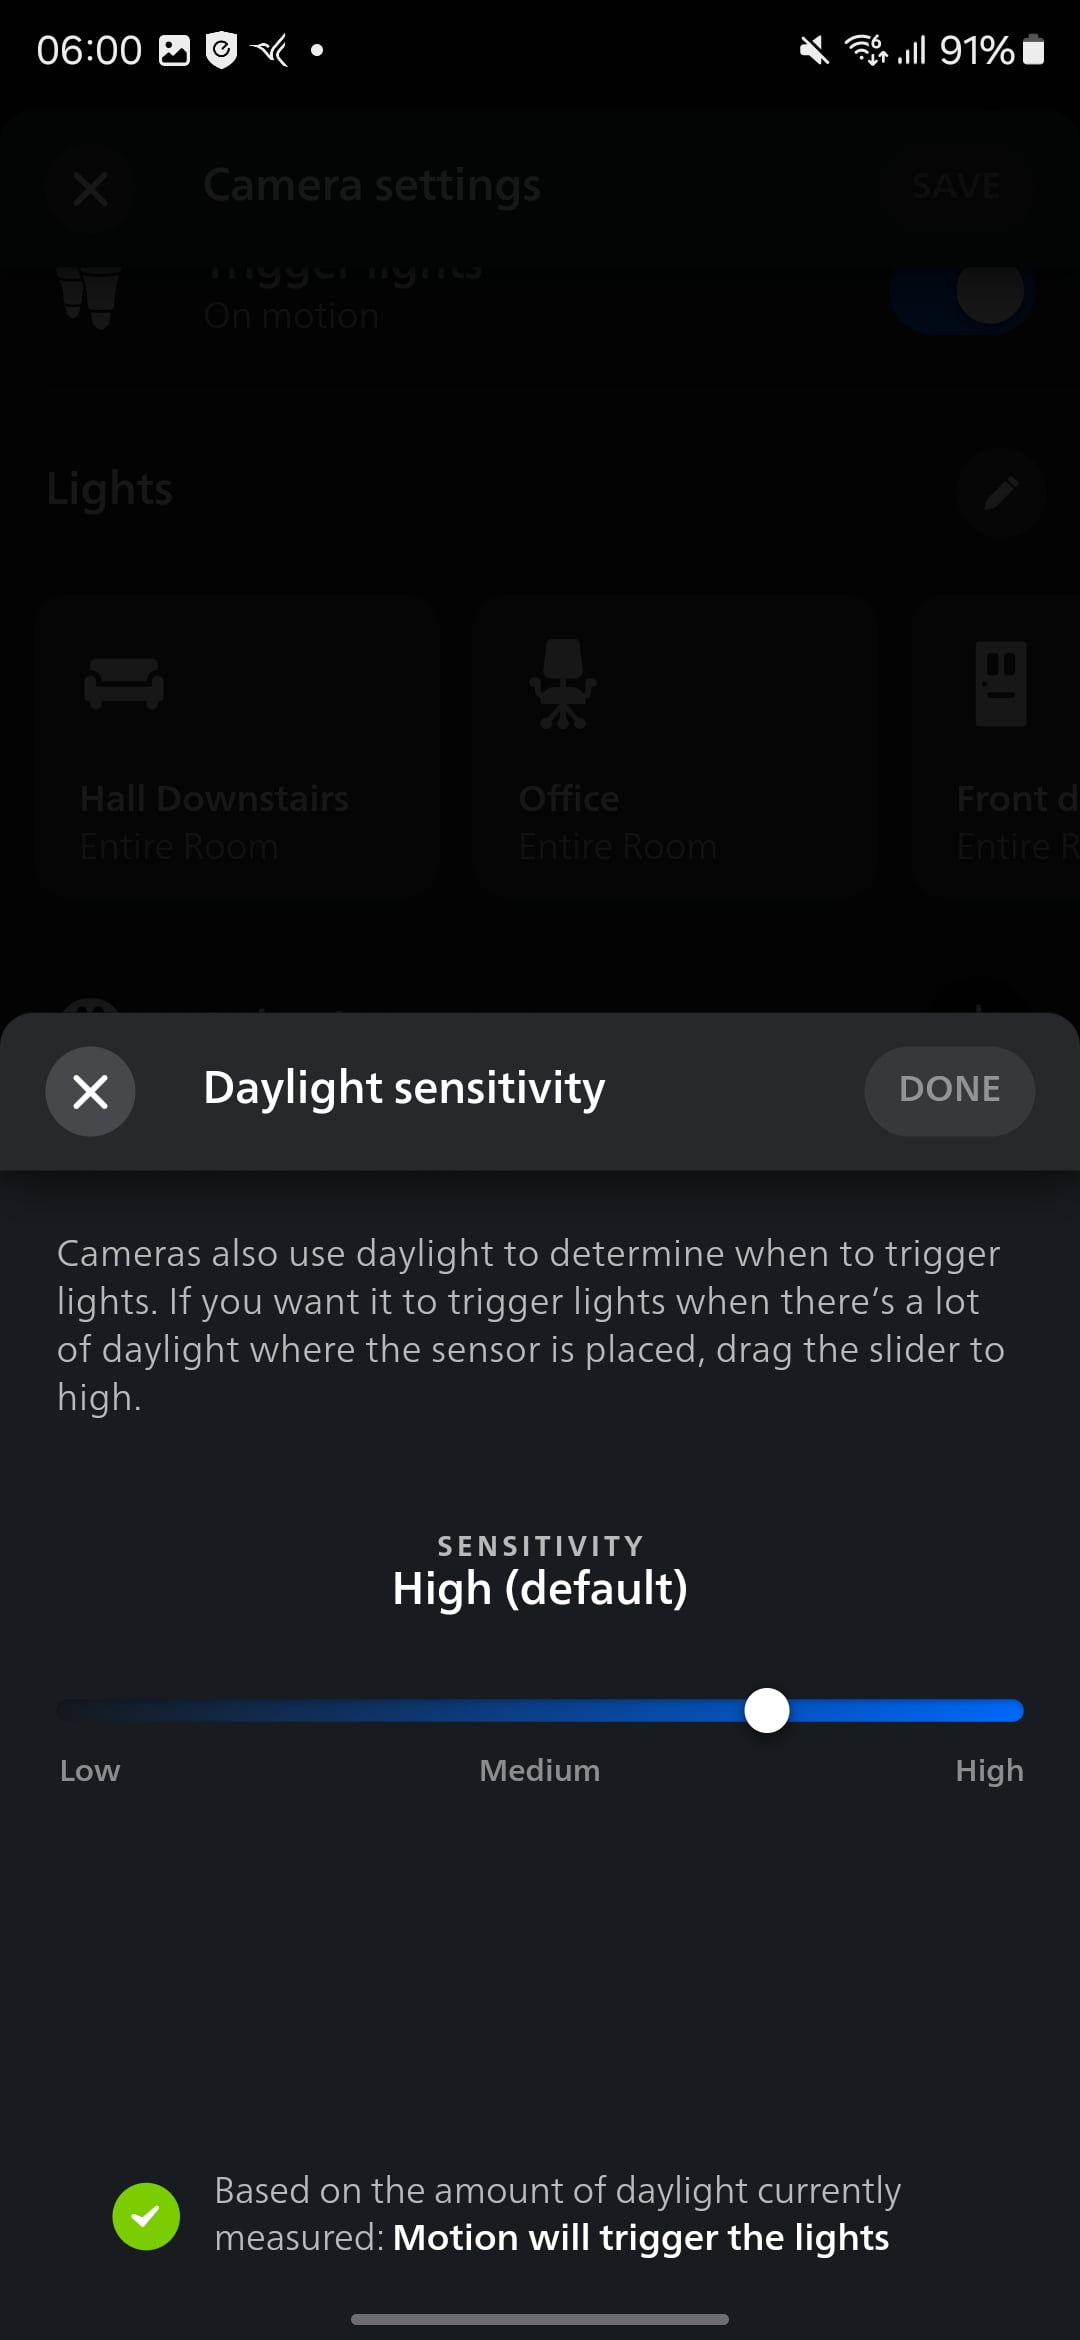
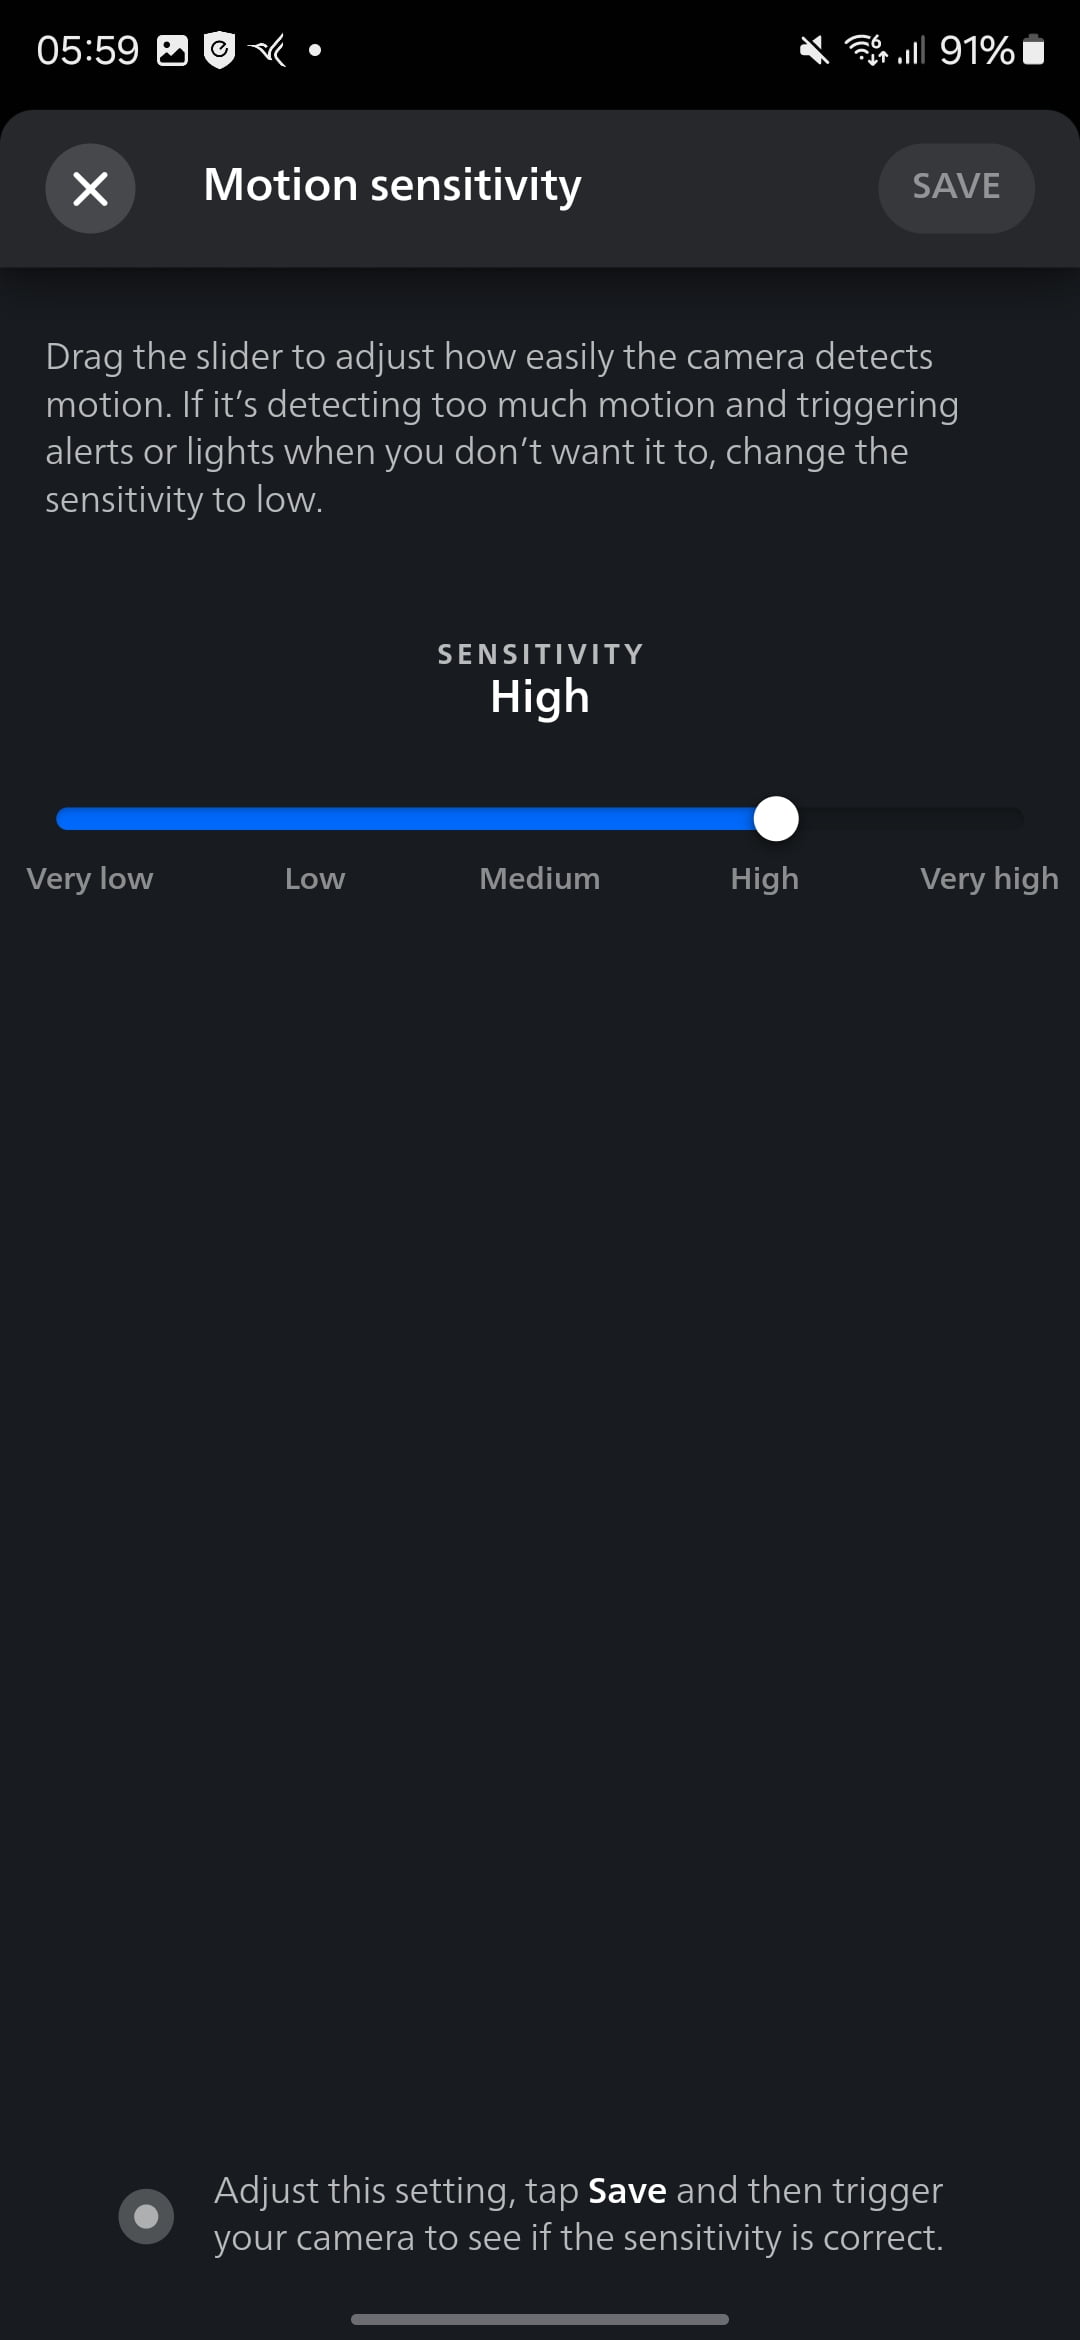
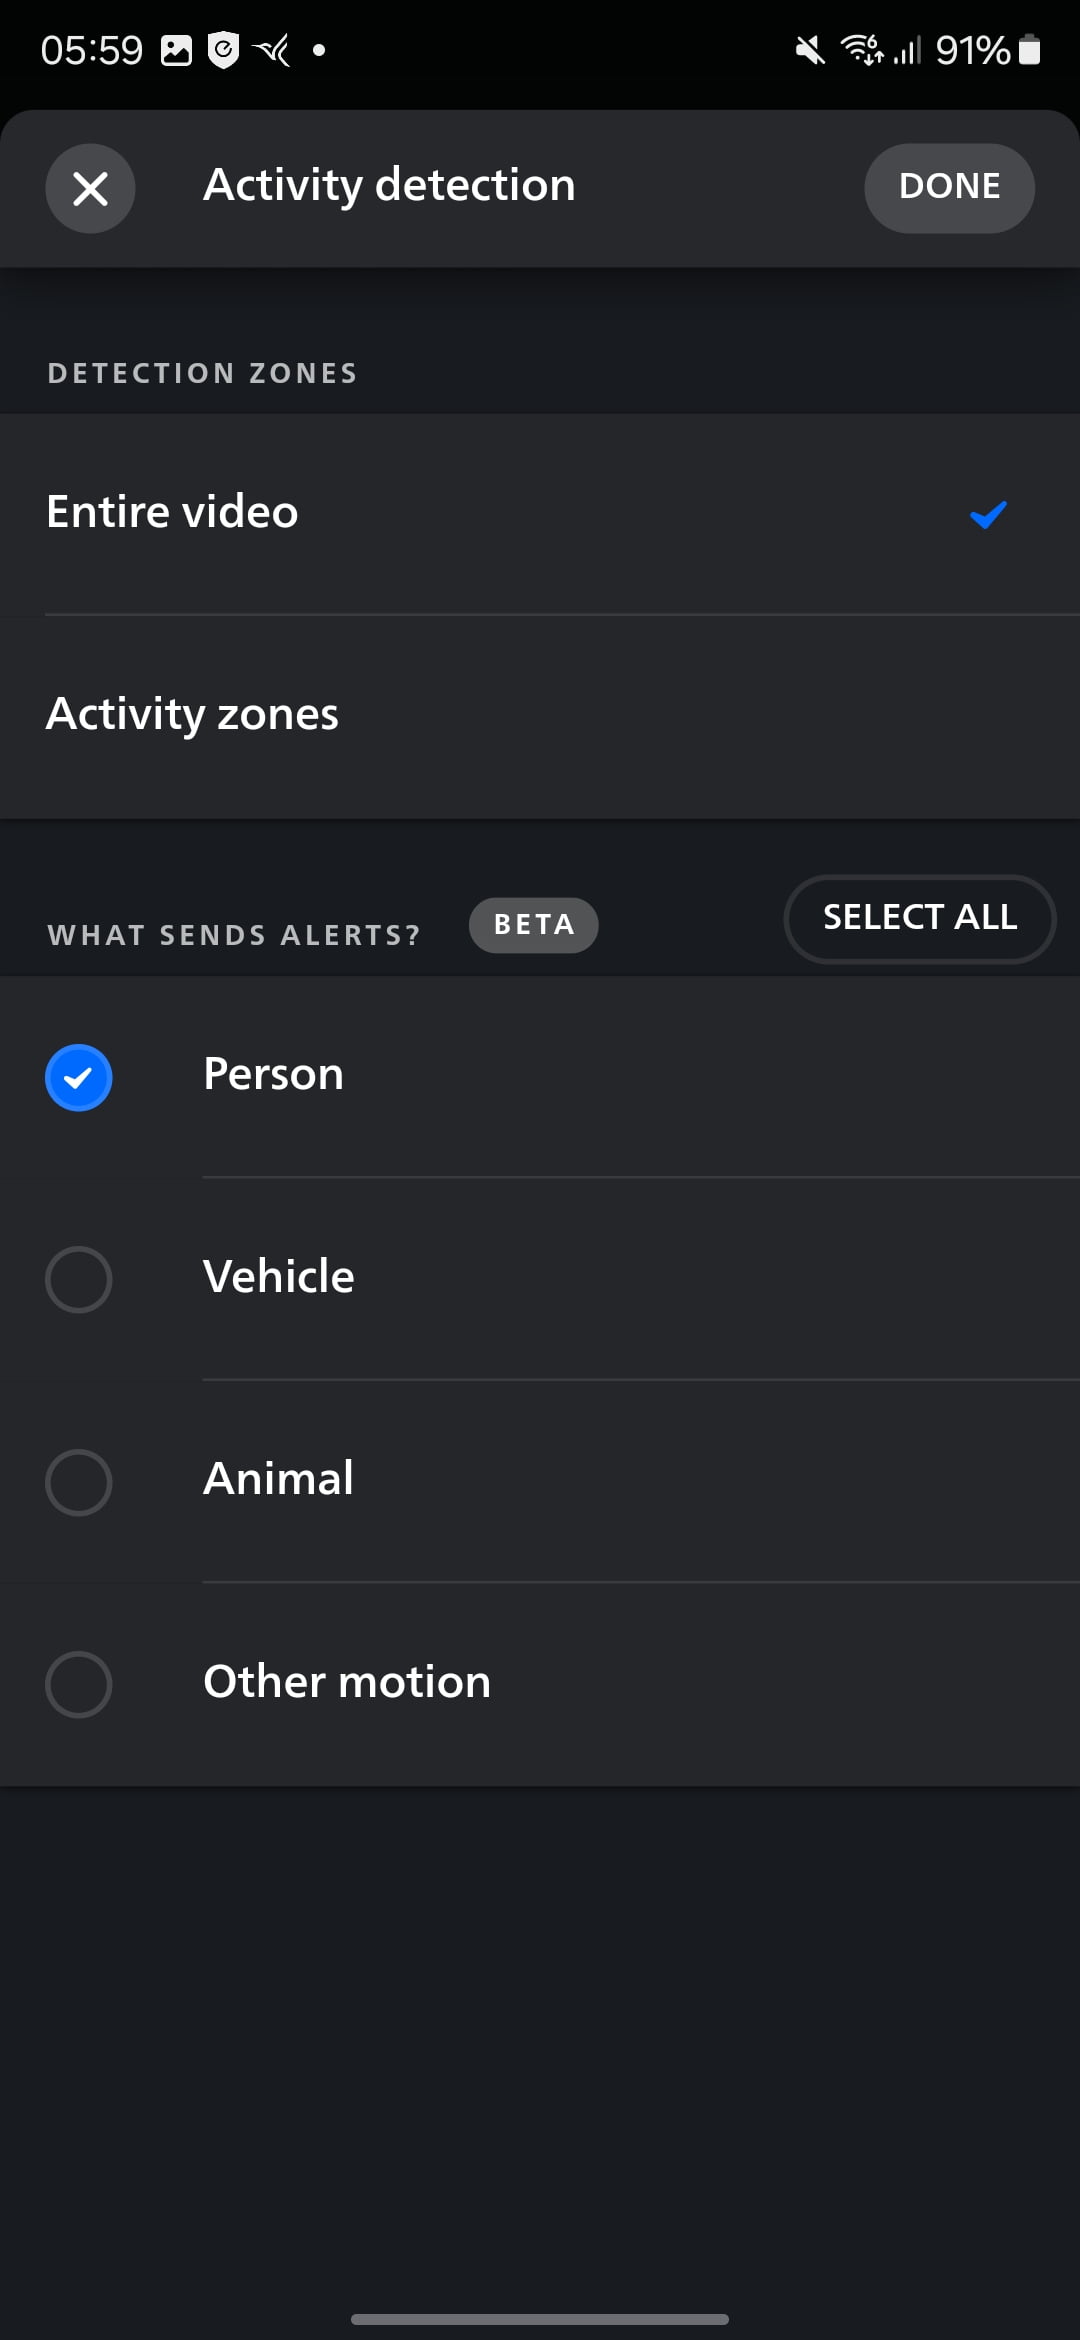
The Philips Hue Floodlight Camera’s motion detection feature is highly effective. It can accurately detect and distinguish between people, cars, animals, and packages, reducing false alarms. You can receive instant notifications on your smartphone when motion is detected, allowing you to stay informed about activity around your home.
There are a few quirks that make this quite different from your average floodlight camera.
For cameras like the Eufy Floodlight Camera E340, the floodlight, camera and all the functions are limited to the camera as one unified device that doesn’t talk to my other Eufy cameras.
The Hue floodlight works more like three separate devices: the camera, the floodlight, and the motion sensor.
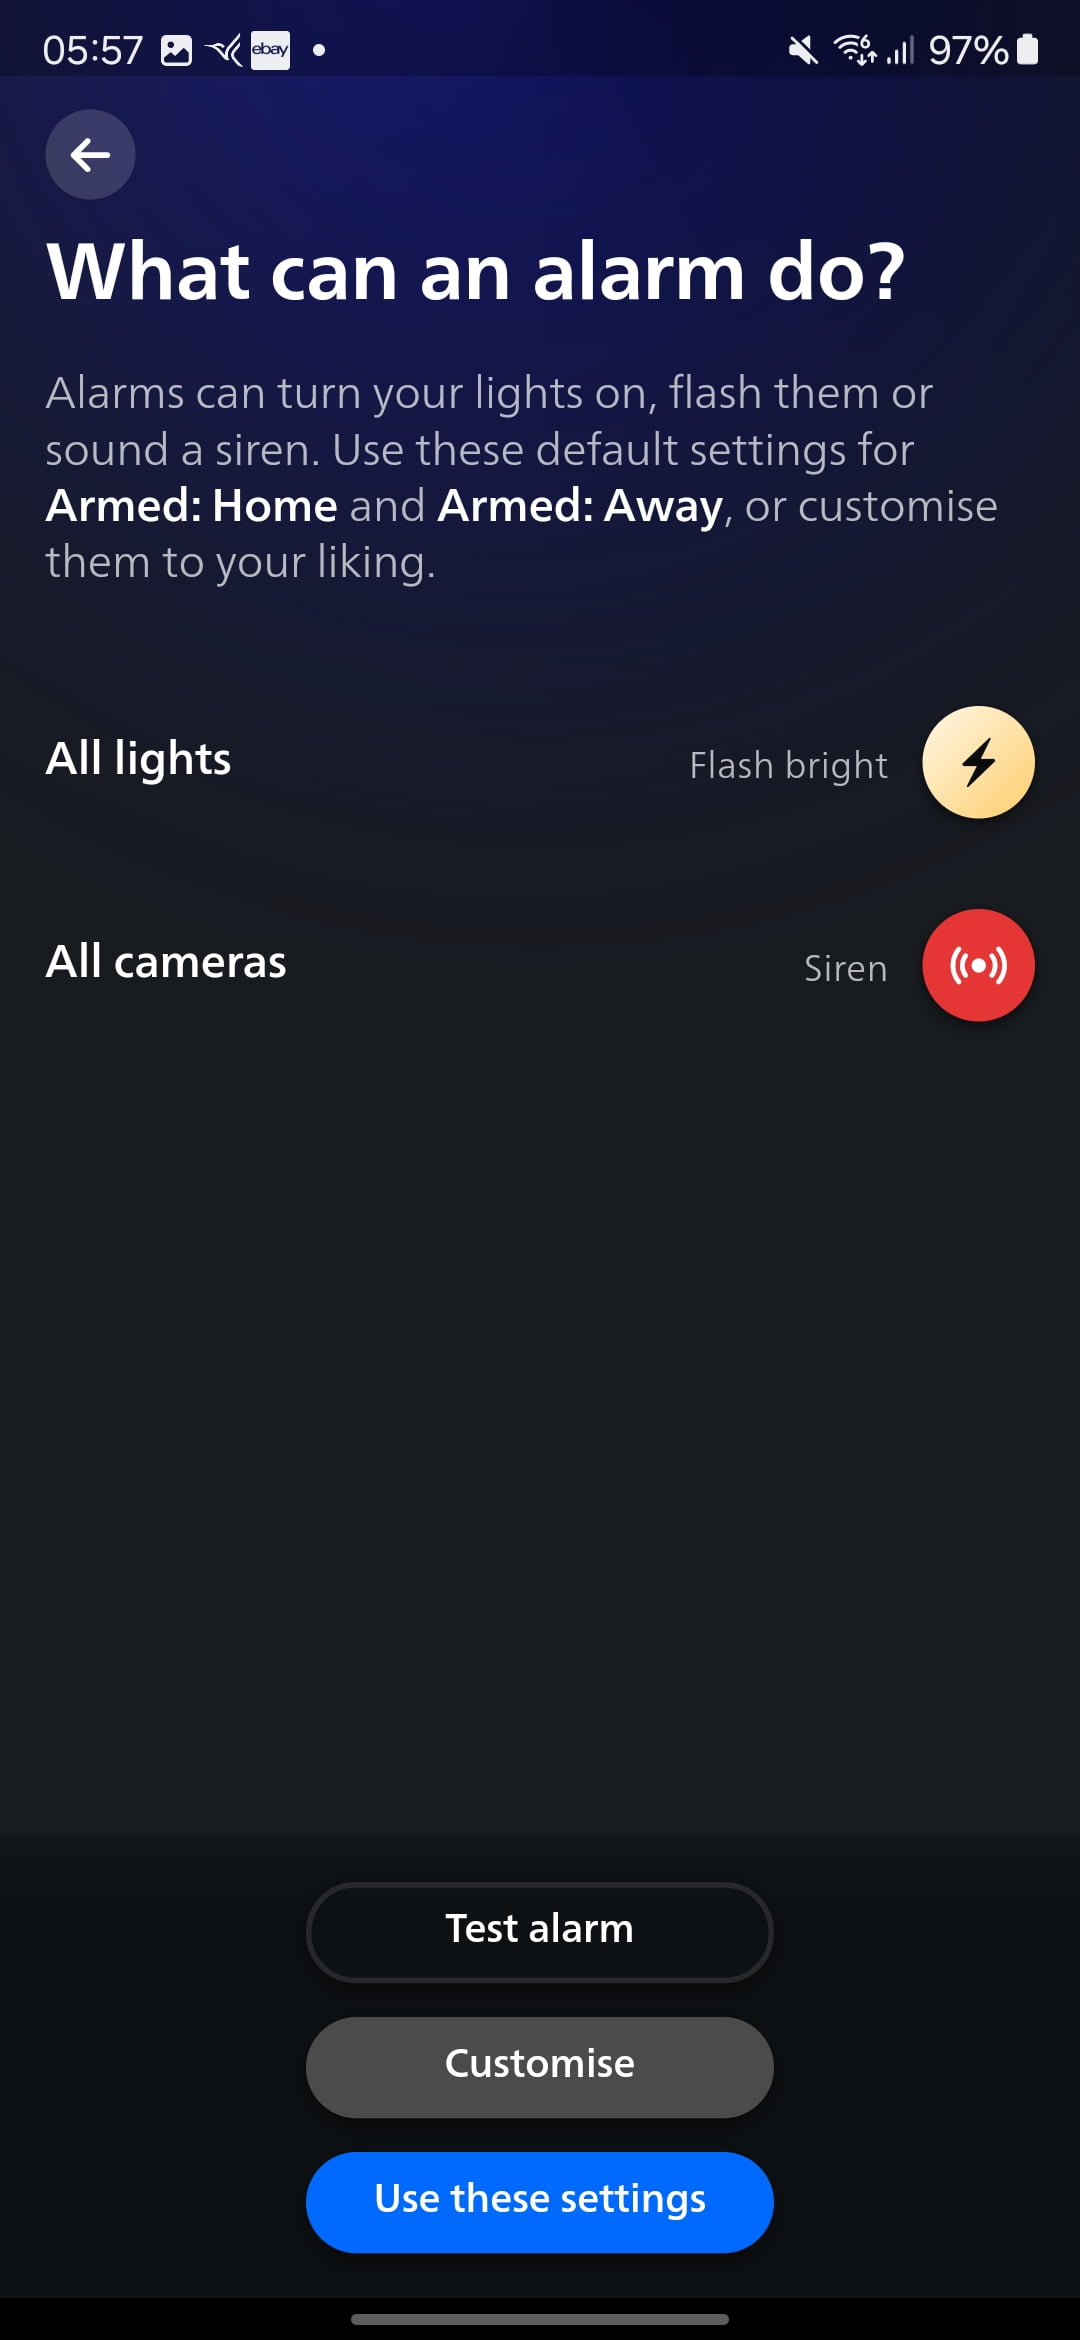
You can control the light via the Hue app just like any other Hue light. This includes setting schedules and having accessories like motion sensors or dimmers control the light.
Then, within the camera settings, you can define which motion sensors are used for the two-armed modes, home and away.
Then, you can define which lights will be activated in motion and the different time zones.
So, for me, I assigned my office lights and hallway lights. Then, I defined which scenes to use and the time. I kept the floodlight bright for each of the time zones, then off after 5 mins, whereas for the other lights, I set an appropriate scene for the time and then reverted to the previous state.
Alarms & Lights
In addition to motion detection, the camera supports light and sound alarms that can be set up in the home and away armed modes.
When triggered, the floodlight illuminates the area, while the camera’s built-in speaker emits a loud alarm to deter potential intruders. These alarms can be customised and controlled through the Philips Hue app.
Floodlight Performance
The floodlight on the Philips Hue Floodlight Camera delivers impressive performance. With a lumen output of 2,250 lm at 4000 K and 2,050 lm at 2700 K, it provides bright and even illumination for your outdoor space.
The floodlight’s colour temperature can be adjusted to suit your preferences, creating a welcoming ambience or a deterrent effect. It is also RGB, so you have the full range of colours available. This is quite useful if you have the camera installed covering a private garden, allowing you to illuminate the outside with a more pleasant lighting affect than you get off normal floodlights.
Day Time Footage
The Philips Hue Floodlight Camera is limited to 1080P, which is quite low for a floodlight camera at this price point. Eufy has a 3K and 2K floodlight camera, and the Arlo floodlight camera is 2K.
That said, during the day, the camera captures clear and detailed footage that seems to be better quality than many of the other outdoor cameras I have used.
The wide 141.2-degree field of view ensures comprehensive coverage of the monitored area. The camera’s image quality is excellent, with accurate colours and good contrast.
Night Time Footage
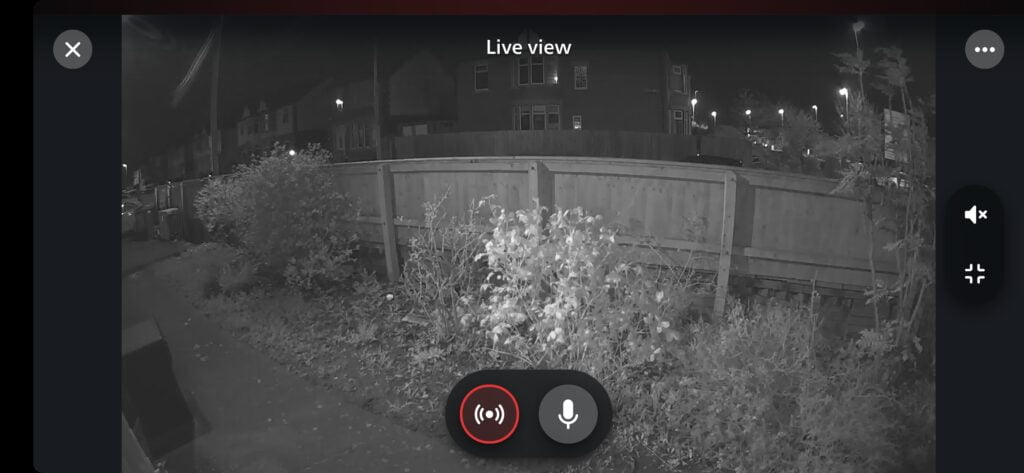
Another quirk of this camera is that it doesn’t do colour night video. Most competing options will record in B&W when the spotlight or floodlight is off then switch to colour when the light is activated. Hue bizarrely stays in B&W.
I live in a well-lit street, and I found that the camera sensor was good enough to disable night vision altogether, leaving it to record my colour all day and night.
With the light off, the footage is adequate, you can clearly make out people walking up my path, but there is a lot of noise and loss of detail.
When the light activates, the quality is much better. However, as I have the camera installed low down, the light does glare back off anyone walking past, but this is an issue with my placement, not the camera.
Philips Hue Secure Pricing
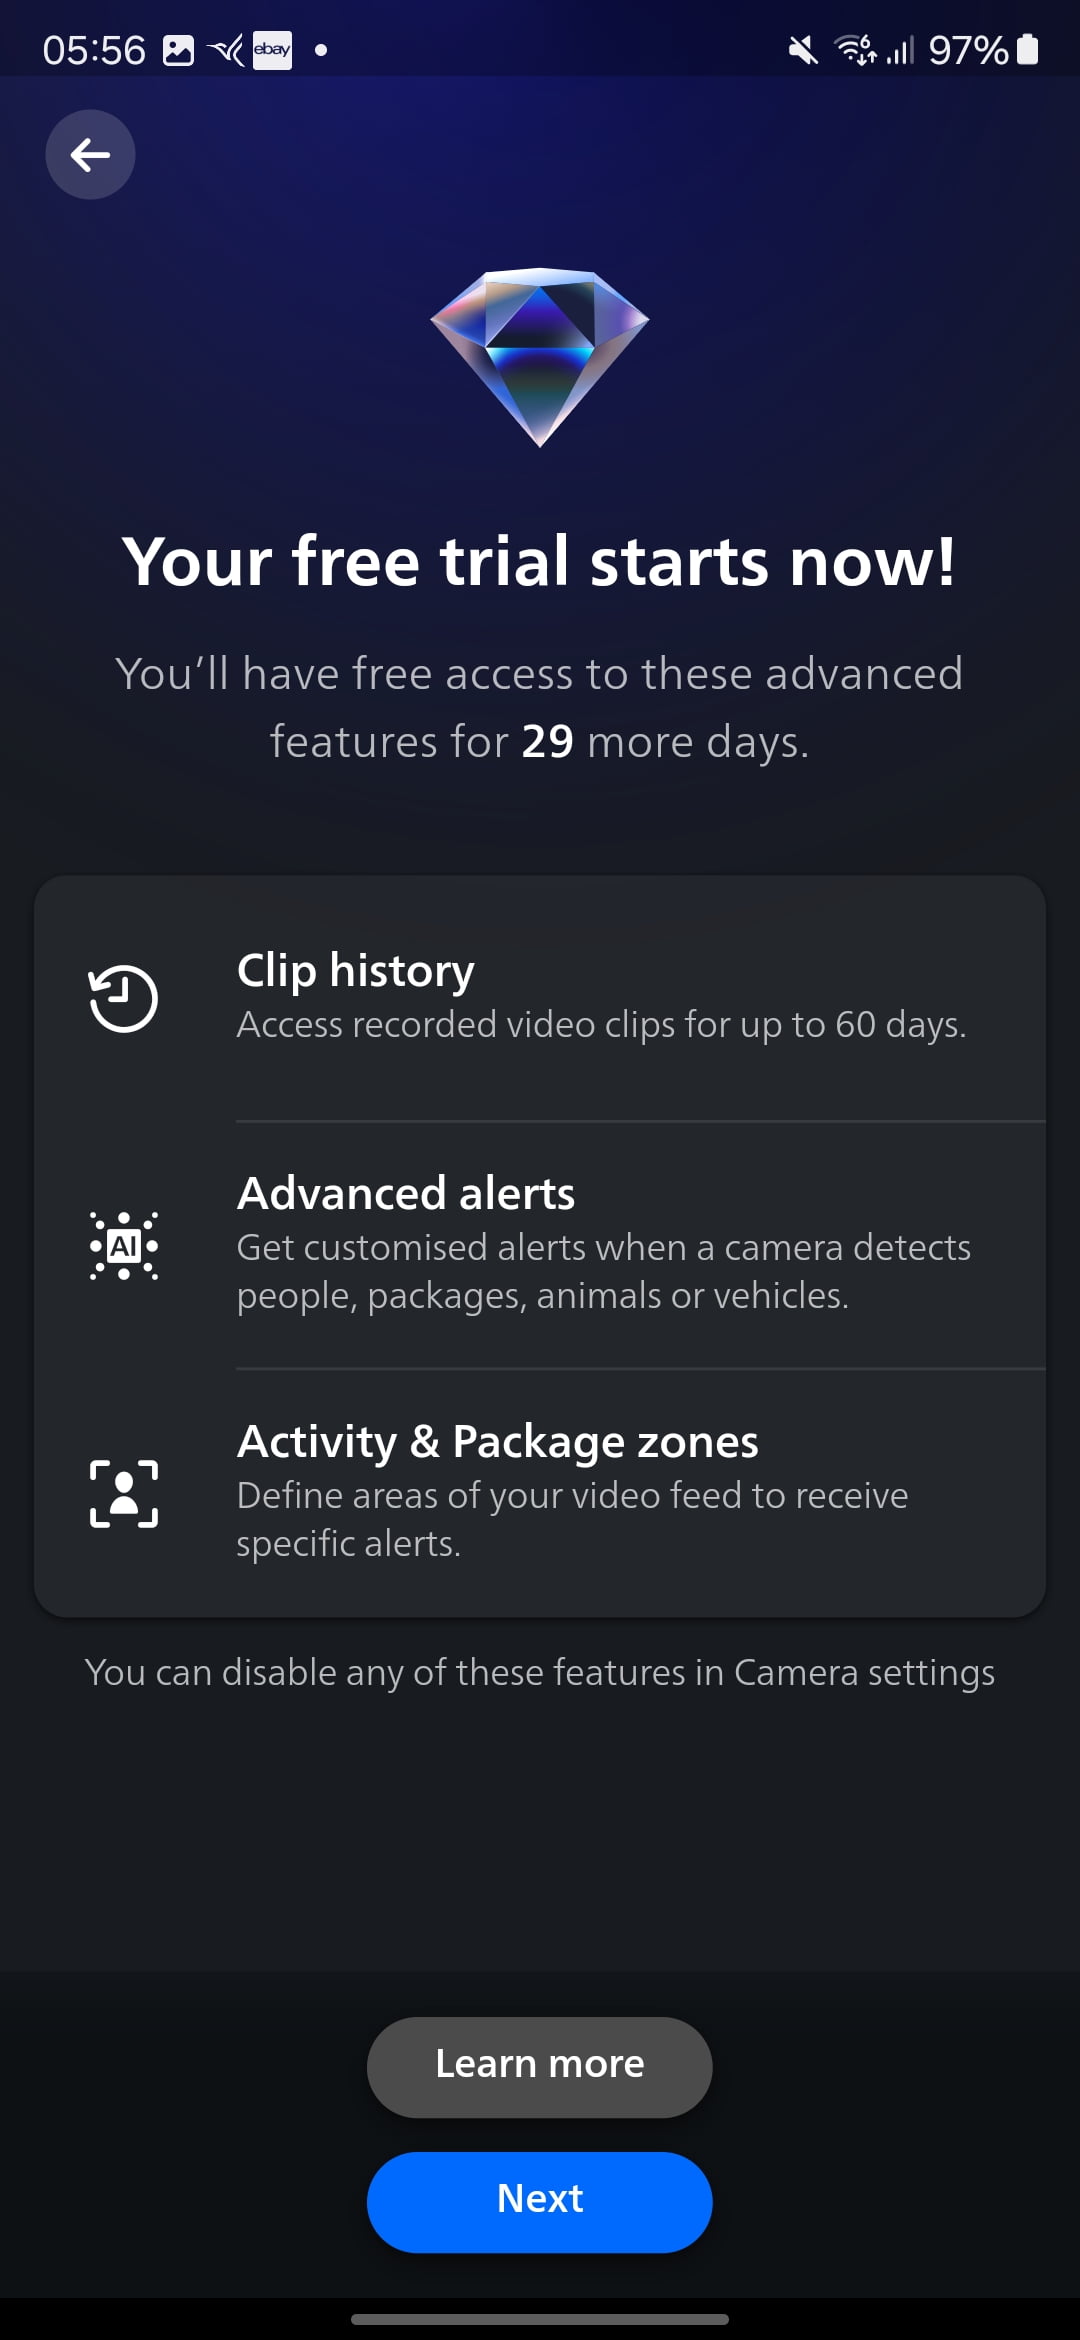
You don’t need a Secure plan to use the floodlight camera. However, a plan gives you access to more features, such as video history and activity zones. When you initially set up the camera, you will get a 30 day free Secure trial.
With the free plan you get:
- Live streaming
- Light and sound alarms
- Instant motion notifications
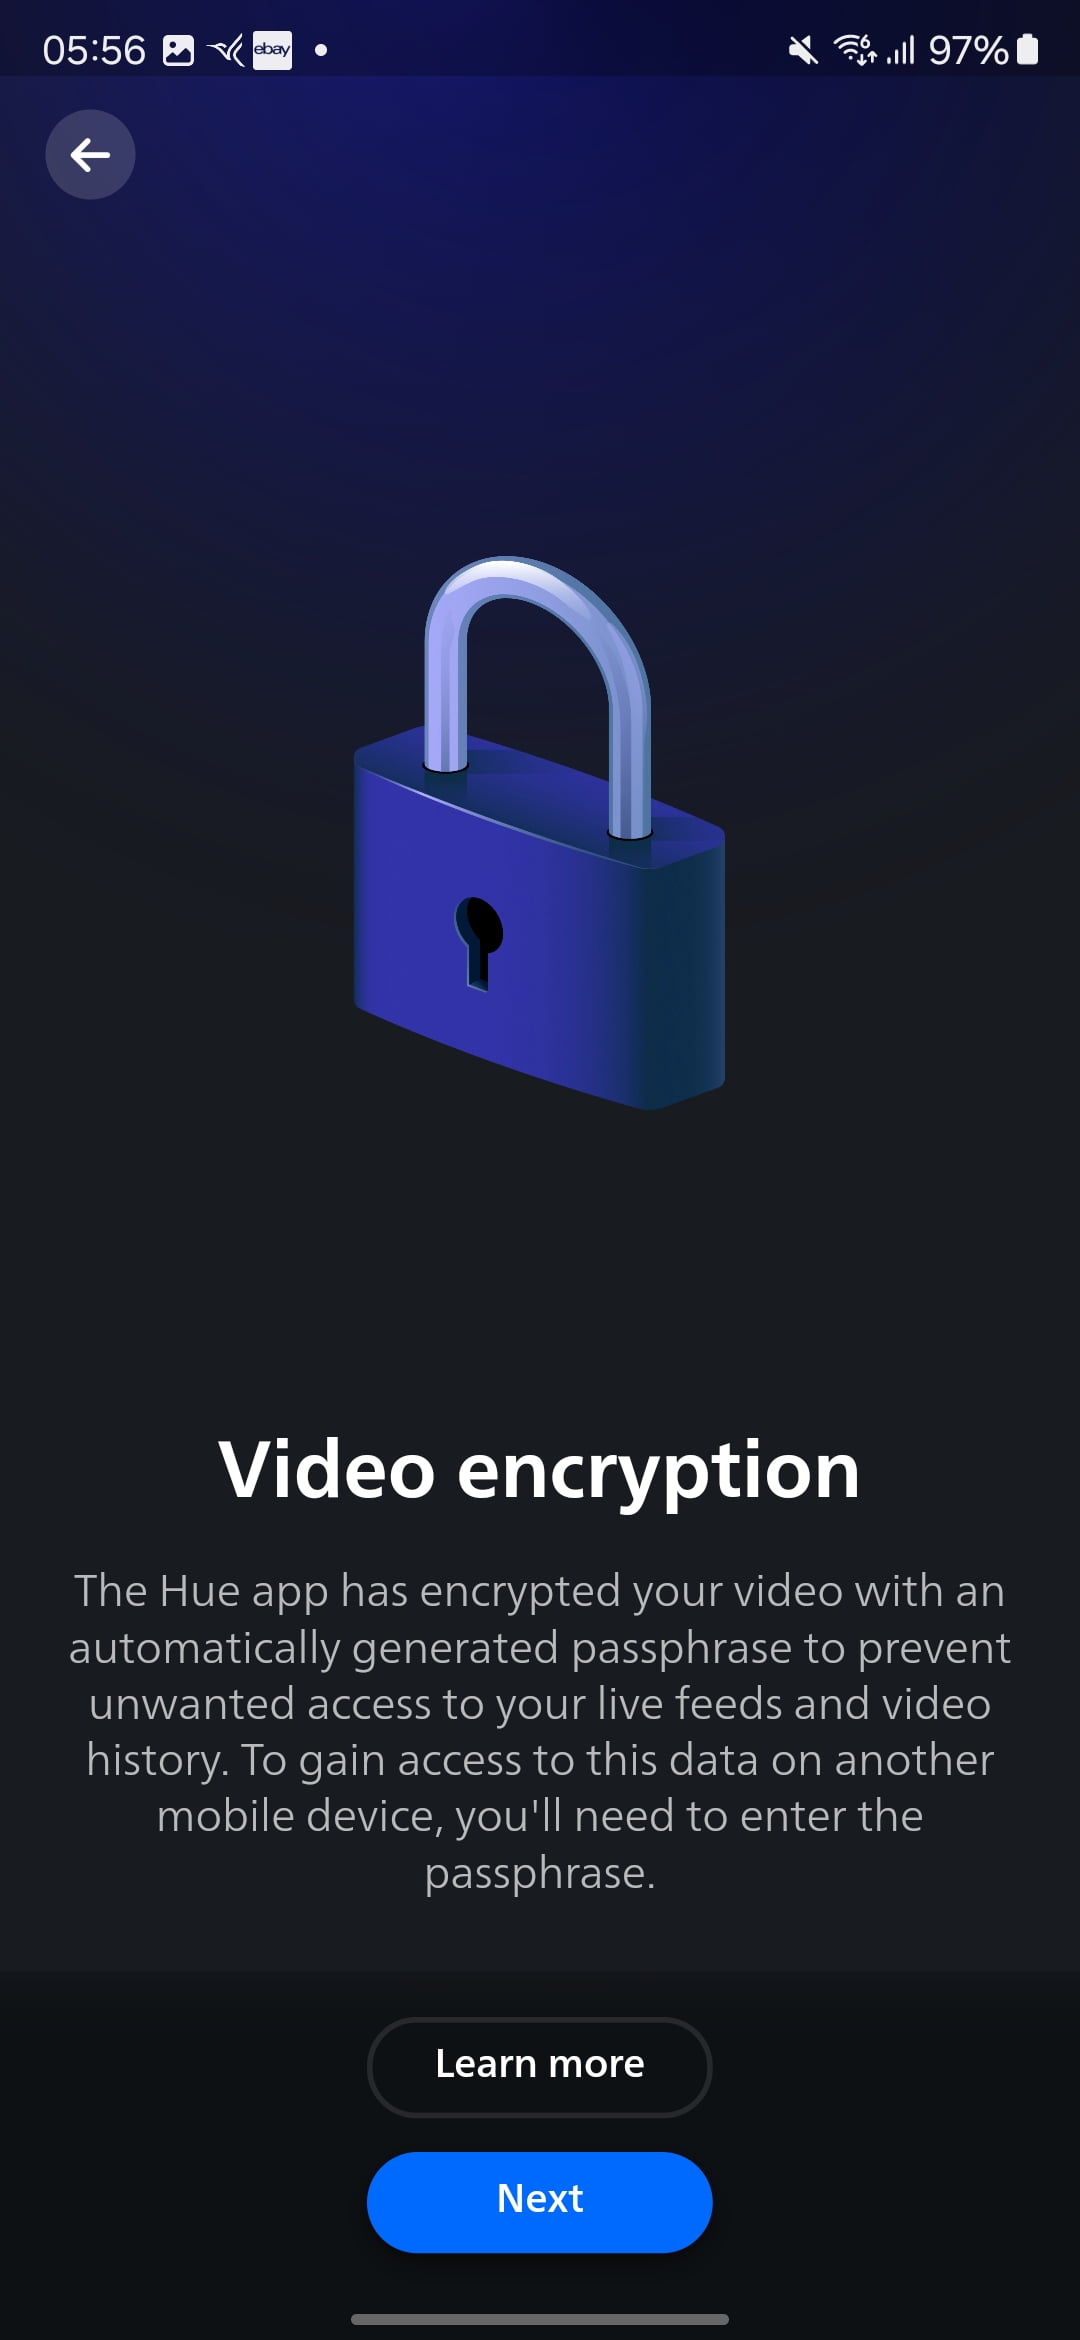
- End-to-end video encryption
- Blackout zones
- Video snapshots
The basic plan costs £35 per year per camera and gives you access to:
- Back-to-back video clip recording
- Activity zones
- AI-powered person, animal, vehicle and package detection
- 30 days video history
The plus plan costs £85 per year but this is for 10 cameras and provides 60 days of video history.
In comparison, Arlo charge £45 for a single camera, £110 for four cameras, or £150 for unlimited cameras with 60 days recording and up to 4K resolution.
Price and Alternative Options
The Philips Hue Floodlight Camera has an RRP of £300
The eufy Security Floodlight Camera E340, which is a dual-lens floodlight camera with pan and tilt, has an RRP of £220 and is available for £180 currently.
The Ring Floodlight Cam is £140.
The Arlo Floodlight Security Camera Outdoor is available for £150.
The Netatmo Smart Outdoor Security Camera is £190.
The Google GPLE9 Nest Cam with Floodlight (Outdoor, Wired) is £210.
The Reolink Duo Floodlight isn’t quite the same as this uses PoE but is priced at £130.
Eufy and Netamo work without a subscription, and they both have facial recognition.
Overall
In my opinion, the Philips Hue Floodlight Camera and the other Hue cameras are designed specifically for people who are already invested in the Hue ecosystem.
Like all Hue products, it has a premium price, and there are better floodlight cameras at a lower price point if you just want a good floodlight camera.
However, as always with Hue, the camera integrates perfectly with the Hue ecosystem and can be used in conjunction with your existing motion sensors and lights. Either alerting you to when someone is at the door or used as a basic alarm system.
Brands like Ring and Eufy have expanded into the smart alarm market, but they don’t integrate into your smart home quite as well as the Philips Hue Floodlight Camera.
There are a few quirks that could do with ironing out. The main one being the option to have colour night video.
Philips Hue Secure Floodlight Camera Review
Summary
If you’re looking for a floodlight camera that works harmoniously with your Philips Hue system, the Philips Hue Floodlight Camera is a top choice. Its reliable performance, advanced features, and ease of use make it a worthwhile investment for enhancing your home’s security and convenience. For buyers without an extensive Hue setup and wanting an normal floodlight camera, there are better and cheaper options.
Overall
80%-
Overall - 80%80%
Pros
- Integrates perfectly with all your Philips Hue devices
- Bright floodlight that can be used for security and RGB scenes for when you want to illuminate an outdoor sitting area
- Good quality video for 1080P
- Reliable alerts with advanced object detection
Cons
- Expensive
- Requires subscription
- Some quirks with settings and features such as no option for colour night footage
I am James, a UK-based tech enthusiast and the Editor and Owner of Mighty Gadget, which I’ve proudly run since 2007. Passionate about all things technology, my expertise spans from computers and networking to mobile, wearables, and smart home devices.
As a fitness fanatic who loves running and cycling, I also have a keen interest in fitness-related technology, and I take every opportunity to cover this niche on my blog. My diverse interests allow me to bring a unique perspective to tech blogging, merging lifestyle, fitness, and the latest tech trends.
In my academic pursuits, I earned a BSc in Information Systems Design from UCLAN, before advancing my learning with a Master’s Degree in Computing. This advanced study also included Cisco CCNA accreditation, further demonstrating my commitment to understanding and staying ahead of the technology curve.
I’m proud to share that Vuelio has consistently ranked Mighty Gadget as one of the top technology blogs in the UK. With my dedication to technology and drive to share my insights, I aim to continue providing my readers with engaging and informative content.