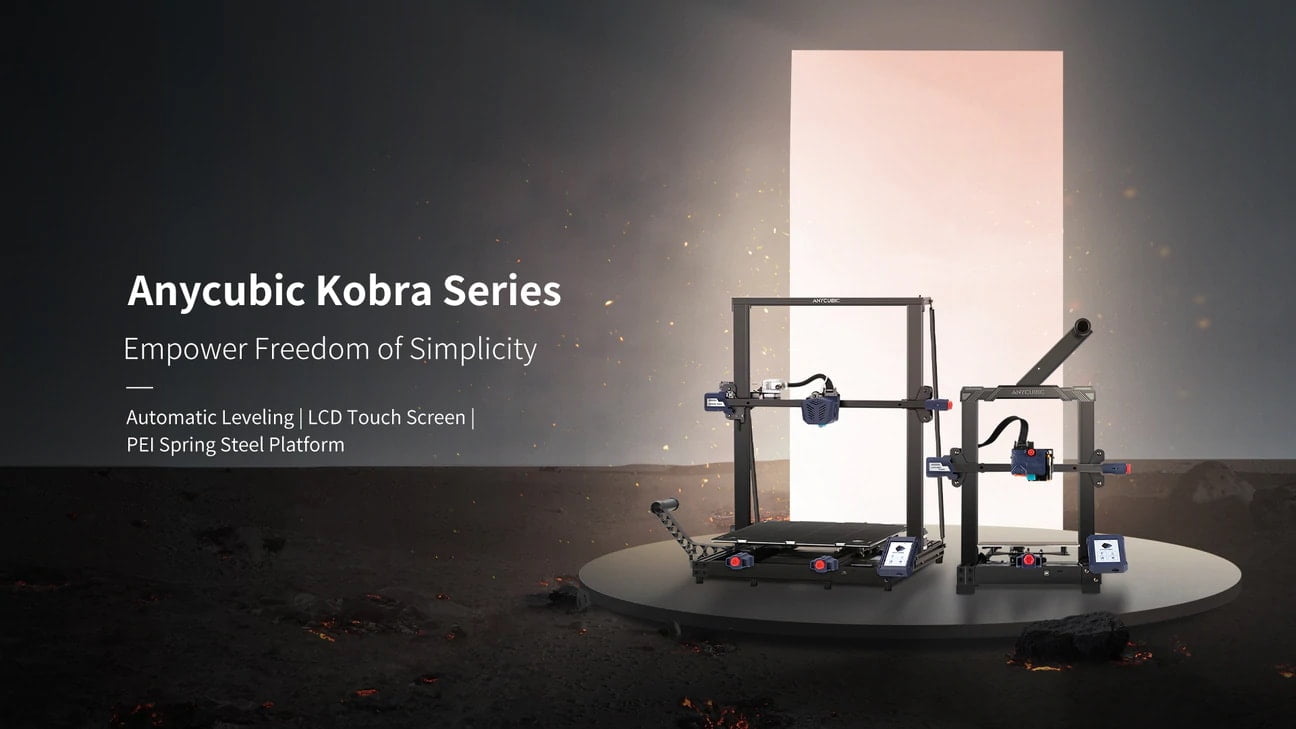
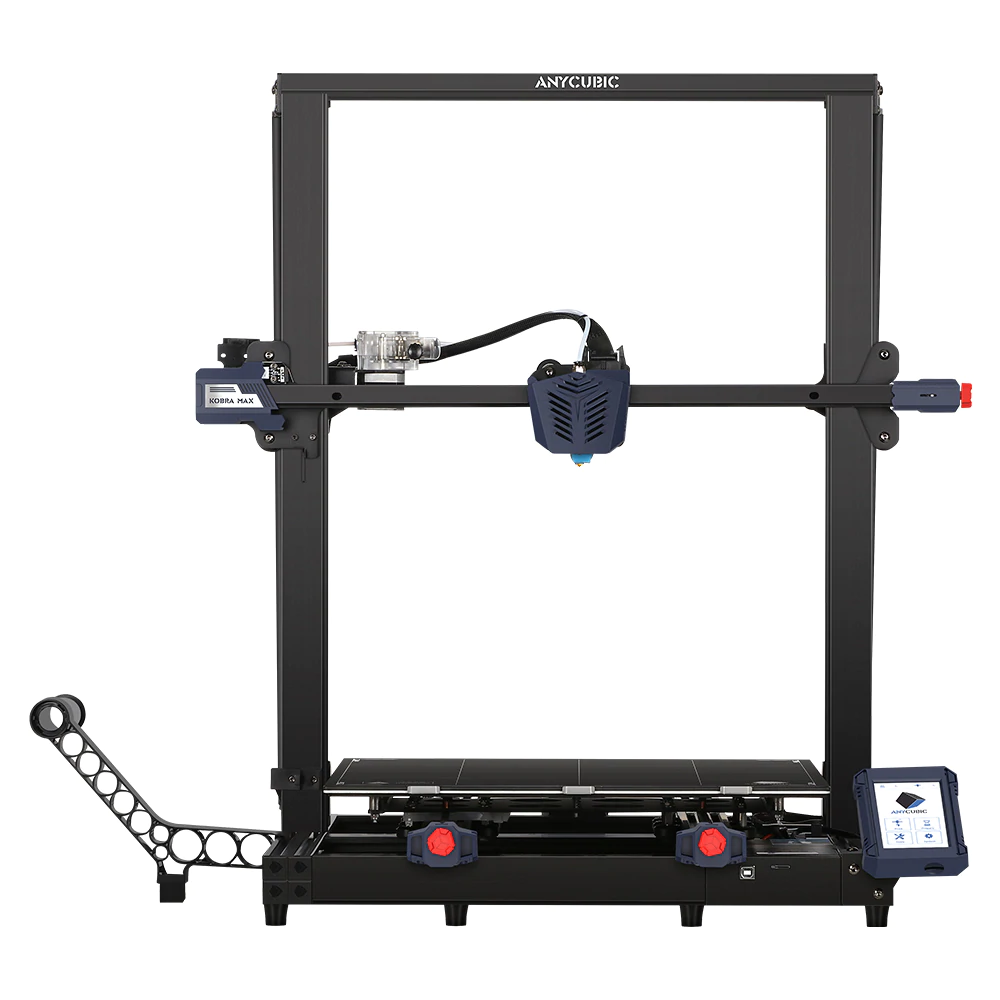
Anycubic Kobra Max 3D Printer Review – A large-format FDM 3D Printer
Anycubic’s Kobra Max has just launched alongside the Kobra. I reviewed the Kobra Max and the Kobra at the same time, so I will be referencing the other machine in each review, respectfully. You can check out the Kobra review here.
| Preview | Product | Price | |
|---|---|---|---|

| ANYCUBIC KOBRA 3D Printer, LeviQ Automatic Leveling (25-point) FDM Printers with Removable Spring... | Buy on Amazon |
Assembly
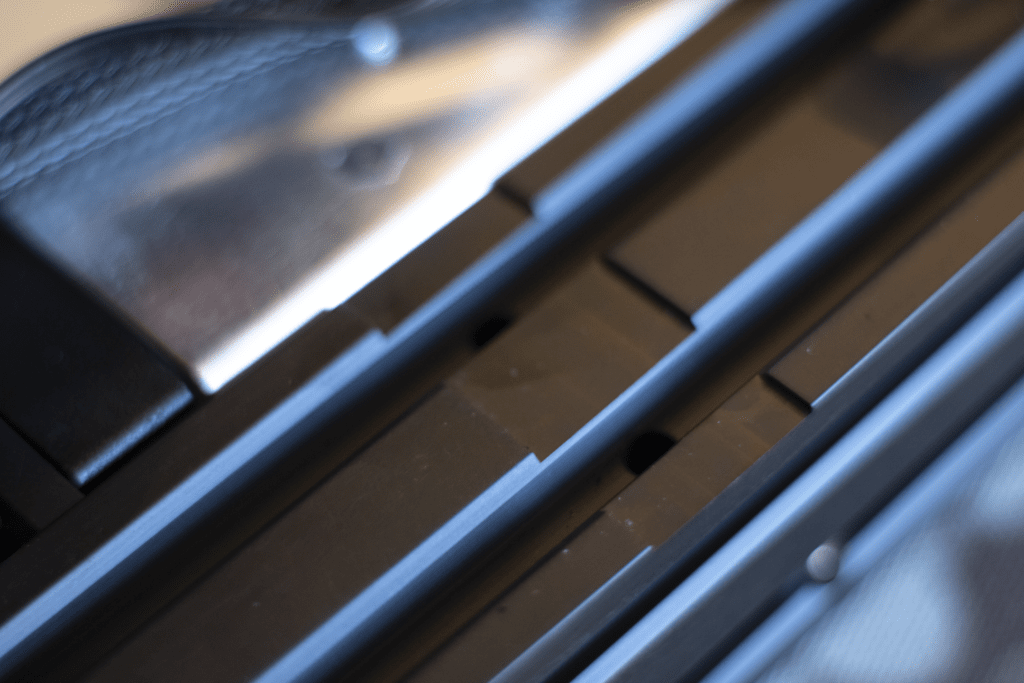
The Kobra Max comes semi-assembled and is noted to be a good feature to help beginners out, but I think someone with any level of expertise can appreciate the simplicity of the assembly process. I certainly enjoyed the groves in the base’s aluminium bars which helped locate the frame for attaching, especially as this printer weighs about 16kgs, so it can be a little hard to wrangle. I would recommend an extra pair of hands for this step as 4 screws need securing from below.
Apart from this, the assembly went smoothly thanks to the detailed user manual provided. The entire 61-page booklet can be found on the microSD card, as well as a step by step guide for installation and set up of Ultimaker Cura – Anycubic’s slicing software of choice. My favourite part about this is the included settings profile. Though not perfect, it gives an excellent base to work from.
Build quality and design
I was actually really impressed with the detail that went into the design of this printer. It has dual z-axis motors, which lift the x-axis carriage up the frame, attached by a belt at the top to spread the load between the two motors. This set-up allows for greater speed and precision to reduce deviation in layer height, displayed in the impressive z-axis positioning accuracy of 0.0025mm. Having this level of precision is fundamentally crucial for a 3D printer.
At the end of each 3 main belts is an adjustment wheel for tensioning; this is such a small but useful detail that improves the overall experience.
Due to the sheer size of the frame of the Kobra Max, additional supports are required. Without them, the frame would act as a tuning fork, amplifying vibrations in the printer. Vibrations through the machine can cause artefacts and ghosting in a print, a common issue with 3D printers. As I mentioned with the Kobra, vibrations can be reduced in the Kobra Max by adjusting the acceleration and jerk settings within Cura, however, that isn’t what I was testing for here. This is why the simplistic design of the adjustable additional supports is crucial for the Kobra Max to excel at printing at such impressive heights.
I was impressed to find the inclusion of reusable cable ties on the Teflon filament tube to attach the data cable to the extrusion head. There are multiple little details scattered around the printer and user manual, like the ties, that really shows the attention to detail and care that has gone into the design of this printer.
4.3inch colour touchscreen LCD
The Kobra Max has an excellent interface that makes setting up and preparing the machine nice and easy; some controls on other 3D printers can be a bit fiddly and irritating. The UI is intuitive and simple; it is the same system that comes with the Kobra.
Autolevelling
One of the features that really caught my eye was the autolevelling. It sounds absolutely fantastic, and it is, for the most part. The nozzle of the print head is equipped with a strain-gauge sensor used for probing the print surface. When probing, the nozzle systematically moves around the surface, delicately poking in 25 spots to complete an automatic mesh bed calibration.
This is great in theory, but in practice, it can actually be a little problematic. Because the sensor needs to physically touch the printing platform, it means that the bed has to be perfectly clear, and any imperfections in the surface in these 25 tiny spots will misalign your printer. As I’m sure you’re aware, the nozzle is also where the filament comes from, so unless perfectly clean, you will end up with 25 tiny little spots of filament equally spaced across your work area after the levelling process is complete.
However, this all could just be teething problems with using the new system. The solution I found was to simply retract the filament first after preheating and before levelling, and then give the nozzle a clean. Once the probing is over, you can just feed the filament back in, and you’re back in business. I must admit this took me a little while to work out.
Unlike the Kobra, which uses an inductive sensor, and because of the direct contact the nozzle makes with the printing surface, you (probably) don’t need to adjust the z-axis offset. I say probably because the option and controls are still available, but I found the initial layer height to be spot on.
Bed Adhesion
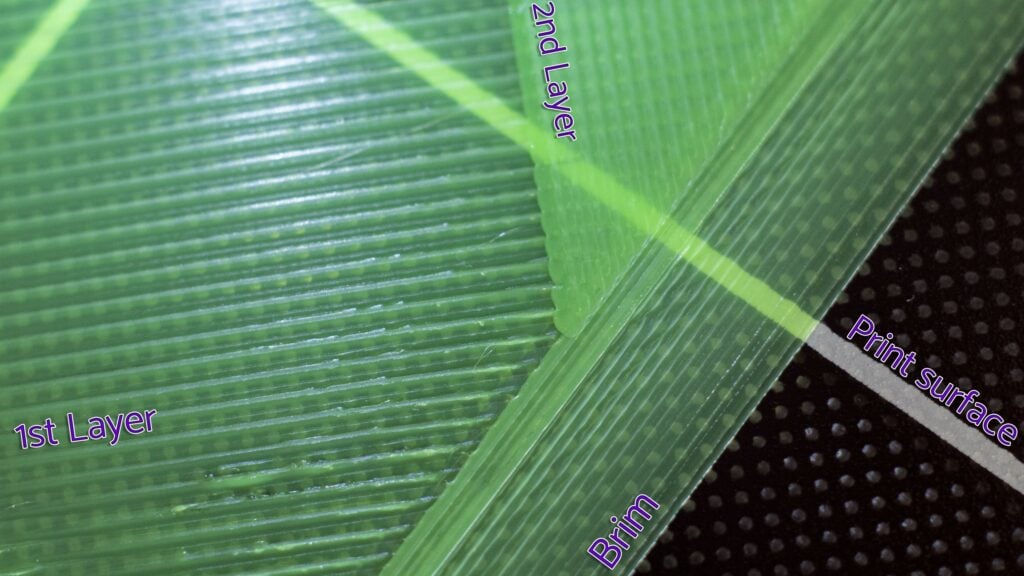
The Kobra Max has a thick Carborundum glass print platform (that’s the fancy word for Silicon Carbide) an excellent material and widely used on 3D printers. This isn’t a textured print platform though, so extra adhesion methods are recommended. An example of this is present in the Cura profile, printing the 1st layer at 140% line width and 120% flow.
I wasn’t sure which surface I preferred between the two printers, as the Kobra’s Spring Steel bed is fantastic, I don’t think it would be appropriate with this machine. The Kobra Max is big, and prints could easily last well over a day, if there was a power issue on the 23rd hour and the spring steel surface ejected my partial print, I think I’d be slightly disgruntled.
Self developed Bowden Extruder
I personally prefer the extruder separate from the print head for a multitude of reasons, and the benefits of this are prominent on this machine. The Anycubic Kobra features a direct extruder, displaying the qualities of that system. But removing the extra weight from the print head allows it to move at greater speeds, which is why the Kobra Max is recommended to have a print speed of 80mm/s. It also really helps improve the quality of the prints, not having to drag around another motor, and the wheel of filament attached to the other end, really cannot be understated.
The small print head also allows for a bigger build height, the Kobra Max can print up to 450mm high.
Attached to the frame of the Kobra Max is a filament sensor positioned before the Bowden extrusion system. I have no idea what it does. Its purpose or job is not mentioned once in the manual, and I never saw any effects of the sensor. I would imagine it’s a filament presence sensor that would pause the print in absence, but it’s unfortunate that this is never actually stated.
Large build volume
The Kobra Max is big. It stands almost 1 meter high and 1 meter wide. It provides an impressive print area of 17.7 x 15.7 x 15.7 in. /450 x 400 x 400 mm (HWD), really opening up the possibilities of 3D printing. The size allows more versatility in prints, removing the need cut a print into sections.
Price and Availability
| Preview | Product | Price | |
|---|---|---|---|
|
| ANYCUBIC KOBRA 3D Printer, LeviQ Automatic Leveling (25-point) FDM Printers with Removable Spring... | Buy on Amazon |
The Kobra Max is available to buy now from Anycubic for $599 and should be available soon from Amazon US with the above links.
In comparison, the smaller Kobra is $300
Conclusion
Overall, I think this is a great unit, there is fantastic overall quality, and the pure size of it makes it an incredibly versatile machine. Pinpoint accuracy, impressive speed, and just the concept of autolevelling alone, is more than anyone could want in a 3D printer.
-
Overall - 85%85%
Summary
I think this is a great larger format 3D printer. There is fantastic overall quality, and the pure size of it makes it an incredibly versatile machine. Pinpoint accuracy, impressive speed, and just the concept of autolevelling alone, is more than a
Pros
- Large build platform
- Fast Recommended speed – 80mm/s
- Autolevelling
Cons
- Size
- Heavy

I am James, a UK-based tech enthusiast and the Editor and Owner of Mighty Gadget, which I’ve proudly run since 2007. Passionate about all things technology, my expertise spans from computers and networking to mobile, wearables, and smart home devices.
As a fitness fanatic who loves running and cycling, I also have a keen interest in fitness-related technology, and I take every opportunity to cover this niche on my blog. My diverse interests allow me to bring a unique perspective to tech blogging, merging lifestyle, fitness, and the latest tech trends.
In my academic pursuits, I earned a BSc in Information Systems Design from UCLAN, before advancing my learning with a Master’s Degree in Computing.
I’m proud to share that Vuelio has consistently ranked Mighty Gadget as one of the top technology blogs in the UK. With my dedication to technology and drive to share my insights, I aim to continue providing my readers with engaging and informative content.
I work directly with the companies he reviews products for or their chosen PR agency.
For Social Media, you can find me on: