Any links to online stores should be assumed to be affiliates. The company or PR agency provides all or most review samples. They have no control over my content, and I provide my honest opinion.
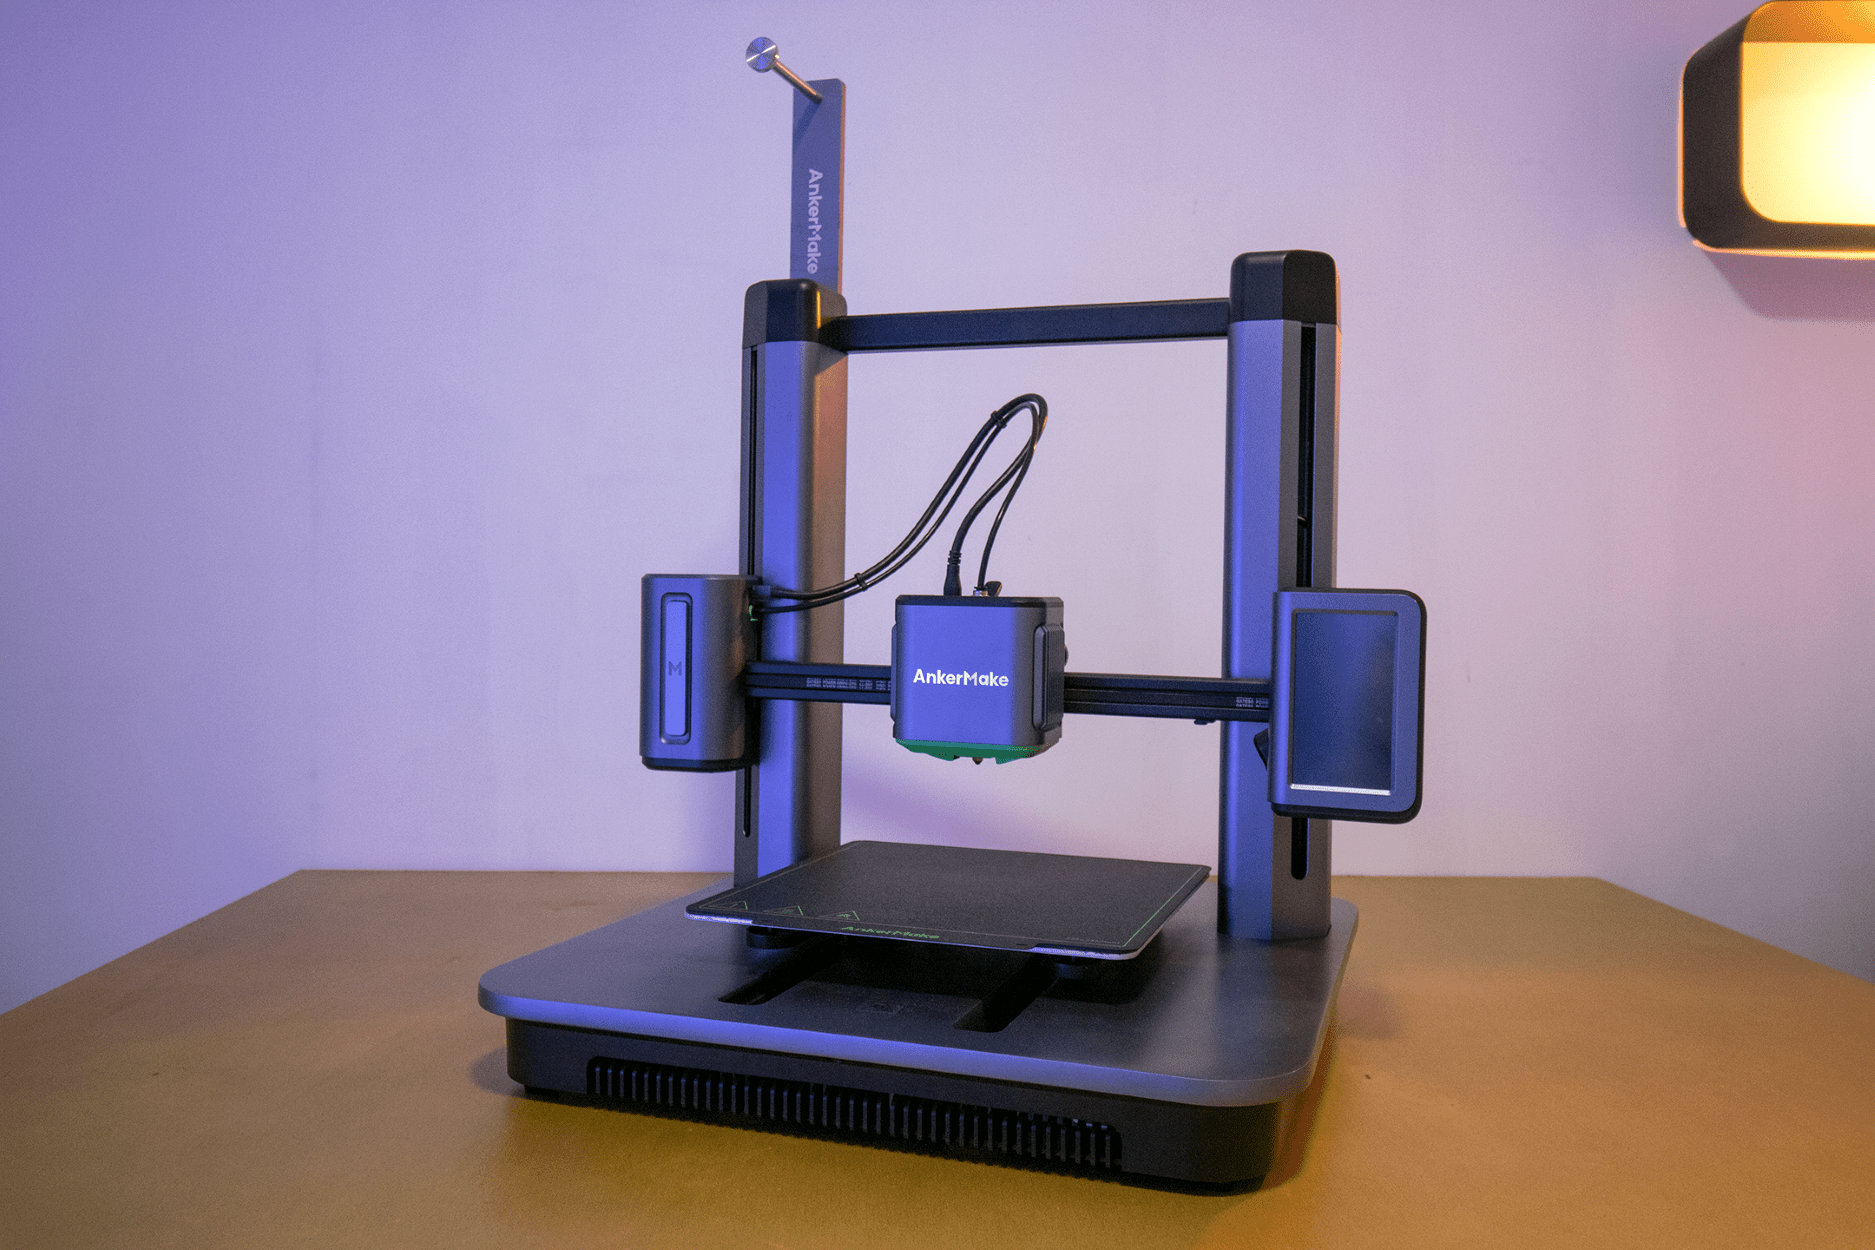
I was quite excited when I learnt about a 3D printer from Anker, I’ve always found their products to have an impressive build quality, and the AnkerMake M5 is no exception.
Equipt with an AI camera, 49-point auto-levelling, and 250mm/s recommended print speed, it’s impressive from the get-go.
| Preview | Product | Rating | Price | |
|---|---|---|---|---|

| AnkerMake M5 3D Printer, High-Speed, Speed Upgraded to 500... |
£399.00 | Buy on Amazon |
Assembly
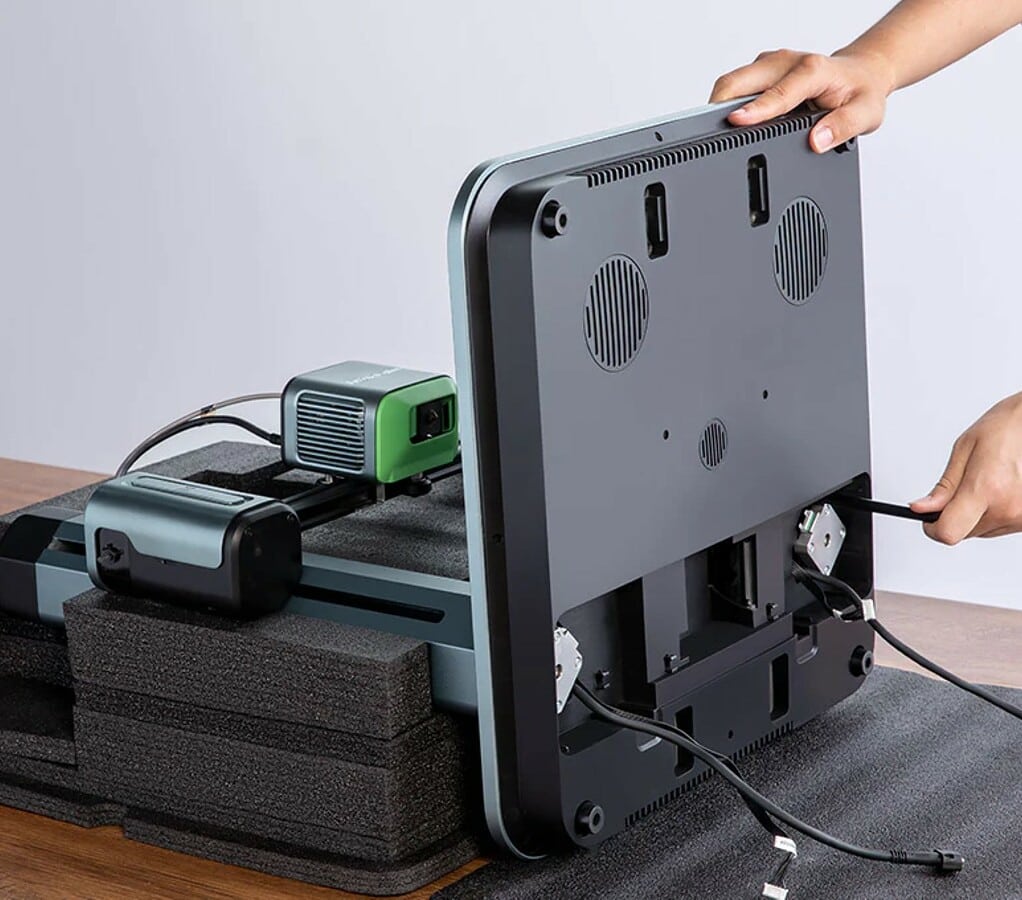
Firstly, as ever, is assembly; this is where you immediately start to appreciate the thought that has gone into the M5’s design.
You lift the lid, and in front of you is a beautiful little toolbox, a bag of 10 spare nozzles of varying sizes, and a whole entire extra extruder. Immediately, not to be dramatic, but I love it. Then, on the next layer down you have the gantry and its assembly, and then finally you have the base assembly – with two, TWO spring steel base plates – a luxury.
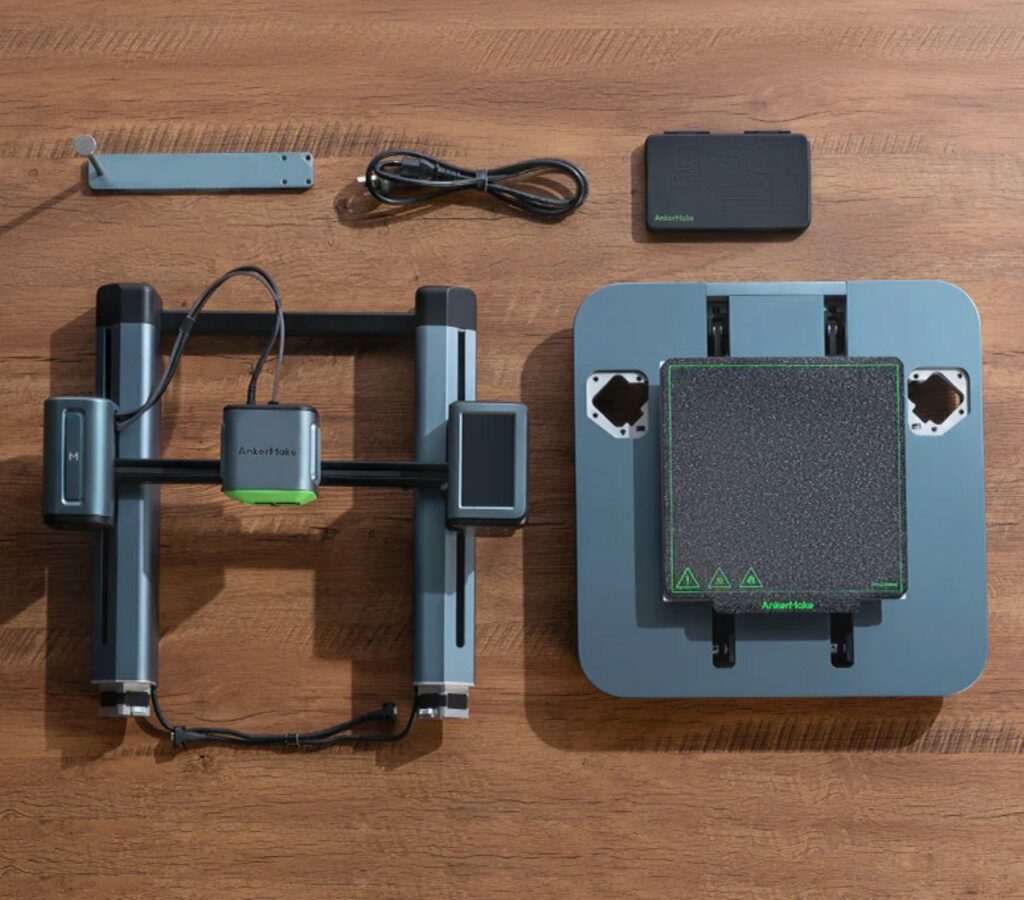
Despite the doorstop of an installation guide, assembly is incredibly straightforward. The box is designed so you can lay the gantry on at just the right height and easily secure the base plate. It seems so simple, but I haven’t seen a printer that makes this part of the assembly so easy.
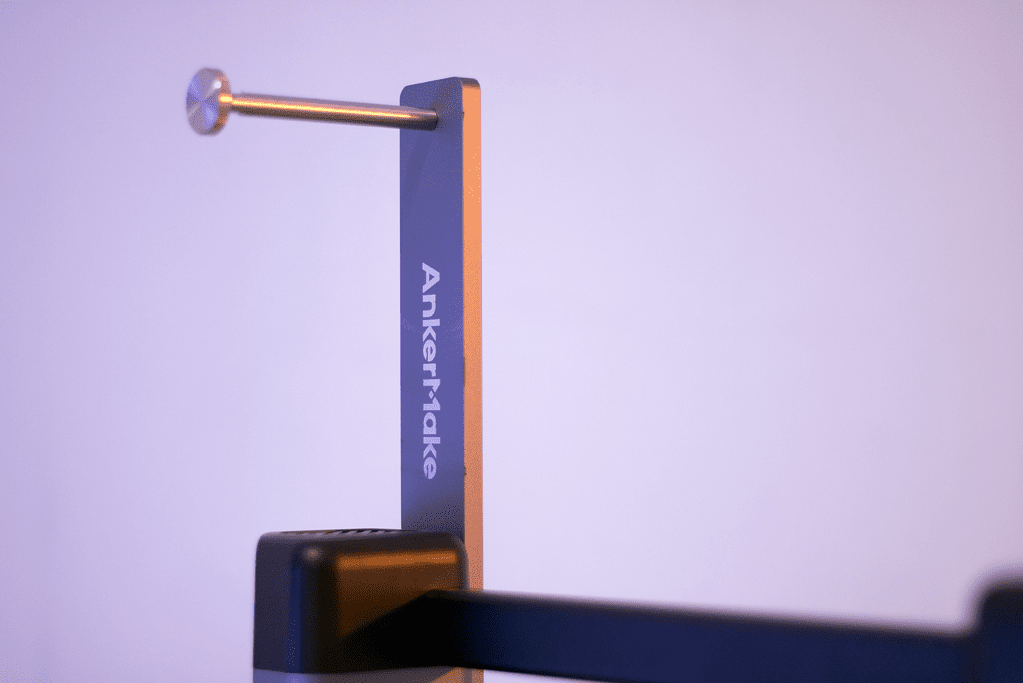
Finally, I love that Anker has given us a choice of where to put the spool holder. Users have the option to mount the spool holder on either the left side, or the top of the gantry. This is such a simple, considerate little design feature that just makes the user’s life easier.
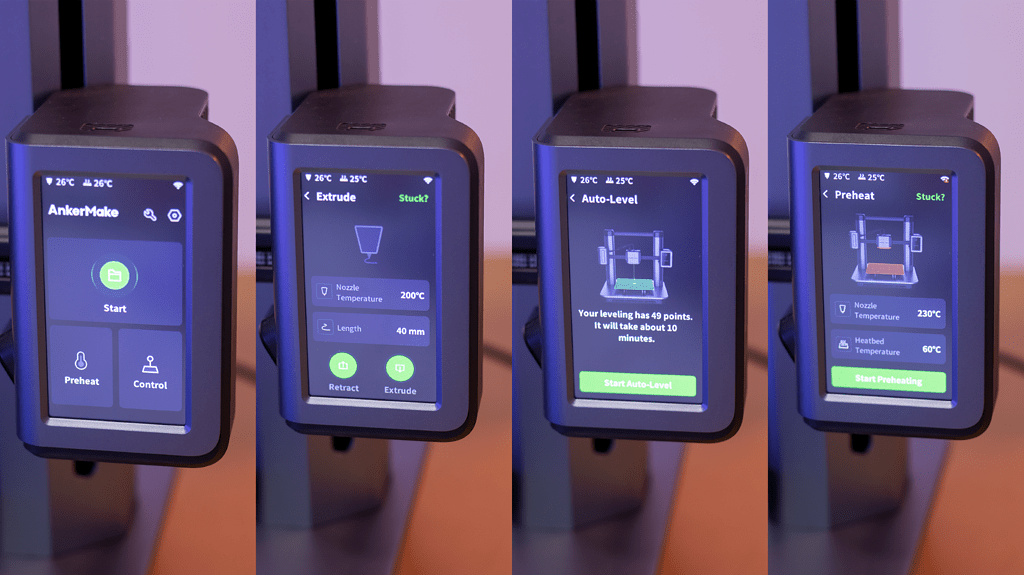
On the right-hand side of the gantry construction is the touchscreen control panel, one of the two control methods of the M5. The UI is simple, responsive, and easy to navigate. The UI also provides some tips to users in the preparation options where users may need assistance, e.g.: how to unclog a nozzle, change filament, and change the nozzle. These steps tell you the approximate time to complete the task and specify the tools needed for the job (all of which are in the little toolbox provided).
One complaint about the M5 is it’s pretty loud compared to the other printers I have reviewed recently. The double cooling fans do an excellent job but produce a lot of noise, and the motors seem to make more noise during actuation than the Ender-3 S1, for example. I don’t know if this is to do with the type of motor used, but it’s still something to consider when housing your M5.
Slicer
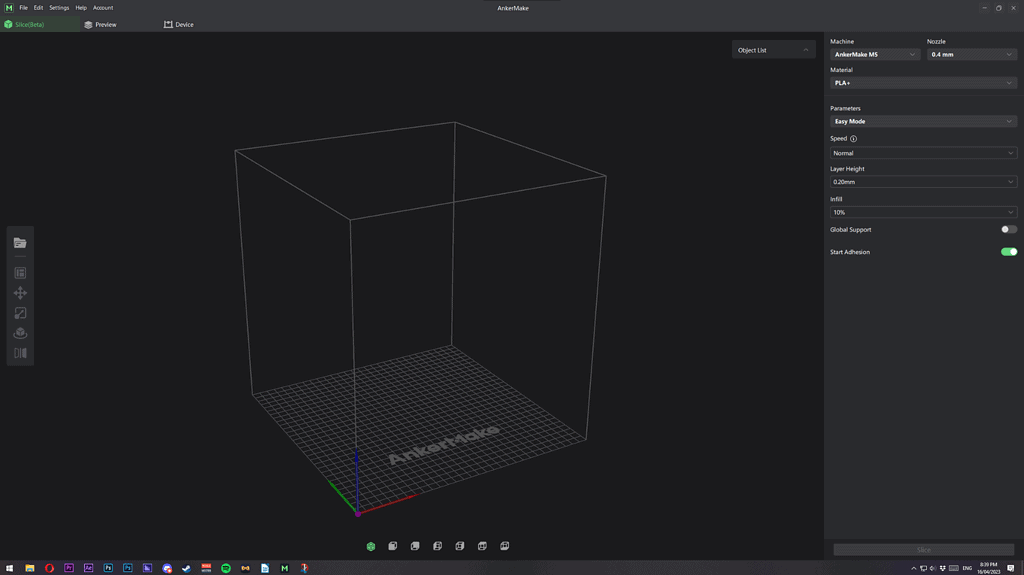
The AnkerMake M5 is recommended to be used with the AnkerMake slicer (easy to remember). It’s basically just any other slicer you’ve used but with a slightly different UI colour scheme. However, it is able to connect to your M5 and generate the AI images required to use the AI camera features. Users can also set up their M5 with a different slicer of their choice, and instructions for this are available on Anker’s website if unifying your printers in one slicer is something you’re into.
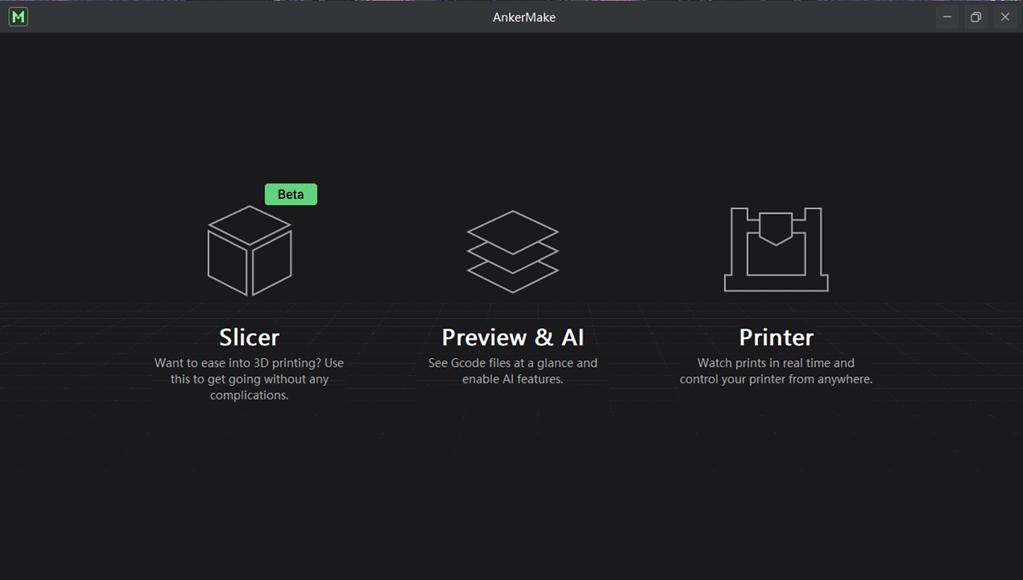
The AnkerMake slicer works fine and has received three decent updates in the short time I’ve had access to the M5. I’m glad to see Anker are still working on it, I’m looking forward to seeing what they can do. The only downside to the slicer is the 3D camera isn’t locked to stay upright like in other slicers. So as you’re orbiting with the camera you can easily end up sideways, which can quickly become disorienting. It seems picky, but it can make previewing the gcode a bit tricky. But that’s my only complaint, really.
Connectivity
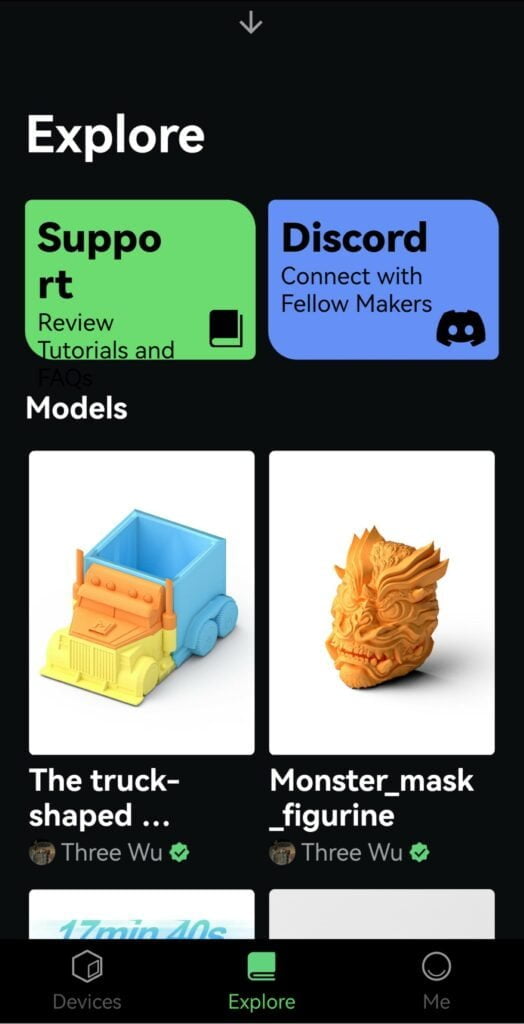
To print on the AnkerMake M5 you have three different ways: a USB type-C memory stick popped in the top; gcode sent over from the AnkerMake slicer from your desktop via the power of the internet; or via the app, which supplies some premade gcode in the explore section. There are also some other premade files on the printer, they’re like demo models I guess, but I have no idea how to remove them.
The primary method of transferring the gcode from your slicer is by just hitting print directly in the AnkerMake slicer, and then the M5 will make a piercing beep confirming it’s got your code (you can’t change the volume of the beep, it’s either on or off, unfortunately).
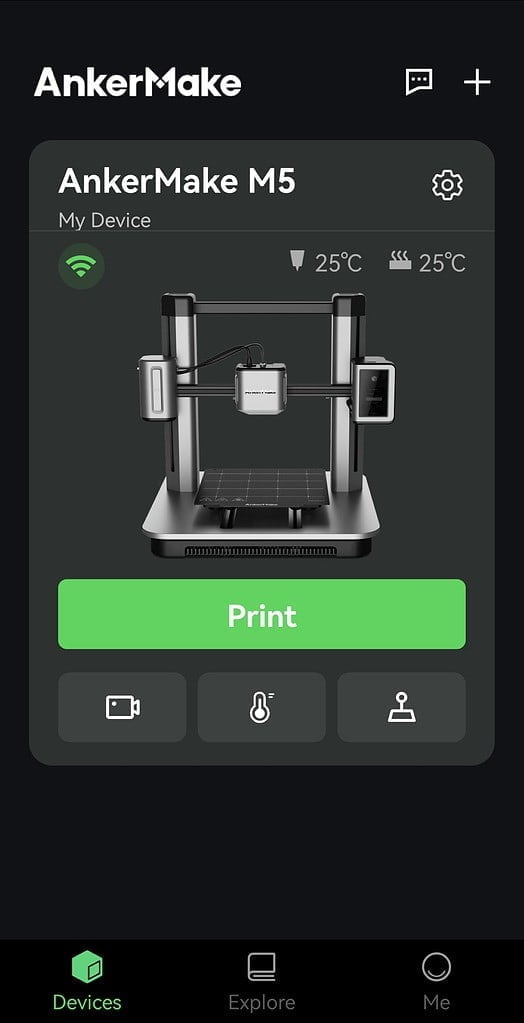
To prepare the printer, you can either use the mobile app or the on-screen controls; there’s very little difference between the two UIs so it’s down to personal choice. However, only via the app are users able to change wifi, AI, and timelapse settings. Additionally, via the app, users can live view prints in progress, screen capture, and record this video from within the app. Here you can also view the automatic time-lapses created via the AI camera, which is affixed to the gantry (they’re very satisfying to watch).
Also within the app is the explore section; this is where you can find a dozen premade files I mentioned previously. I imagine this section will eventually become a competitor to Creality Cloud when more users upload their gcode data, but it’s pretty limited at the moment.
Print Quality
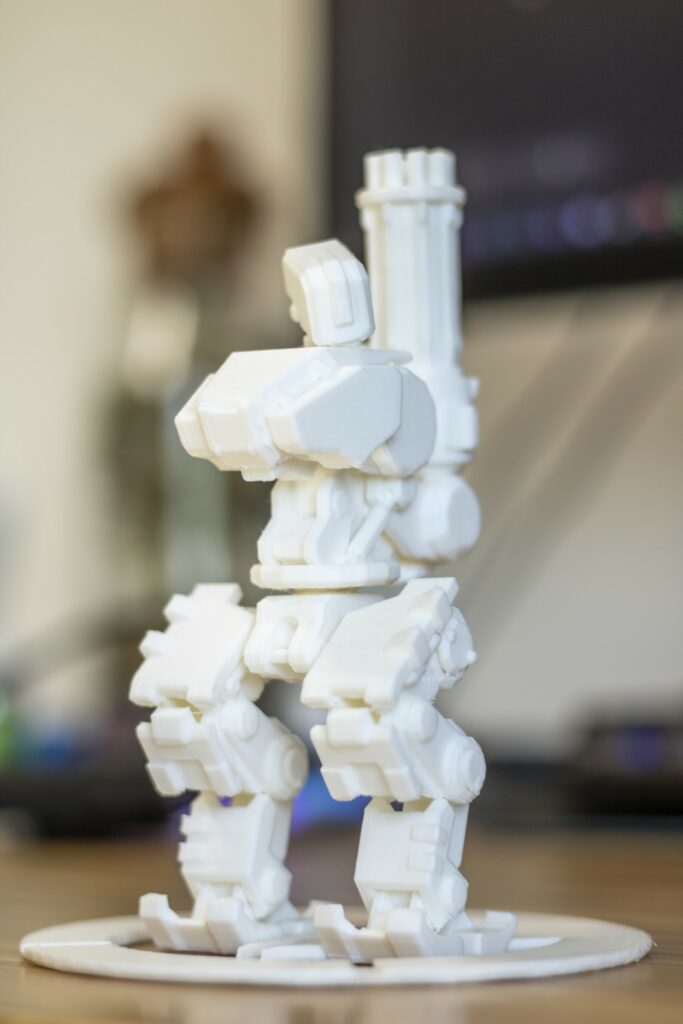
Usually, I’m hesitant when a printer claims it can achieve 5x higher speeds than your average printer because it usually means there’s been a compromise somewhere. Not for the M5, though, this printer is actually just rapid and incredibly accurate at the same time. I’ve been happily printing models at 0.1mm resolution at 250mm/s with ease. This isn’t even thanks to any of the AI funky bits, the M5 is just tuned really well. Users don’t have to tension belts or do any fiddling; you just plug it in and it just works.
I’ve found practically no layer height issues, misaligned layers, or ghosting. Obviously, if you look for faults, you’ll find them, but at 0.1mm layer height, any problems are barely noticeable.
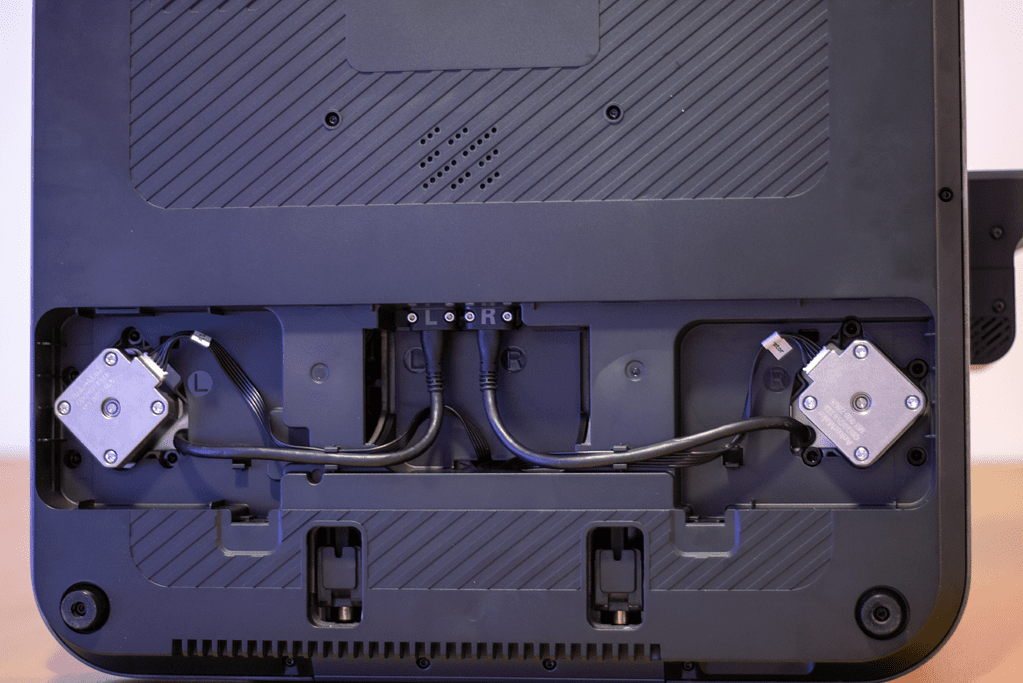
There are some clues about how the M5 is just so good about the structure. Firstly, there are dual z-axis motors, which are zeroed separately, so the gantry can actually tip a little to help adjust for the print bed height variations. The M5 also features a Bowden extruder, which removes some of the weight from the print head, allowing it to accelerate faster, whilst requiring less force. This means the printer can print faster whilst creating less vibrations from the rapid changes in direction, reducing ghosting and other artefacts in the print.
Autolevelling
On most 3D printers, you’ll find auto-levelling in various types, typically using some kind of probe to analyse the print surface and actively adjust printheads positioning whilst printing. Companies can equip their printers with a couple of different devices and techniques. The Anycubic Kobra utilises an induction sensor; the Ender-3 S1 uses a CR Touch probe; and the Anycubic Kobra Max has a capacitive sensor built into the heating block. This last type is what the M5 uses to complete its auto-levelling procedure. But unlike the rest, the M5 assess the print bed in 49 different points across the surface. On most printers I’ve seen, the best you get is 16 points, on a good day.
This system has some pros and cons; using this probe type with a spring steel base plate alleviates some of the issues I found on the Kobra Max, though. Because the nozzle gets heated first, you can end up with filament dribbling out and clumping on the nozzle – which is normal. But the issue arises when the nozzle is then pressed into the print bed during the levelling process. This stray filament can potentially interfere with the data gathered by the printhead and leave 49 little blobs evenly distributed across your printing surface. I found this to be a bugger to get off the glass print bed of the Kobra Max, but because the M5 uses spring steel it’s so much easier to remove.
A relatively simple solution to this problem is to retract the filament slightly once you have heated the nozzle, to try to reduce the filament leaking, but remember to extrude some again so you don’t wreck your first layer.
Print bed
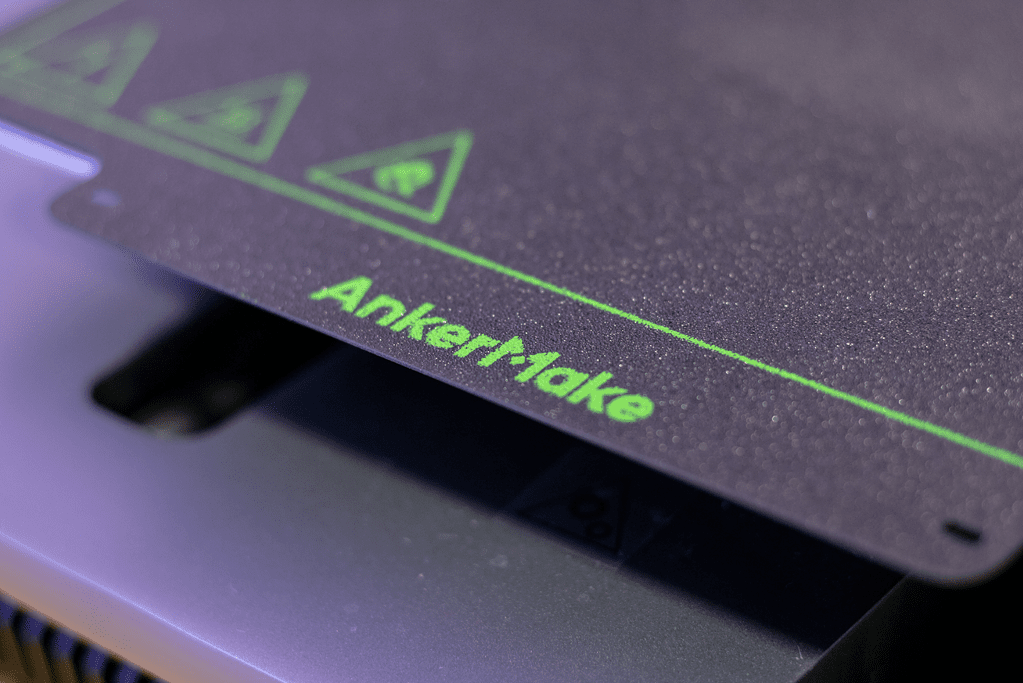
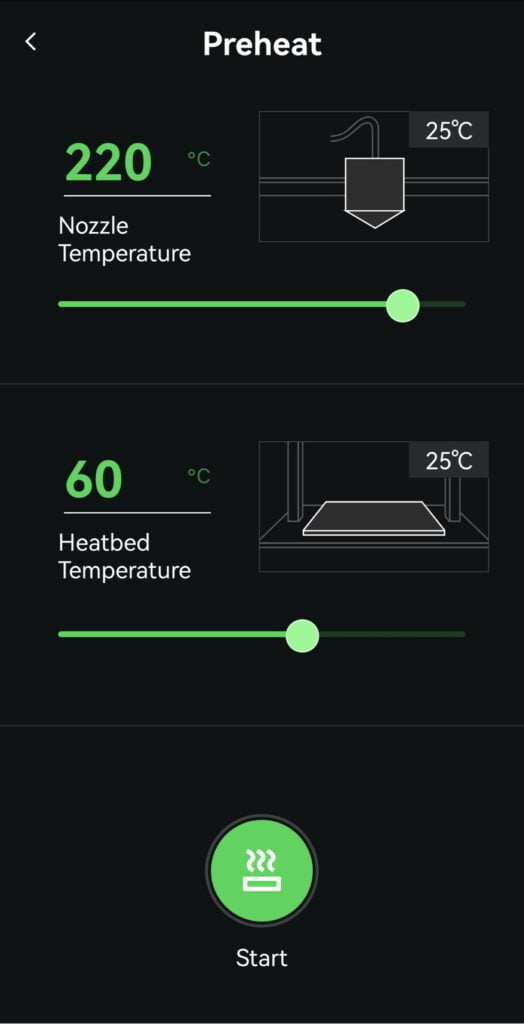
Adhesion is one of the most critical aspects of printing, unless you love PLA-based spaghetti, that is. The three main print bed materials are PEI, spring steel, and borosilicate glass. The M5 has a spring steel bed (my personal favourite) and does the job almost perfectly. I have had a couple of adhesion issues, it seems the print bed doesn’t retain heat very well so I had to use a slightly higher temperature of 60 degrees C to make sure the whole area was hot enough. This did fix the problem, but I still print important pieces on a raft just to be safe. Spring steel is great because it expands when it gets hot and contracts when it cools. So the platform is designed with a texture, like a fingerprint. This provides a massive surface area for the hot filament to mould and stick to. When the platform cools and shrinks, it naturally ejects your prints from the bed so you can just pick them up.
This ejection property has pros and cons. It means that you don’t have to remove the whole printing platform so you don’t have to level the printer as often because you’re not handling it at all. As long as you don’t have any power cuts, your print should stick like glue – I even double-checked, and the printer does keep the print bed heated once paused, which I was pleased to see.
AI Camera
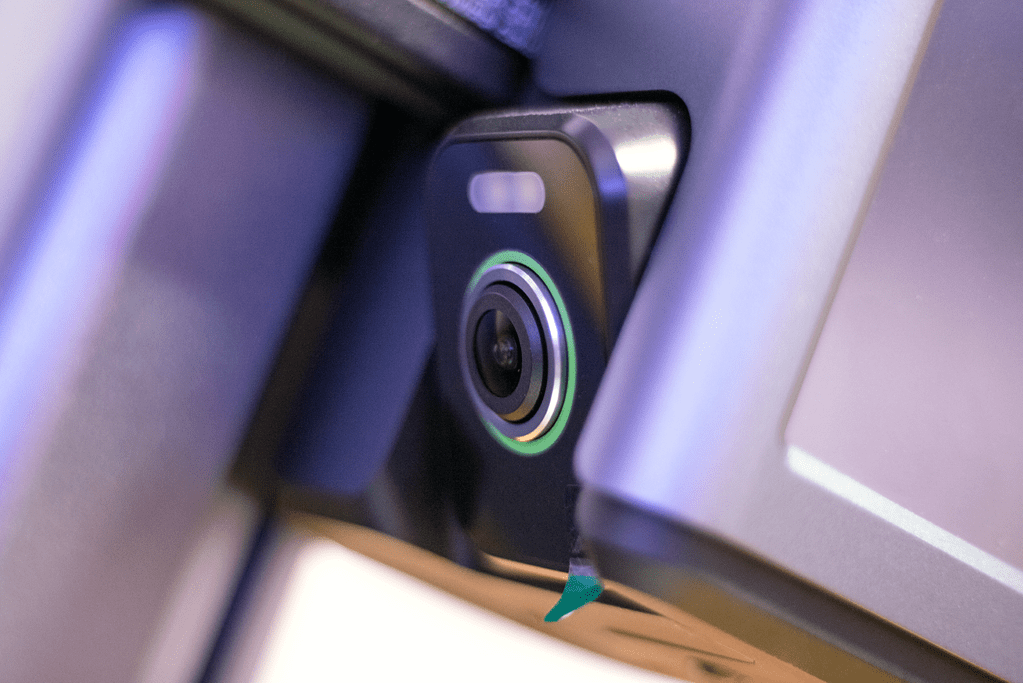
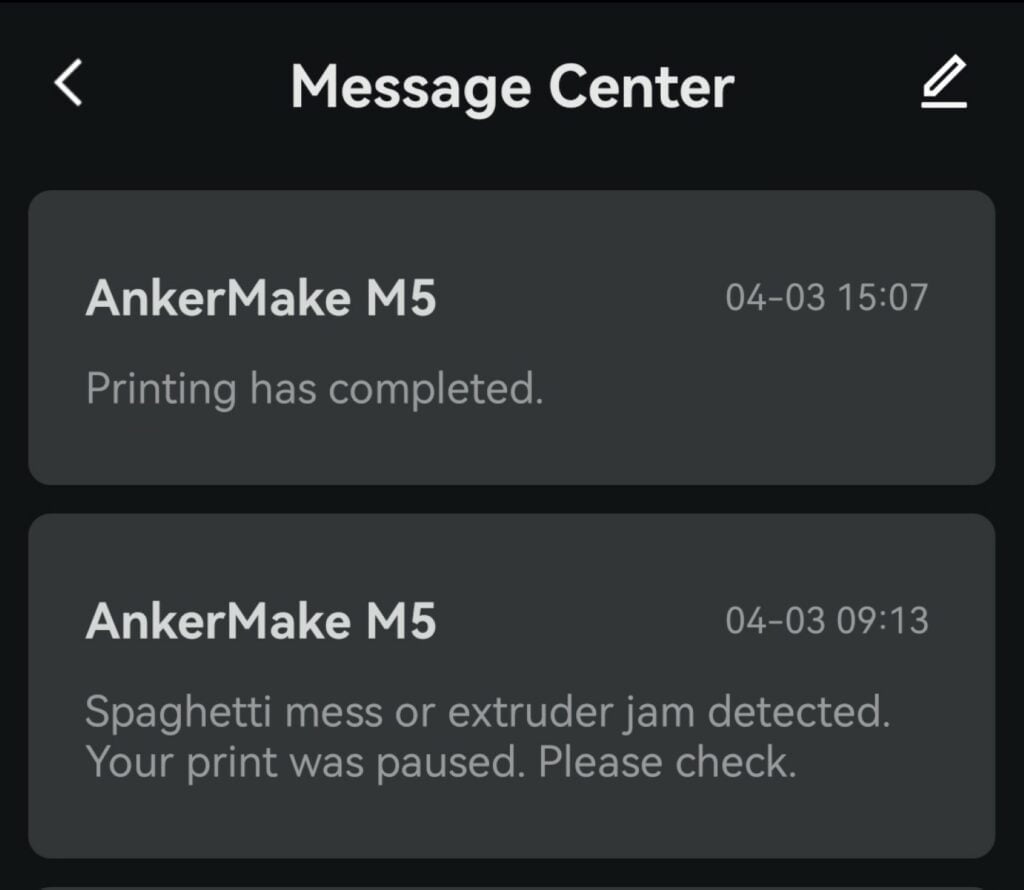
AI is a bit of a buzzword at the minute, and I’m not sure how much of the fault detection system is improved by this fancy ‘intelligence’. The AI claims to detect adhesion errors, spaghetti messes, and extruder jams, and has two different sensitivity settings for users to choose between, “normal” and “performance”. Normal mode error detection “will recognise printing errors in 3% of printed layers, on average” and performance mode has a recognition rate of 50%, “but false alarms will also increase.” From my experience with these modes I’ve found that normal mode is alright at noticing adhesion errors, but not much else. Performance mode really really hates stringing and spits its dummy out at the earliest convenience.

I’m looking forward to seeing how this system develops, users can opt-in to share their AI images with Anker to help develop the system, so I look forward to seeing what they can come up with.
When the AI detects an error, it pauses the print and sends a notification to your mobile app and the AnkerMake Slicer whilst also screaming in agony (it beeps). The main issues I’ve had with the AI is, during a pause, some filament has dribbled so the next layer printed once resumed was thin, but apart from that it’s a bit underwhelming.
Below is a timelapse of a recent print, which has the Normal AI setting enabled, shown clearly is an overhang error but unfortunately, the AI never spotted it.
Price and Availability
| Preview | Product | Rating | Price | |
|---|---|---|---|---|
|
| AnkerMake M5 3D Printer, High-Speed, Speed Upgraded to 500... |
£399.00 | Buy on Amazon |
The AnkerMake M5 is available now. You can buy it directly from Anker for £749 RRP and they regularly have discounts.
Amazon also lists it with matching discounts to Anker and it is available from many other e-commerce stores including Box.
Final Thoughts
Overall, I love it, and I’m not paid to say that. Apart from being a bit squeaky, it’s actually really hard to fault. It’s fast, it’s accurate, it’s smart. Almost every issue I have nitpicked has been software related, and in the limited time I’ve had the printer it’s had two firmware updates, and the AnkerMake Slicer has received three updates, so I’m confident they’ll smooth out these bumps.
The AnkerMake M5 is a joy to use; it’s incredibly accessible for beginners and users who don’t have the time to learn the intricacies of 3D printing just yet. Don’t get me wrong, you can tune the settings exactly to your needs, but why bother when the easy settings are just so easy.
Originally posted on mightygadget.com – Follow on Twitter – Instagram – Facebook – Mighty Gadget Latest Reviews
AnkerMake M5 3D Printer Review Rating
Summary
Overall, I love it, and I’m not paid to say that. Apart from being a bit squeaky, it’s actually really hard to fault. It’s fast, it’s accurate, it’s smart.
Overall
95%-
Overall - 95%95%
Pros
- High-quality prints
- Fast standard print speed
Cons
- Expensive vs competing options (but justifiably so)
- Some minor software quirks

I’m Ted Culshaw, a dedicated professional adept in the realm of film, photography, and 3D design. As the brother of the chief editor at Mighty Gadgets, James, I’ve had the privilege of overseeing the reviews for a wide range of 3D printers and creative products, covering everything from photography to lighting. My academic background in film and photography, coupled with a brief stint in the TV industry, has provided me with a rich foundation in these fields, which I leverage to consistently deliver high-quality reviews.
In my current role at my father’s bespoke kitchen business, Culshaw Kitchen Makers, I am responsible for creating many of the 3D designs and CNC cutting, thereby directly contributing to the beauty and functionality of our handmade kitchens. I take immense pride in my work, and I am constantly seeking ways to improve and innovate.
Aside from this, my passion for photography and filmography extends beyond my professional life. I regularly offer freelance services to local businesses, using my skills to help them elevate their visual presence and narrate their unique stories.
At heart, I am a passionate professional who believes in the transformative power of creative design and visual storytelling. Whether it’s through reviewing the latest 3D printer or crafting a bespoke kitchen design, I am committed to delivering excellence in all my endeavours.
You can find me on Instagram
Last update on 2024-04-24 / Affiliate links / Images from Amazon Product Advertising API