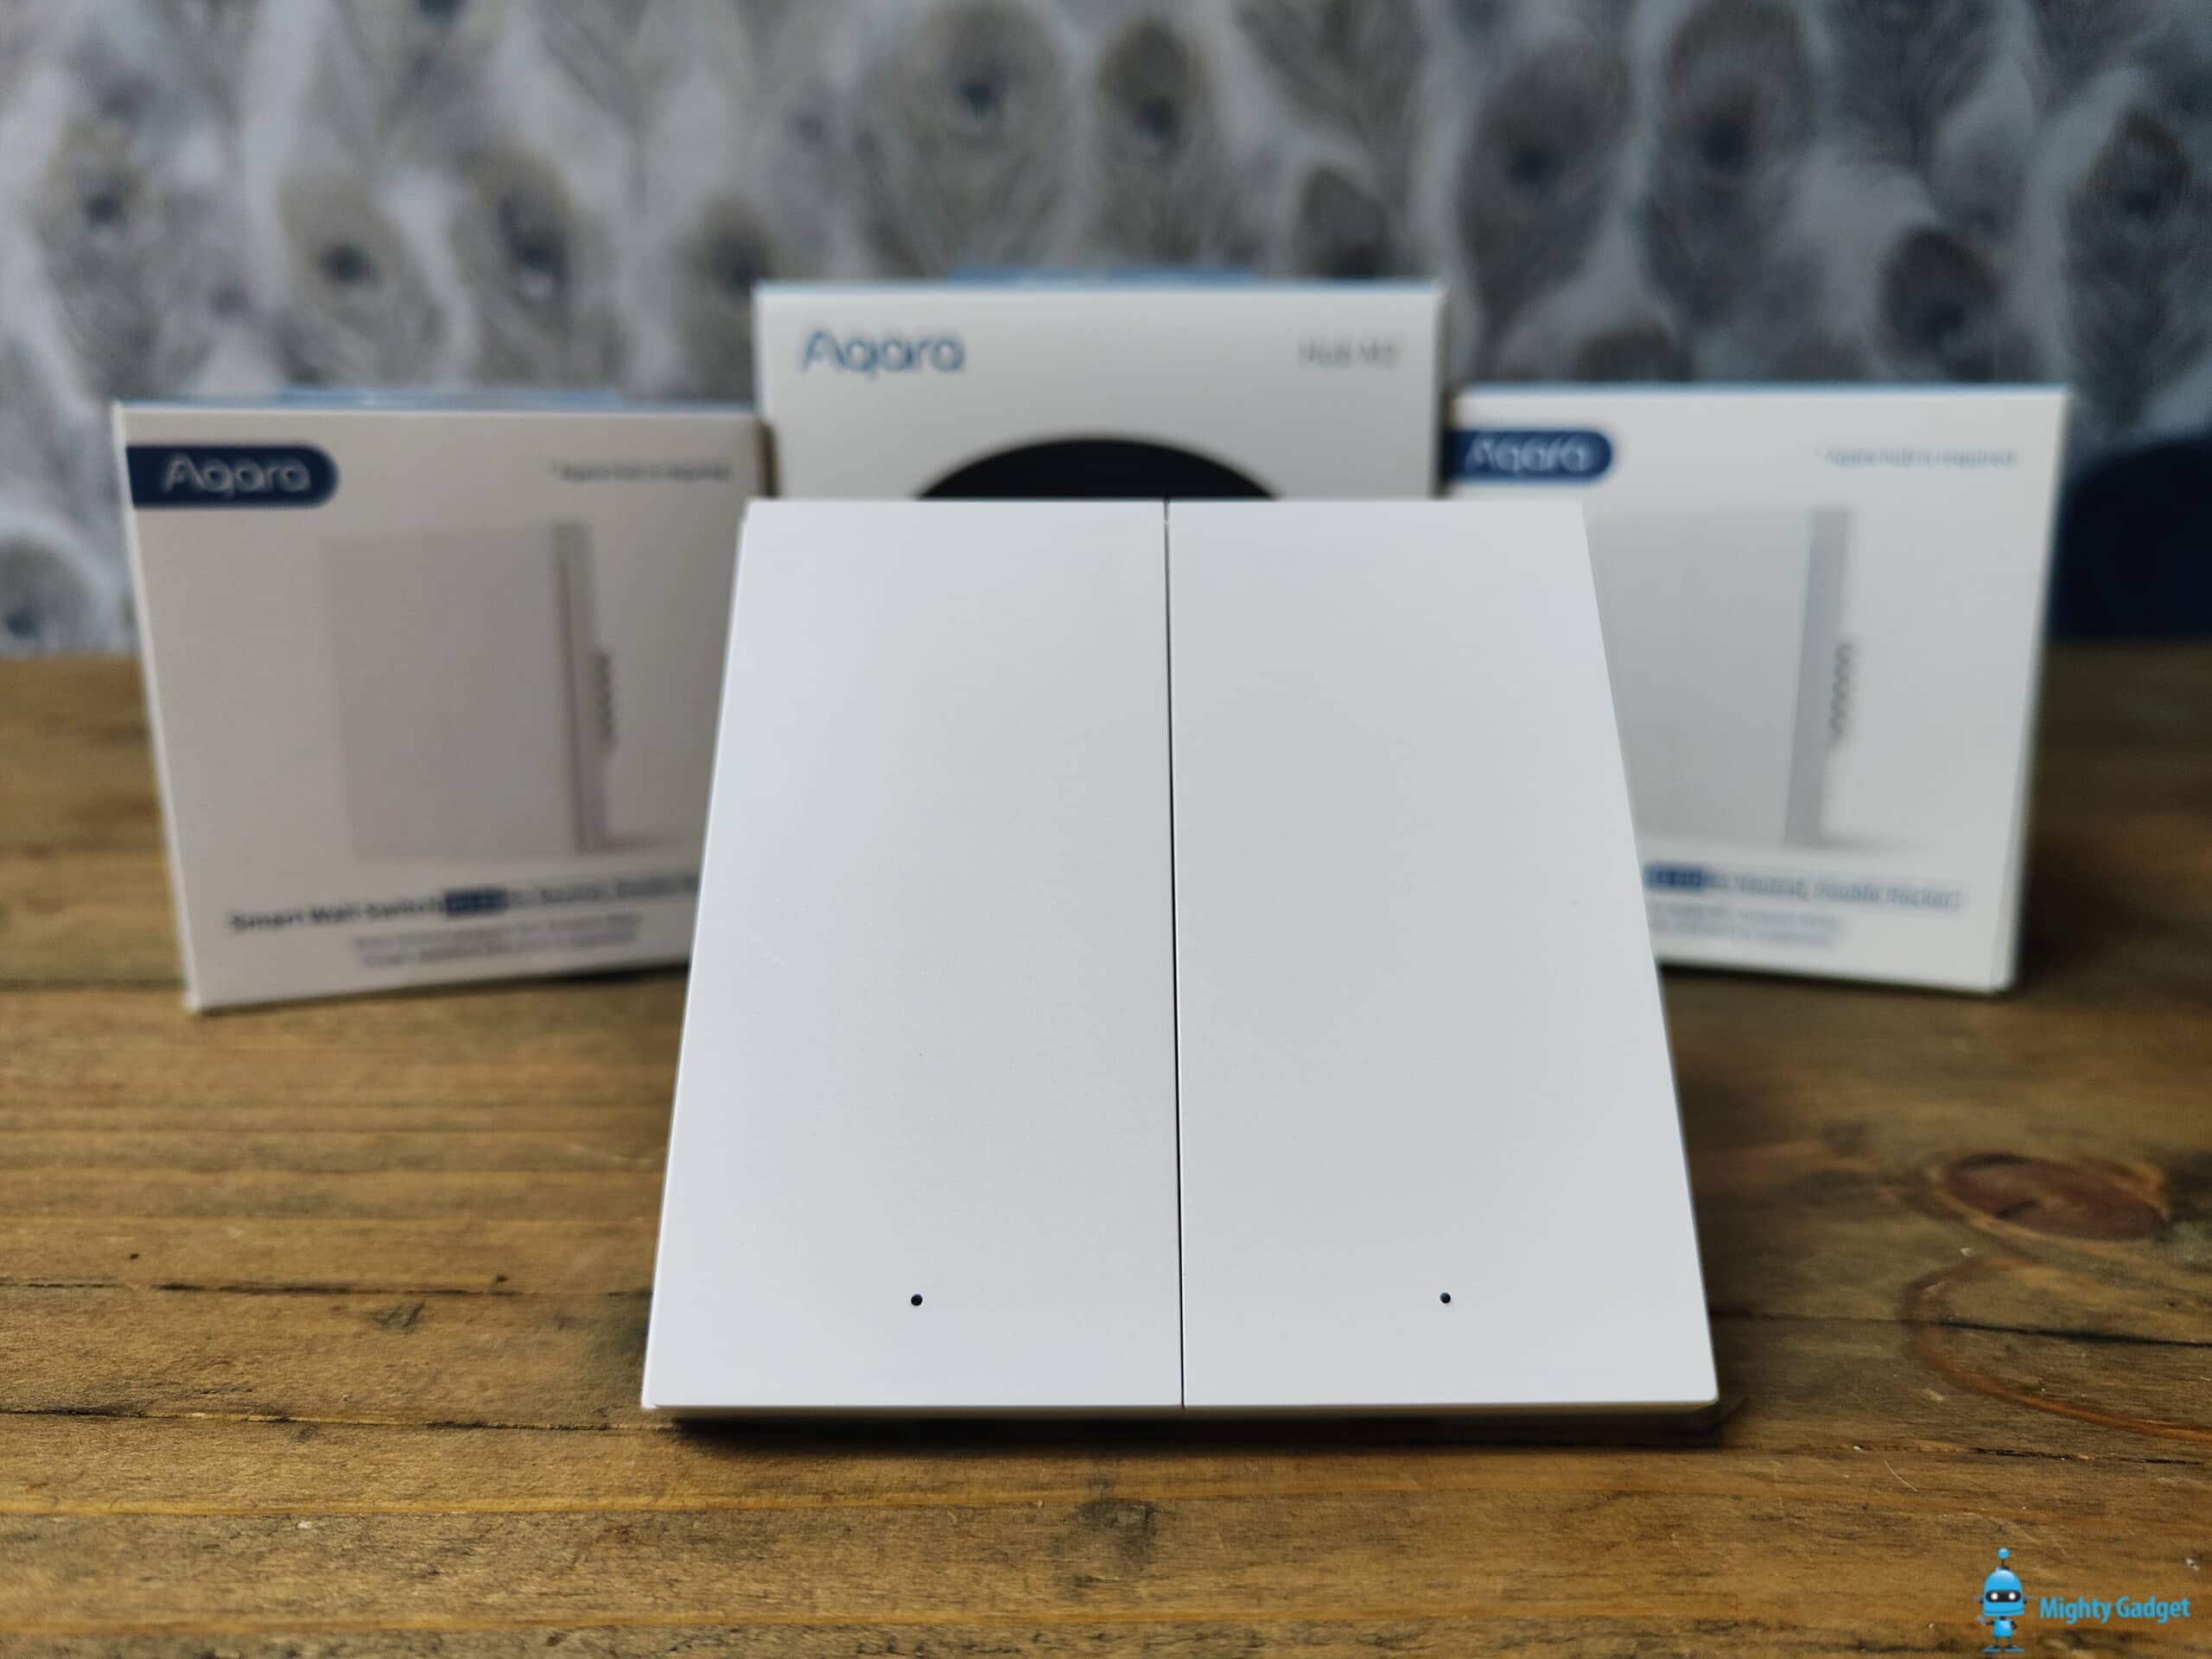
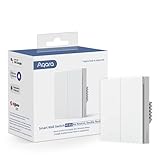
Aqara Smart Wall Switch H1 EU Double Rocker Review – EU/UK smart light switch with no neutral wire
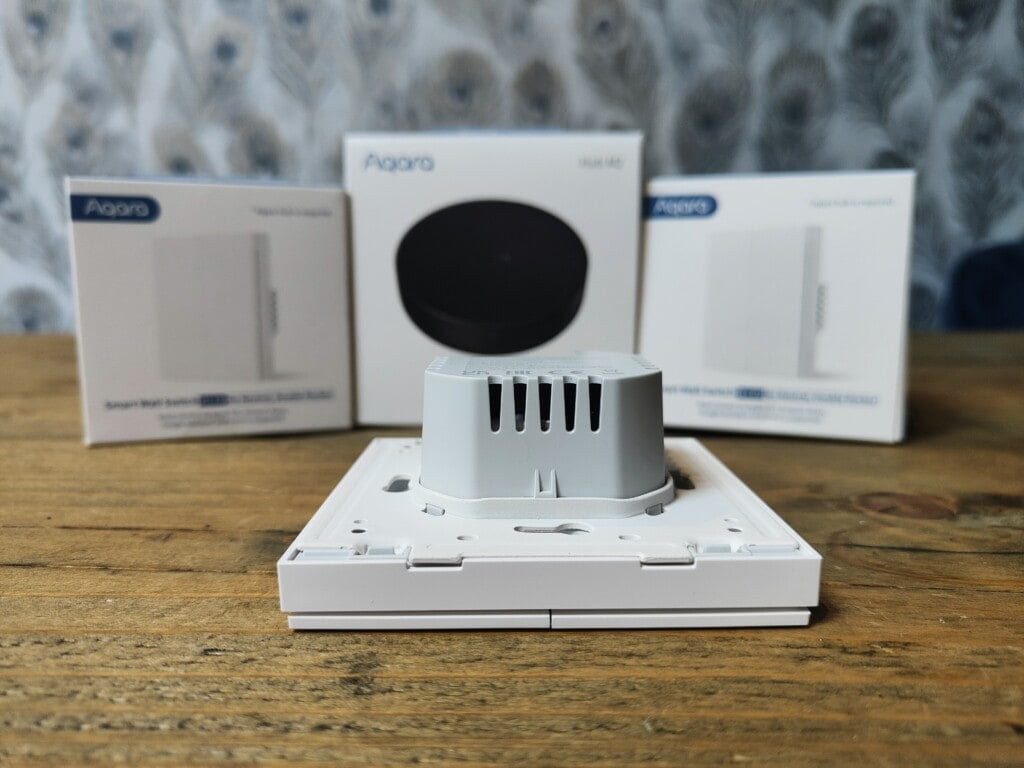
Following my review of the Aqara Camera Hub G2H, I have been checking out the Aqara M2 Smart Hub and the new Aqara Smart Wall Switch H1.
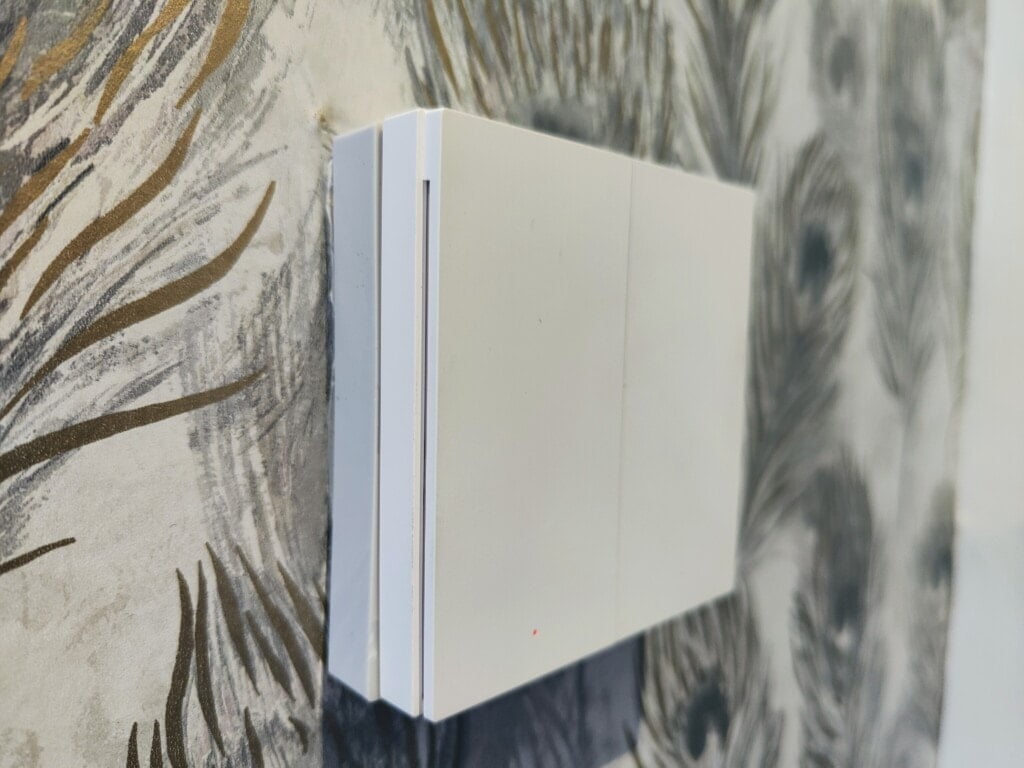
The Aqara Smart Wall Switch H1 model I have used is the no neutral, double rocker EU variant. It is exactly the same as the standard H1, but as you can guess, there is no need for a neutral wire which means it should work in most UK homes even if you have older wiring.
This is just an on/off switch with no dimming. You can remap the buttons to control other automations if you require.
See Also: The best Z-Wave & Smart Home Switches & Buttons
- ✽【NOTES】Requires the Zigbee Aqara HUB to work(To access third-party apps such as Apple HomeKit, Alexa, Google Assistant, it is necessary to connect through Aqara Zigbee hub.). The Aqara Smart Wall Switch H1 EU uses Zigbee 3.0, which has better stability, compatibility and more features. Apple HomeKit, Amazon Alexa, Google Assistant and IFTTT are supported.
- 【No Neutral Wire Required】No need to worry about your device not being compatible. The Aqara Smart Wall Switch H1 EU can be installed even if your existing wiring doesn’t have the neutral wire.
- 【Support of Round Wall Boxes】The Aqara Smart Wall Switch H1 EU supports both square 86 mm and EU-type round wall boxes.This switch base is 26mm, and it is recommended to install a wall box with a depth of 40mm. (Note: Not all twin/double wall boxes are supported. Please check product dimensions before purchasing.)
- 【2-Way Switch Setup Support】 You can achieve more use cases by combining the Smart Wall Switch H1 EU with other Aqara products. With the Aqara Wireless Switch H1 EU, you can easily control the same lights from two or more locations without having to add additional wiring. (Note: Additional Wireless Switch H1 is required for a 2-way setup.Wireless 2-way support function can only be achieved with the additional Aqara Wireless Switch H1; Otherwise, this function cannot be used)
- 【Convert to the Wireless Switch Function】Our Aqara Smart Wall Switch H1 EU can be part of your home automation solution. By converting to the Wireless Switch Function, our switch can, for example, be controlled by automations with the Aqara Motion Sensor or the Aqara Wireless Mini Switch while the switch button will control something else.(Note: Only the Aqara Home app has this feature, third-party apps do not have this feature). Zigbee2MQTT and comparable third-party USB dongles are not officially supported by Aqara. Full product functionality may be limited or unavailable.
Aqara Smart Wall Switch H1 Light Switch Depth
Even though this should work in most UK homes, there is a good chance the back box of your light switch won’t be deep enough. This is a problem that has plagued me every time I have tried out smart light switches.
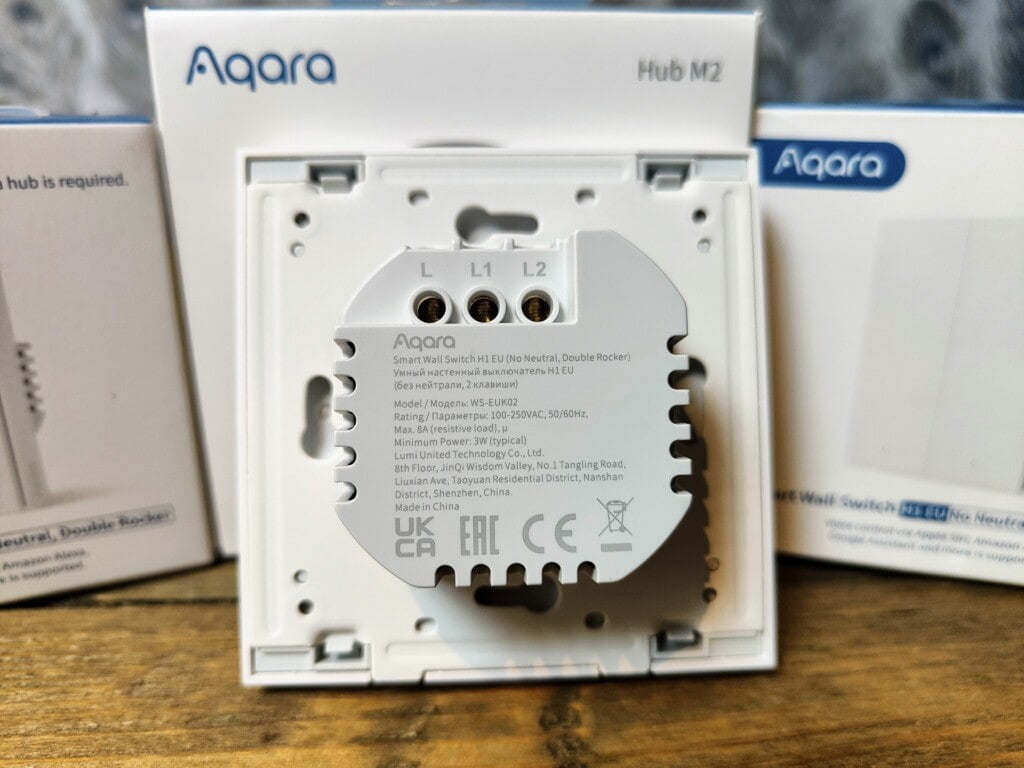
The standard depth for a UK back box is 35mm. The Aqara switch has dimensions of 85.8mm × 86mm × 37.55 mm. So you will need a deep back box.
When I had my kitchen renovated, I had deep back boxes put in for this exact reason. However, even with this I struggled to squeeze it in due to the two-way cables filling up some of the space so I had to use a gang spacer plate to add a bit more depth. It is not the most elegant of solutions, so I will likely need to get an electrician in to sort it out properly at some point.
Installation & Set Up
I am certainly not an expert with DIY, and doing anything with electrical wiring is always a bit daunting, but it is quite easy.
With all the lights switched off at the mains, it is just a case of unscrewing your existing switch and swapping things over. Just to be safe, I always take a photo of the existing wiring and also double-check the wiring colours online.
You will need to detach the front plate of the Aqara, so you expose the mounting holes for the screws.
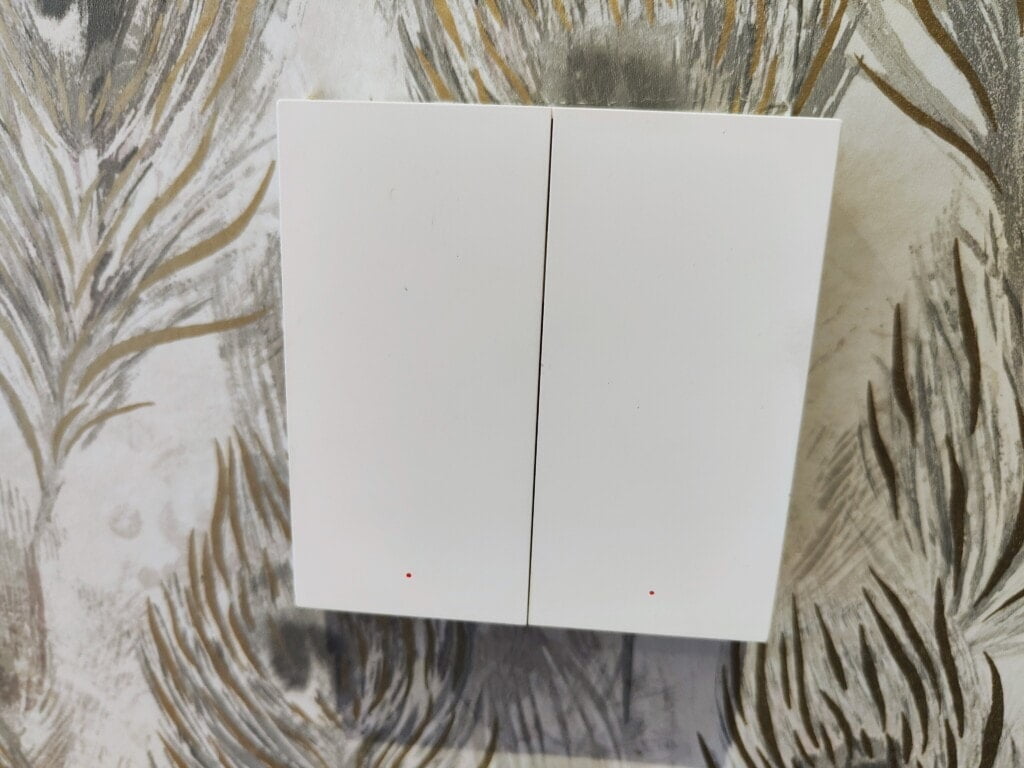
Once screwed in, you can just clip on the front plate again. With the physical installation done, the light switch will as a standalone unit, so I checked that the light was working for each gang before I screwed everything in and set up the system.
From the Aqara app, you will follow the standard set-up. Select the accessory you want to add and follow the instructions, this includes holding down the switch for 5 seconds until the blue light starts flashing. With set-up mode activated, the hub identified it extremely quickly. I have been quite impressed by how quickly things get detected and activated with Aqara.

A temporary solution with a back box spacer
Remapping Buttons
It is possible to disable the light switching capabilities of the buttons and remap them to something else. I assume this will work if you only have one gang of lights wired but then use the double rocker switch with the unwired button automating something else.
Within the app, you can go into the switch settings and change to a wireless switch. Then remap the button press to whatever you want.
Page 2 has the automation features, price and alternative options and my final thoughts.

I am James, a UK-based tech enthusiast and the Editor and Owner of Mighty Gadget, which I’ve proudly run since 2007. Passionate about all things technology, my expertise spans from computers and networking to mobile, wearables, and smart home devices.
As a fitness fanatic who loves running and cycling, I also have a keen interest in fitness-related technology, and I take every opportunity to cover this niche on my blog. My diverse interests allow me to bring a unique perspective to tech blogging, merging lifestyle, fitness, and the latest tech trends.
In my academic pursuits, I earned a BSc in Information Systems Design from UCLAN, before advancing my learning with a Master’s Degree in Computing.
I’m proud to share that Vuelio has consistently ranked Mighty Gadget as one of the top technology blogs in the UK. With my dedication to technology and drive to share my insights, I aim to continue providing my readers with engaging and informative content.
I work directly with the companies he reviews products for or their chosen PR agency.
For Social Media, you can find me on: